


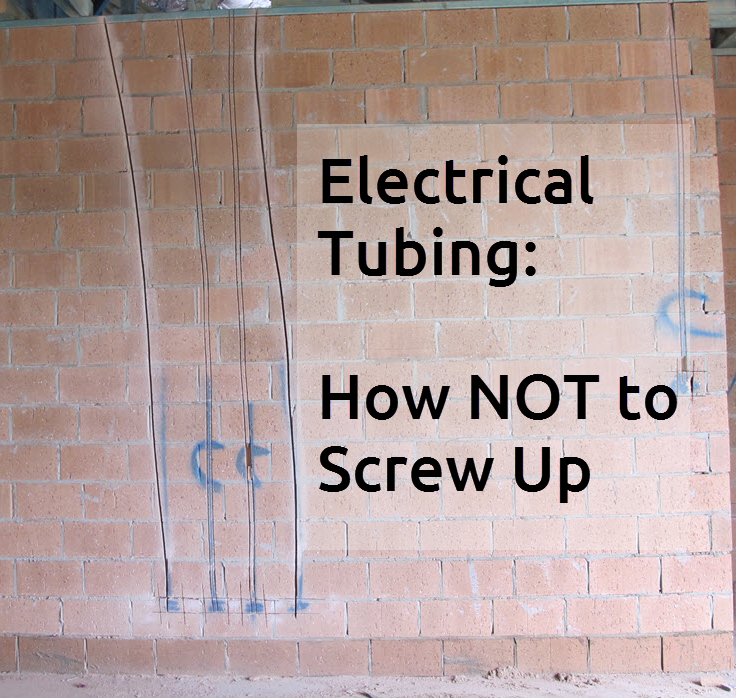
Last week we had our electrical tubing site meeting with our site supervisor and electrician to go over the locations of the power points, light switches, and data points. It took about an hour (we dawdled) and went pretty well. But I made a huge boo-boo in being way underprepared.
Despite the lengthy planning process, and continually poring over the plans, and walking through on site ON THE DAY, I still managed to find a couple of things that I wanted to change AFTERwards!
Honestly, this building thing is exhausting.
What I did: Reviewed the plans, made some notes. Since I’d been doing this continually over the last 2 years, I was pretty sure I had everything prepared and was confident enough to wing it on the day.
What I should have done: Bought some chalk, gone to site, walked around, and marked every light switch and power point location. Why didn’t I? I thought it would have looked silly and give the impression that I didn’t trust the builder. Kicking myself now, because I want 3 changes that will probably end up costing us. It’s not that I don’t trust them, it’s just that sometimes I don’t know what I want until I talk myself through it.
Anyway, here are the bones of contention. This blog post is a bit long, so you might want to grab a cuppa.
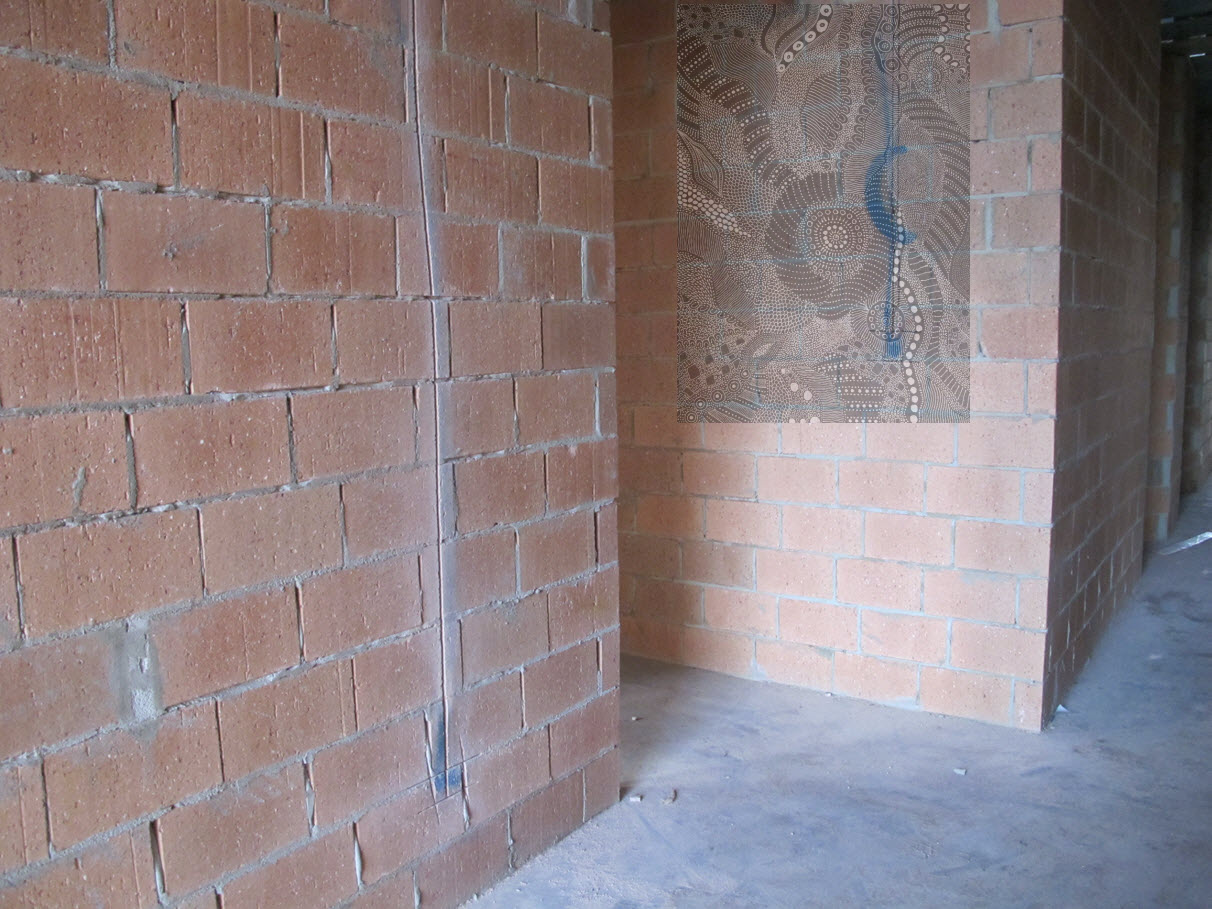
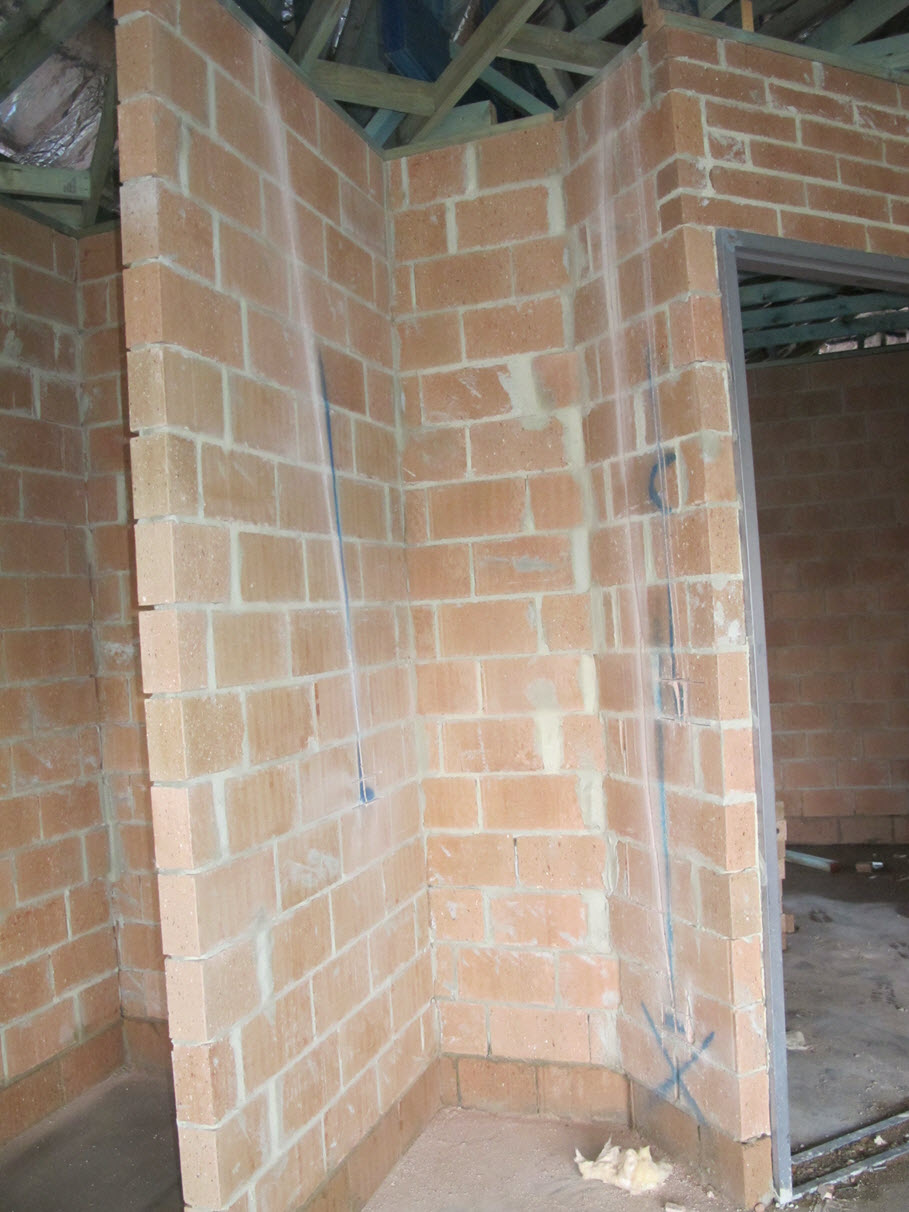
Entry Hallway
I’ve done some trickery in this photo. On the right you can see a blue spray-painted line indicating where the channel will be cut for a light switch. This is the light switch for the main entry light. It will be used mainly when we answer the door at night, or return home at night if we’re not driving. This could be after a nightly walk or catching a taxi after an epic birthday dinner.
There were 2 problems here. First, it was too far from the door when it’s opened. Secondly, and more importantly in this instance, it interrupts my decorating plans! What if we wanted to hang, say, a massive artwork here, or have some sort of fantastical wallpaper mural (as I’ve dodgied up in this photo)? It’s a fantastic expanse of blank wall with a lot of potential, but a light switch there would ruin it.

Yes, I know this is a first world problem! Nevertheless, I’ve decided to move the switch to the opposite wall, which has a power point there anyway, and will be where will will have the console table and other entry paraphernalia. The opposite wall will have the “inactive” side of the double door, so it won’t be open very much. I hope my decision doesn’t end up being annoying.
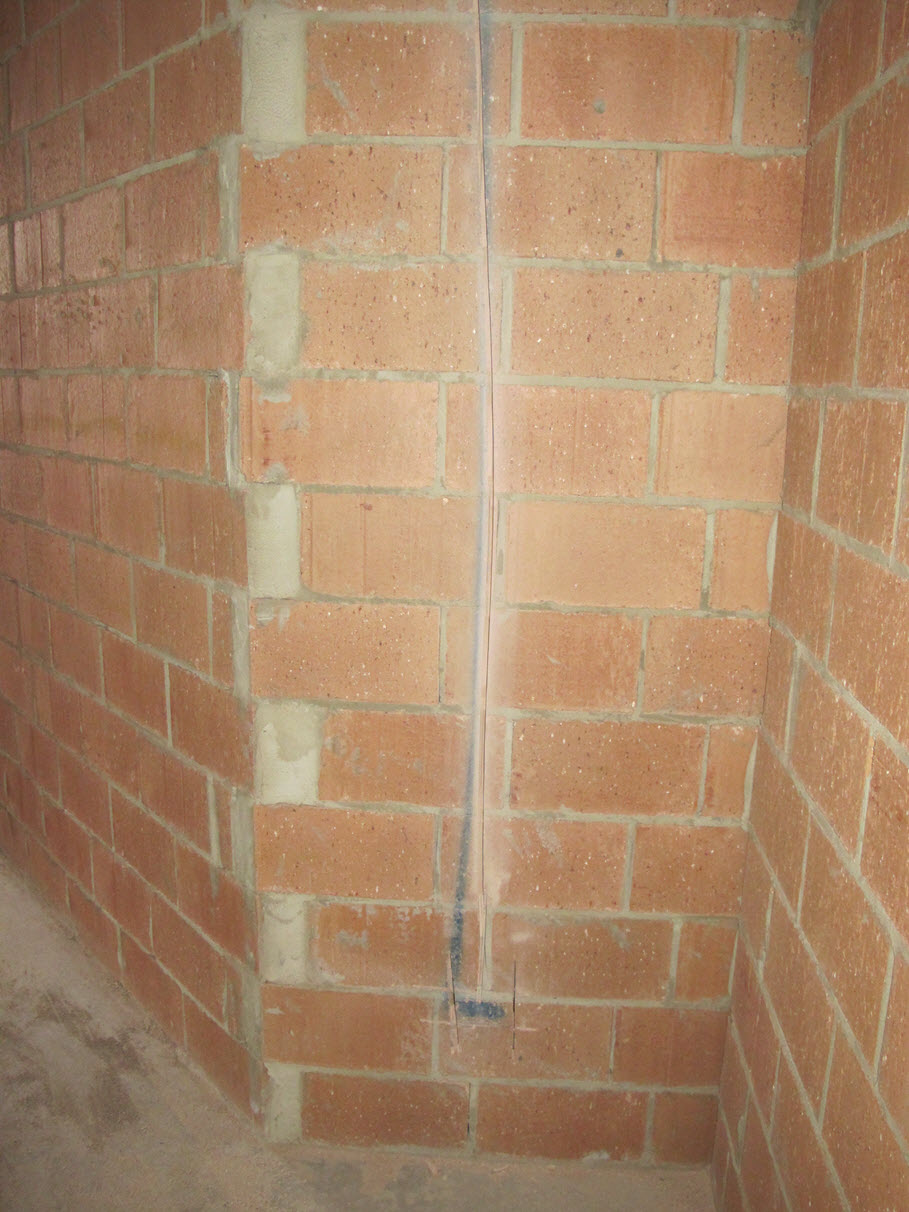
Guest Wing Hallway
The guest wing isn’t particularly grand, but just to the left of the main entry is a short hallway that leads to the guest bedroom and guest bathroom, as well as my lady cave. There is a light switch on the wall for the hallway light, indicated again by the blue spray paint. The main use case for this light switch is when I’m visiting my lady lair at night, but it would also be used by guests going to and from their room.
Here I have another first world problem. If I decided to hang a big beautiful piece of artwork, it’s possible that the light switch would be obscured by said artwork. This would be very impractical.
We debated which way to move the light switch, and decided that it would be more practical to move it slightly to the right, as it’s easier to use when entering or leaving that area.
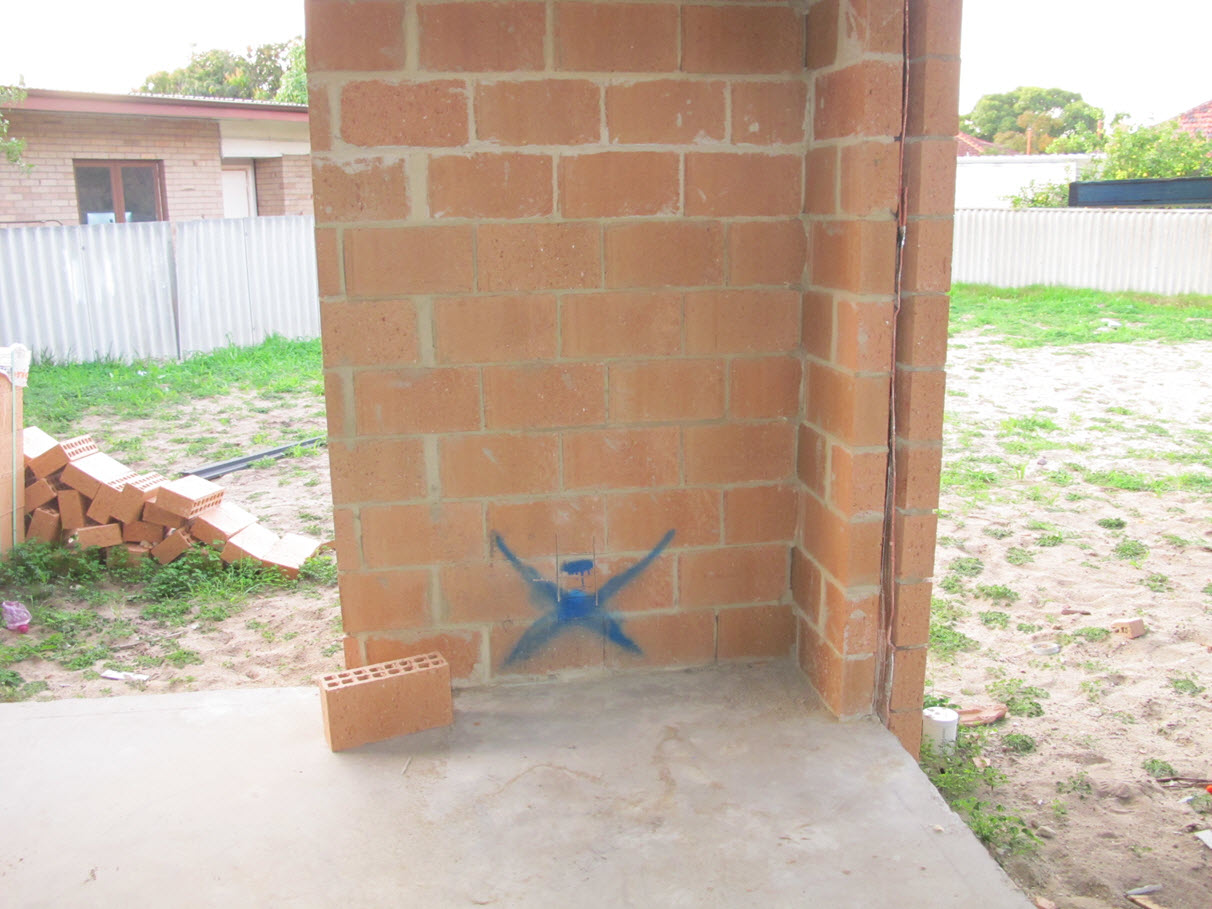
Exterior Light Switch in Open Plan
The last bone of contention is one of the exterior light switches. This switch, indicated by the white rectangle in the photo below, switches the bar light and exterior lights on either side of the future deck, outside the sliding stacker doors.
Initially, it was placed on the wall where the TV and other media items will go. I realised a bit late into the game that it would be better off around the corner of the bar, where it would be less obtrusive. This would allow us greater flexibility to decide what to do with the TV wall.

Other Power Point Locations
Now that we’ve had a look at my screw-ups, let’s have a look at some of the other power point locations.
This power point is located in the open plan area on the sliver of wall between the sliding stackers (opening onto the deck) and the bifold doors (opening onto the alfresco). In my mind, this is the perfect location for the Christmas tree, but Mr Trixee disagrees.

We decided a long time ago that we wanted a Japanese bidet seat in the toilet, so we’re putting one in the ensuite. Bidet seats require power, and the installation instructions are very particular about which side the power needs to be on. Not inconceivably, it should be on the opposite side to the water tap. So we had to triple check that we got that correct. Using the word “right” in this instance required a few double-takes. Notice the weed taking root already!

I’d specified 3 locations for power points in my lady lair, so was surprised to see this one crossed out. It turns out that there is another set of power points on the wall directly opposite, in this very location, which means they can piggy back off each other. Which is what this was all about.
As a side-effect of the angles due to the block orientation for passive solar design, the hallway has a funny triangular alcove in it. We decided to take advantage of this and use the spot as a docking station for our secondary cleaning robot. We will probably install some sort of low triangular shelf/bench here to hide the bot.
This is the coffee station. Aside from power to the coffee machine and some switches for the living area, our main cleaning robot will be living below the cupboards here. Its power point can be seen on the bottom right.
Home Automation Considerations
The last point I want to talk about is home automation. We’re planning on retrofitting this after the build, and to that end we’ve requested all light switches and data points be placed in conduit. Which is what that big C in some of these photos means. I don’t pretend to understand how this is going to be done, but Mr Trixee has done a heap of research so I’m sure he knows what he’s doing!
Lessons Learned
- If you’re lucky enough to be able to have a site meeting with the electrician, do a walk-through of the house beforehand, and bring along a piece of chalk to mark out where you think switches and points should go.
- As you walk through, think about where the furniture will go and how you will be using the light switches. Do some role playing and reach for those switches as you walk through.
- Bring your tape measure so you can measure heights. Don’t forget the skirting boards! They are usually around 100mm.
- The electrician will aim to place the points in a corner of the brick, to minimise cutting.
- Learn to read the plan! This is the critical bit that I forgot about:

Pay attention to the light switch locations – yes they are marked on the plans! This is where they will be put unless you request otherwise.

Lights can be switched separately (separate controls for each light) or can be chained (one control for many lights). The number of controls is indicated by the number of lines coming from the switch location.
I can’t be the only one to have stuffed up. Please make me feel better and tell me what you think you may have done wrong with your electrical?


There is so much to think about with building a new home that it is easily done Trixee.
We added a lot of two and three way switches to our place which is working well.
Being able to walk thru things on site certainly makes it easier
Yep this building lark is hard work and requires a good dose of patience but oh what a great feeling when you move into your new home ☺
So true deb! For some reason getting the electrical wrong terrifies me. I’m sure most of it’s OK though. We planned for a lot of redundancy!
The first thing I did when reading your post was make a cup of tea, the second was to review my electrical and lighting plans. I think my lighting plans could be spot on, but we will see when we move in. I give credit to the consultant at Radiant Lighting who drew up the plan. I think her experience made this task simple. The electrical plan already has a few problems, but it’s mainly due to the plan being developed 1.5 years ago, and my ideas for how spaces will be used and the DIY plans we have for after handover have evolved. For example, I have GPOs where I think I want to put built in shelving. We will have to ad-lib a bit.
I’m sure your plans are spot on. I think there are bound to be moments where you end up thinking you should have done something differently. I made a silly mistake because for some reason it didn’t click where the light switches were going to be. I’m more confident with our GPOs because we sweated that out a lot more than the light switches, but I’m sure I’ll still end up thinking I should have done something different. But if I haven’t caught it by now, I’m not going to worry about it too much.