


The end of the week was supposed to signal the end of brickwork, but it didn’t quite work out that way. It’s all done bar the pillars for the portico and alfresco – and for that we need concrete. Hopefully that will happen soon. The exciting part of the week, though, was the arrival of the steel beams. Brace yourselves for an epic, picture-heavy ride!
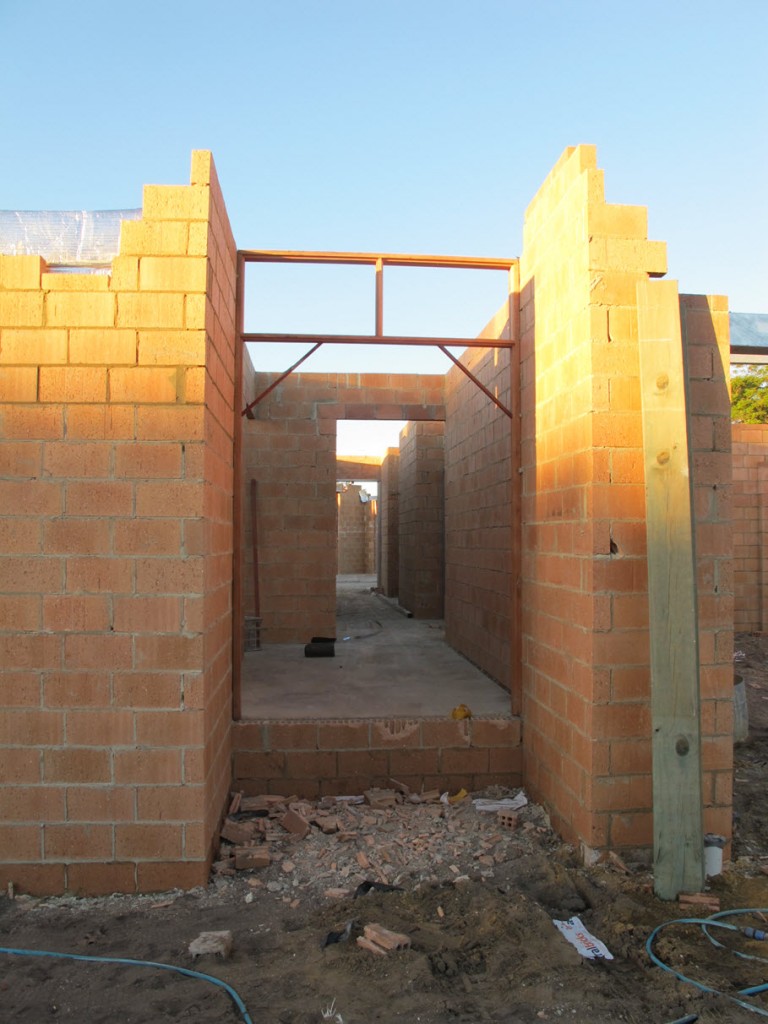
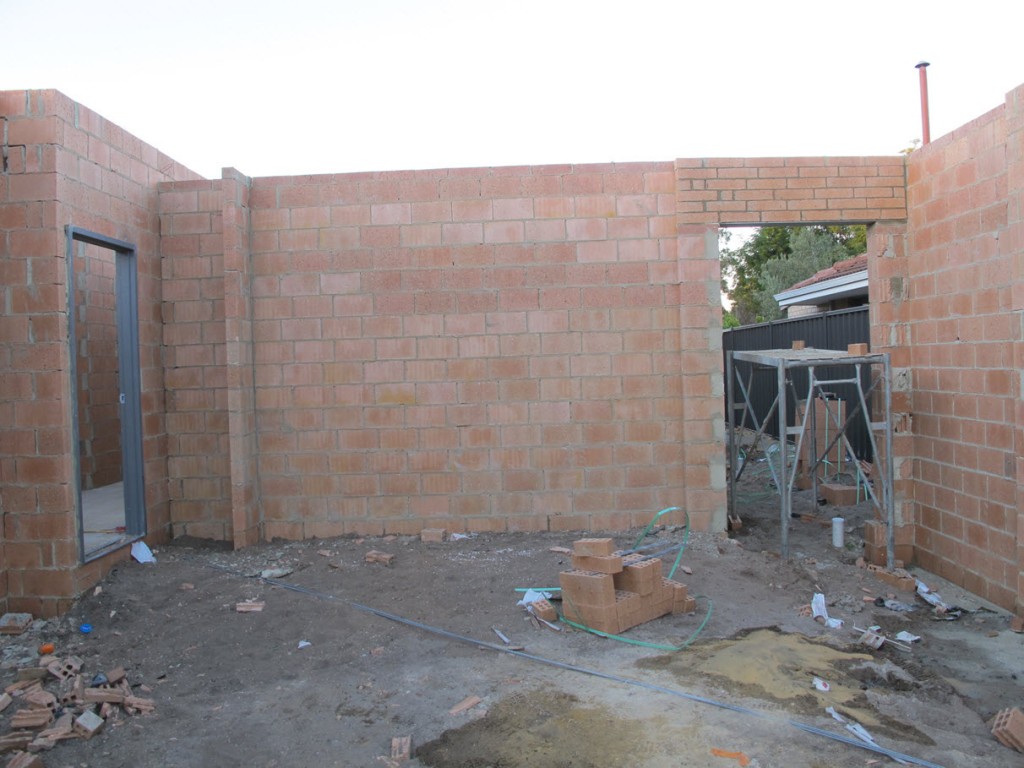
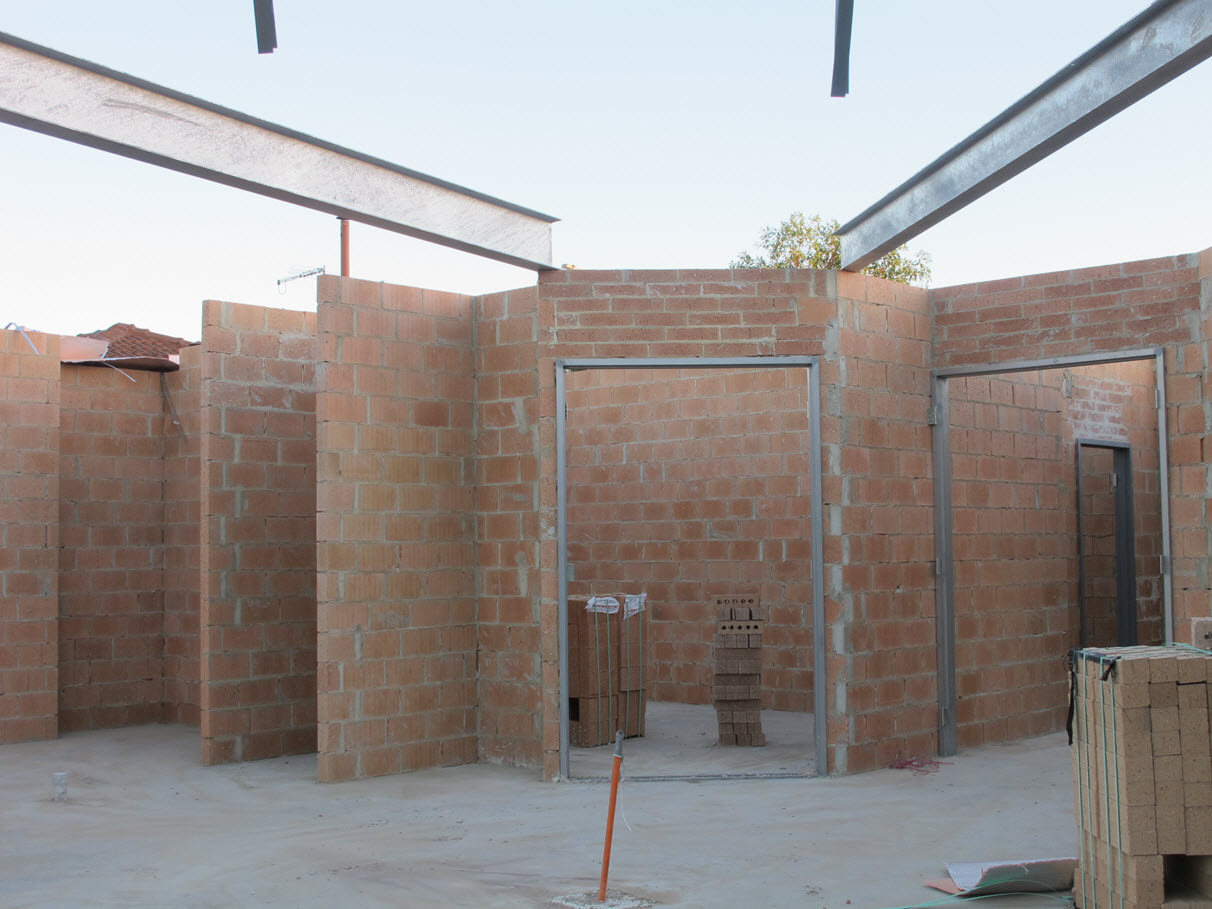
Entrance
The door frame is in but the pillars need to be built before they can finish the brickwork for the gable.
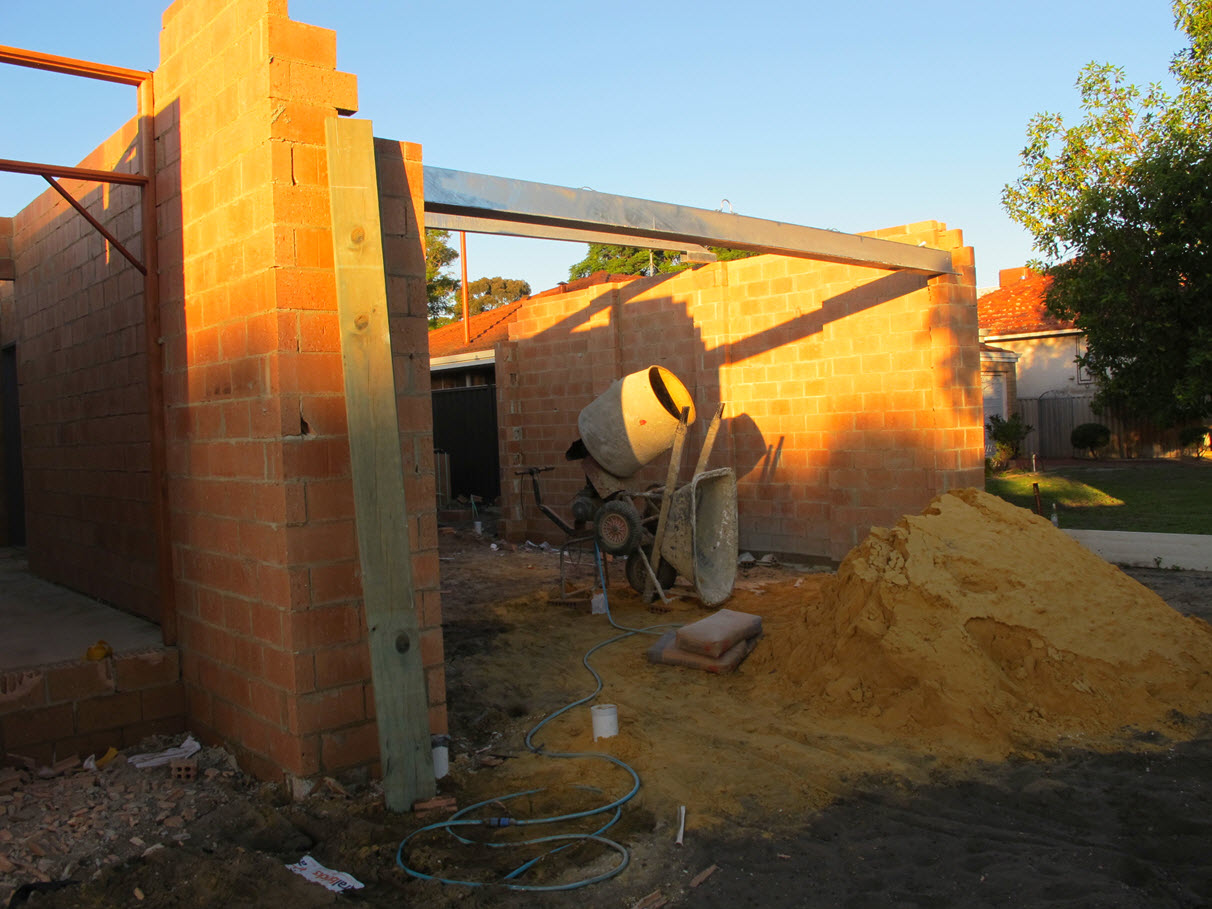
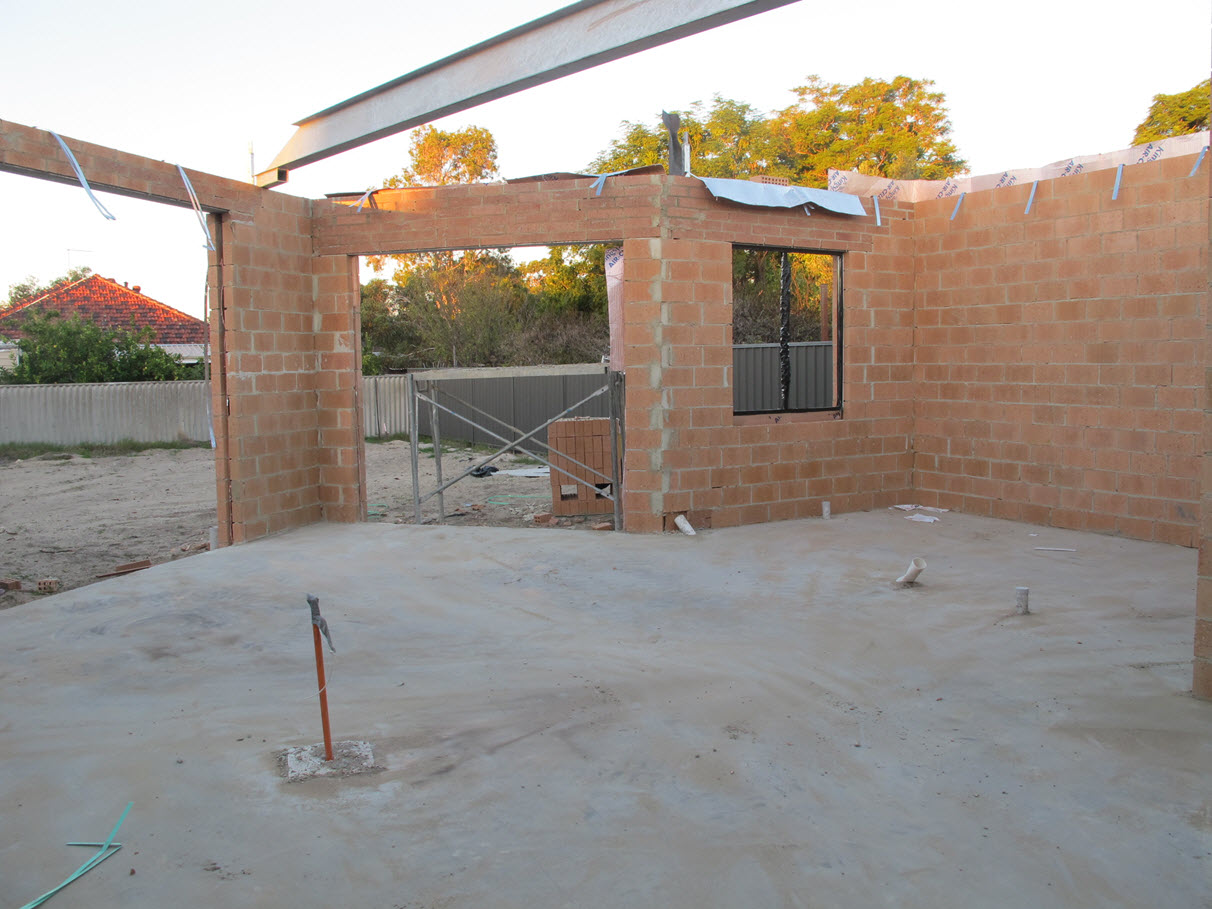
Garage
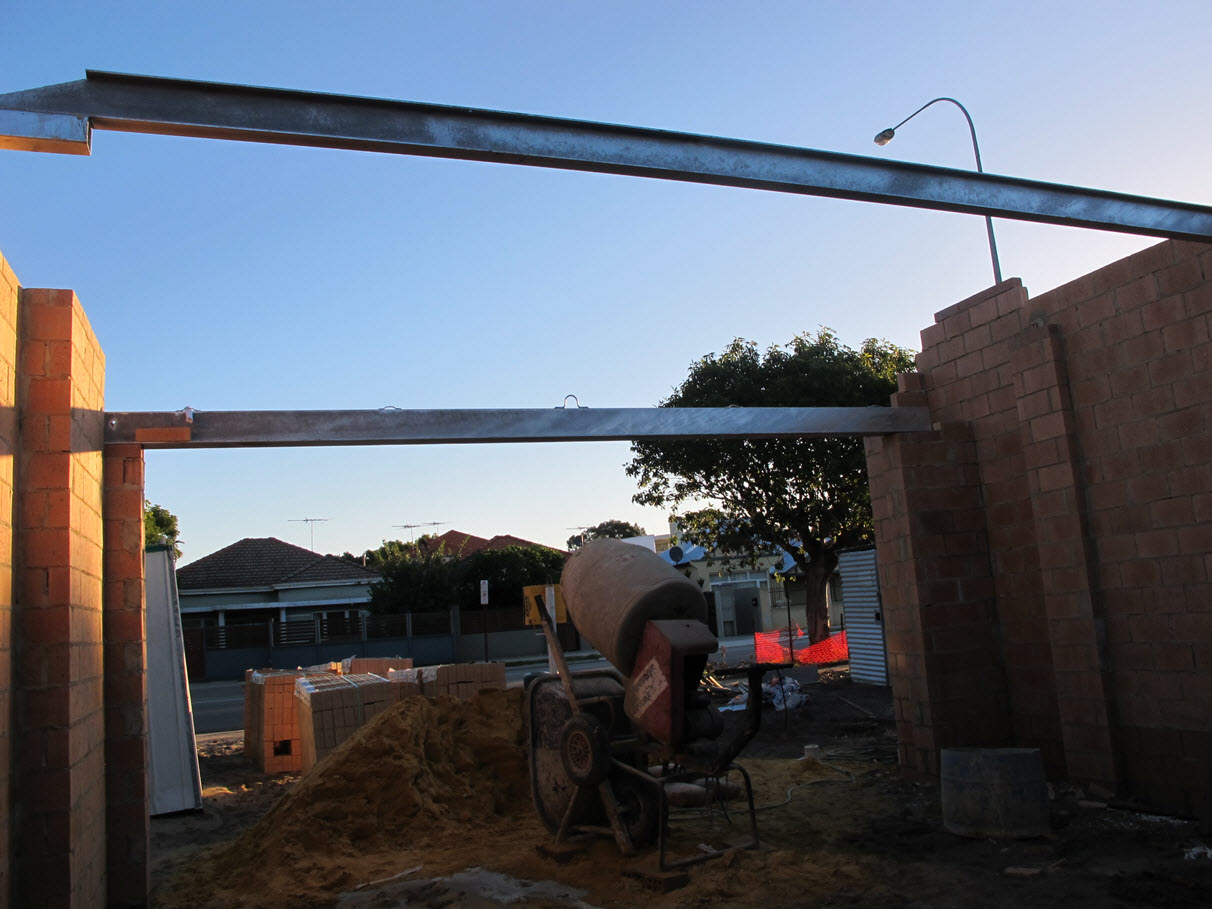
We got a bit of a surprise on Wednesday to see that we’d had some beams delivered! There were 2 in the garage. This one was placed over the garage door, and there was another one about halfway down the garage (I think you can see it poking out behind the door beam).
When I thought about it afterwards, I was a bit disappointed to miss out on seeing the in action, as I’m sure there would have been a crane involved.
Anyway, after they’d put the beams in, the brickie could finish bricking over the garage door entrance.

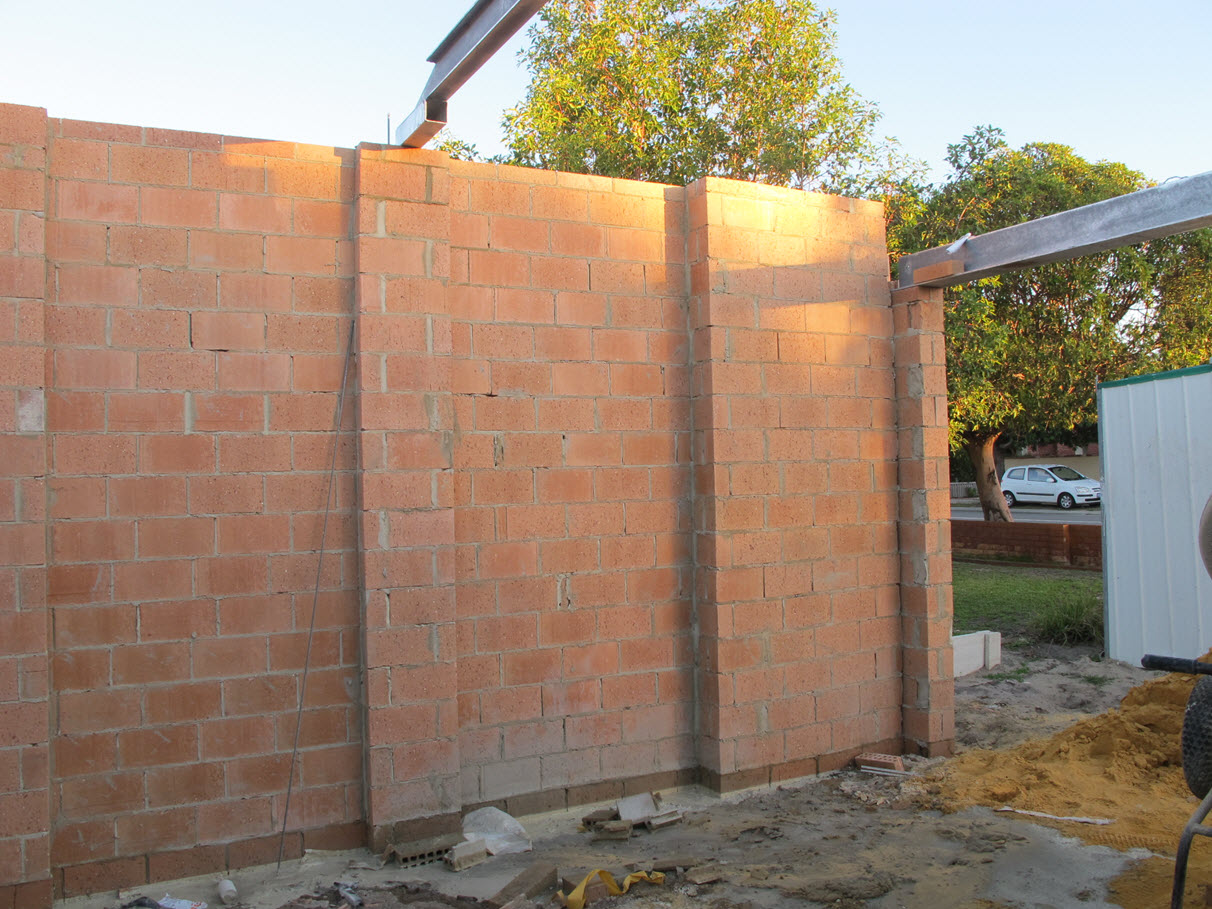
No beams in this pic, but this is the rear of the garage. To the left is the internal entrance from the garage. There’s a little nib wall there which we were supposed to use for a server rack, but I think we’ve changed our minds about that now. To the right is where the roller door will go for access to the rear. Apparently it’s wide enough for a bobcat to get through.
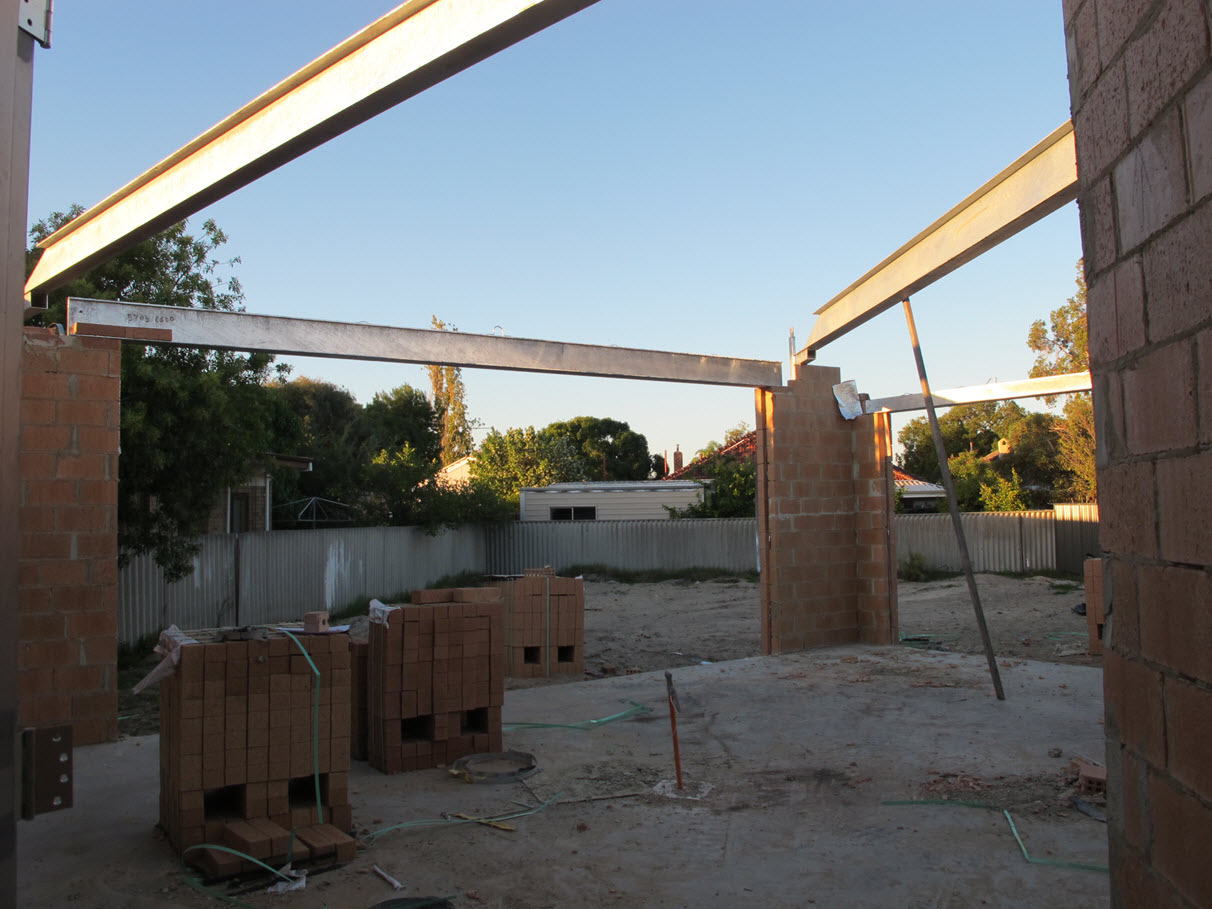
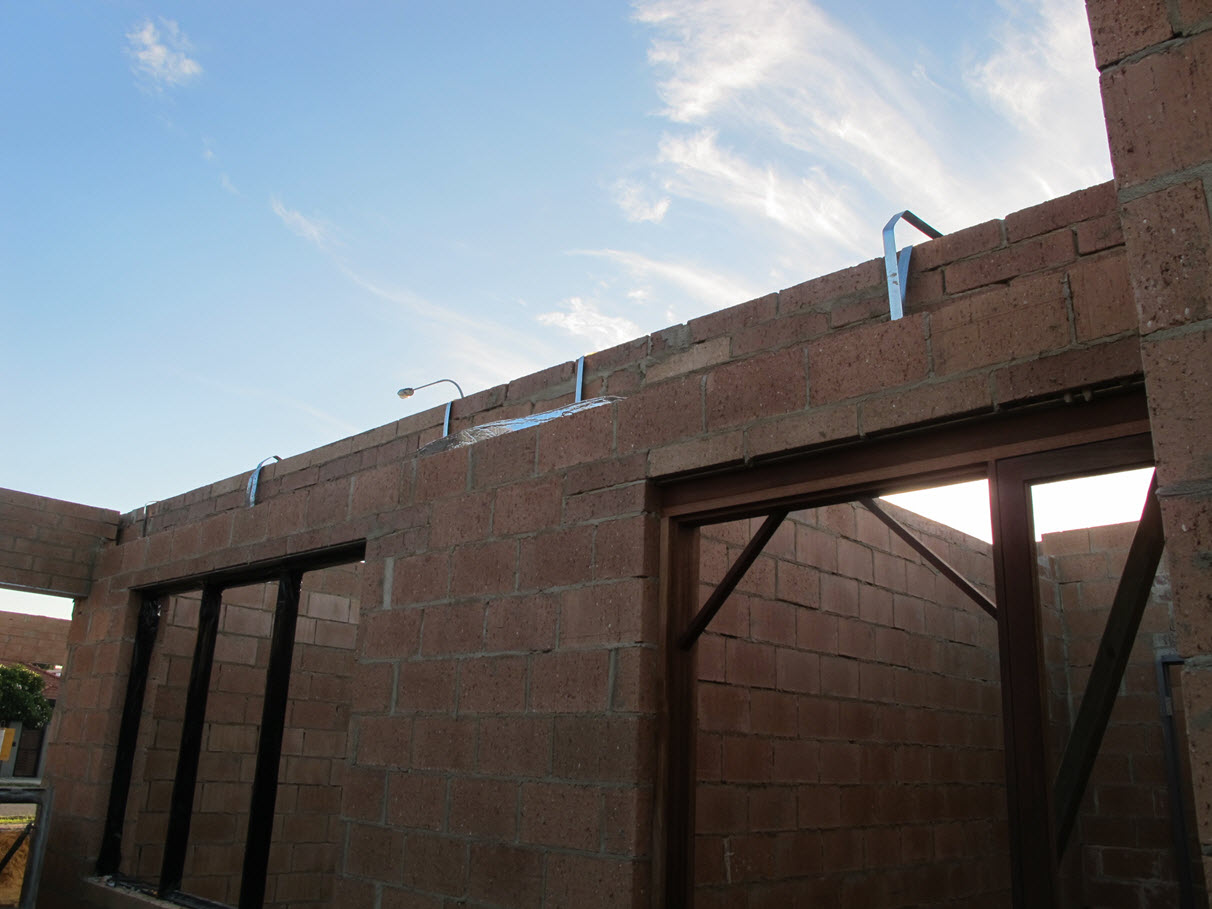
Open Plan Area
Another surprise was the steel beams in the living/dining/kitchen open plan area (really need to think of a shorter name for this zone).
It was a bit hard to capture it all in one shot, but there were 4 beams here: one each over the bifolds and stackers, and then 2 more over the long spans.
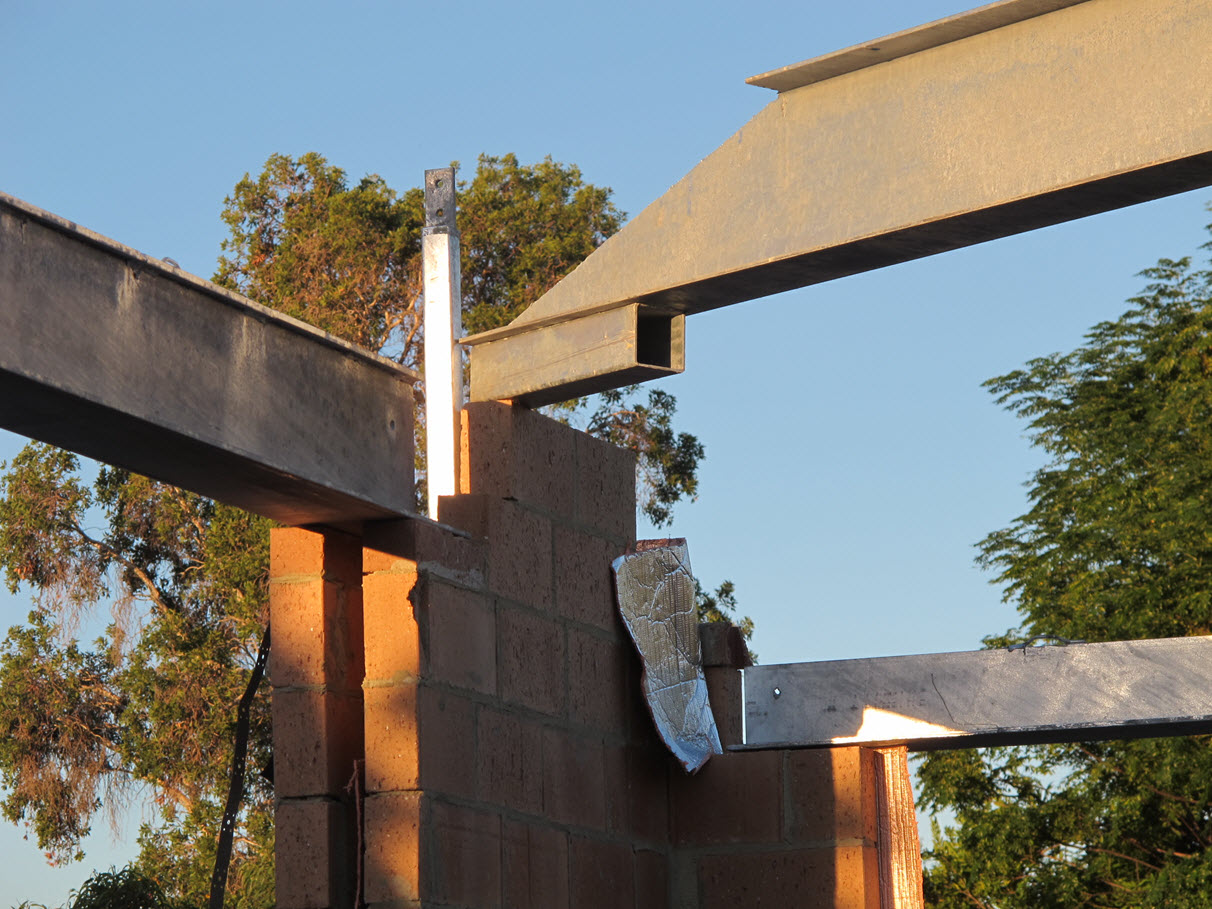
Here you can see where 3 of the beams meet up. I have to say, they looked quite precarious but I’m sure it would take more than a puff of wind to knock them down. In any case, I erred on the side of caution and didn’t walk underneath them!
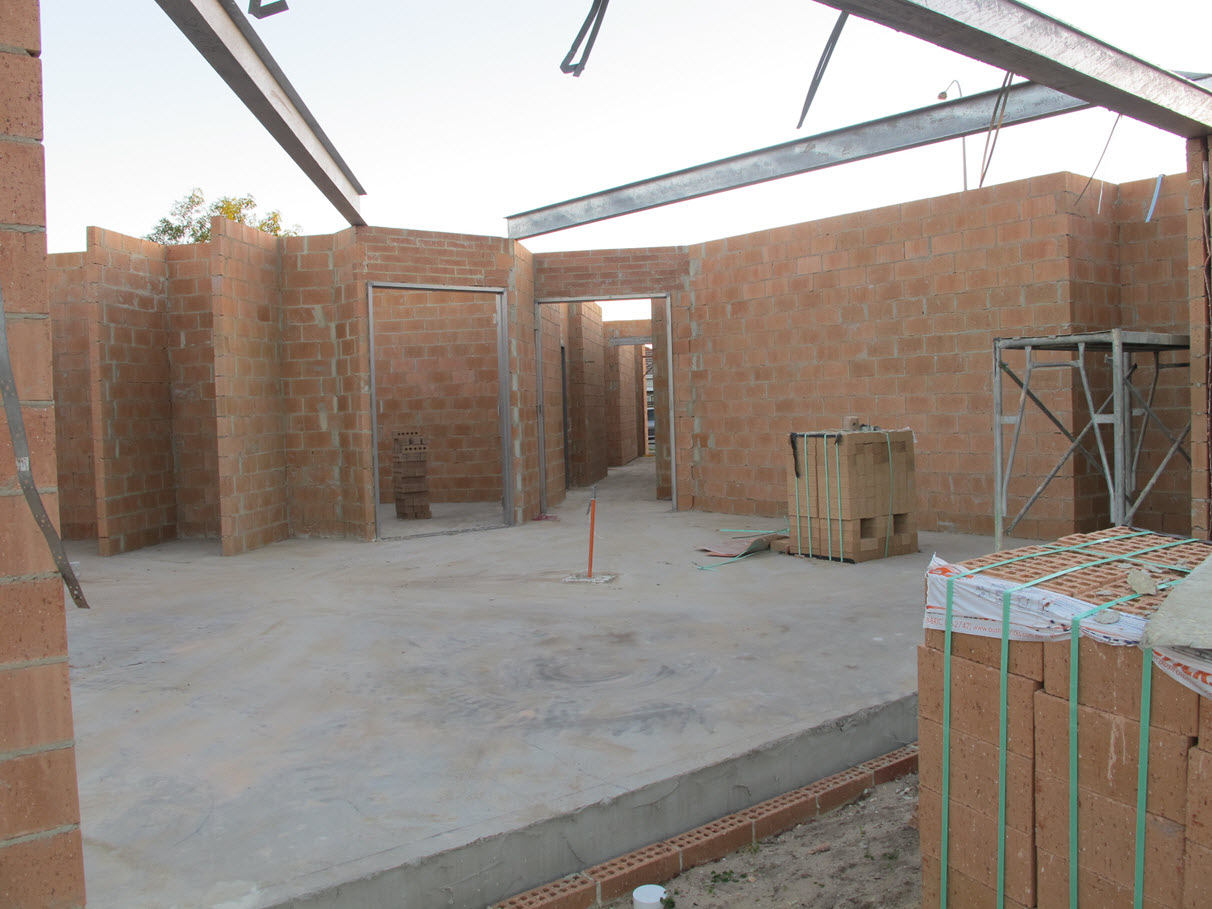
The arrival of the steel beams meant that the brickies could brick over these doorways too.

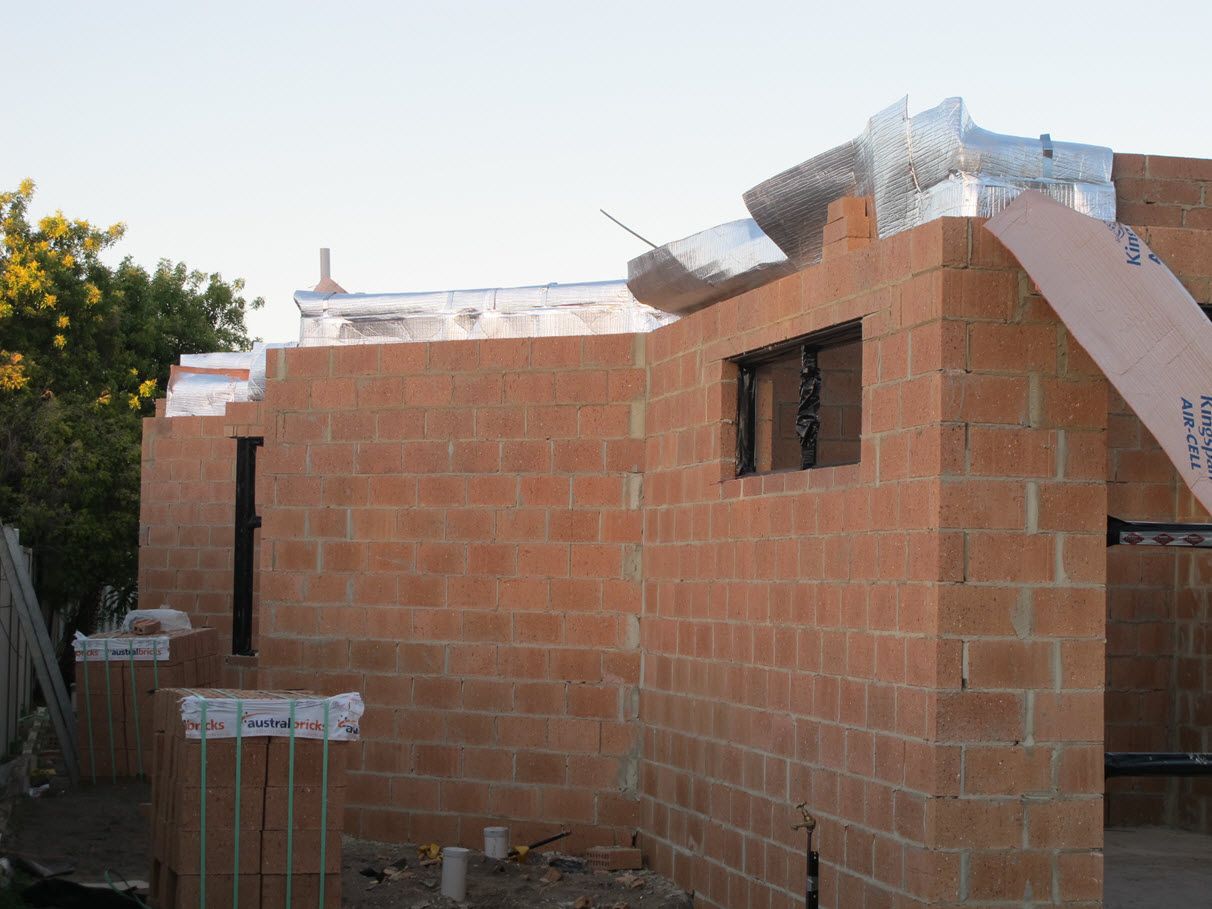
Insulation
Most of the wall insulation has also been done. For the insulation to work well, it should reach at least 200mm above the brickwork, so that it can overlap the insulation in the roof, leaving no gaps for air to get through.


Insulation done all the way down the left side of the house.
Some still to be done down the right side of the house.
It’s been mostly done, but there are some spots that need to be finished off.
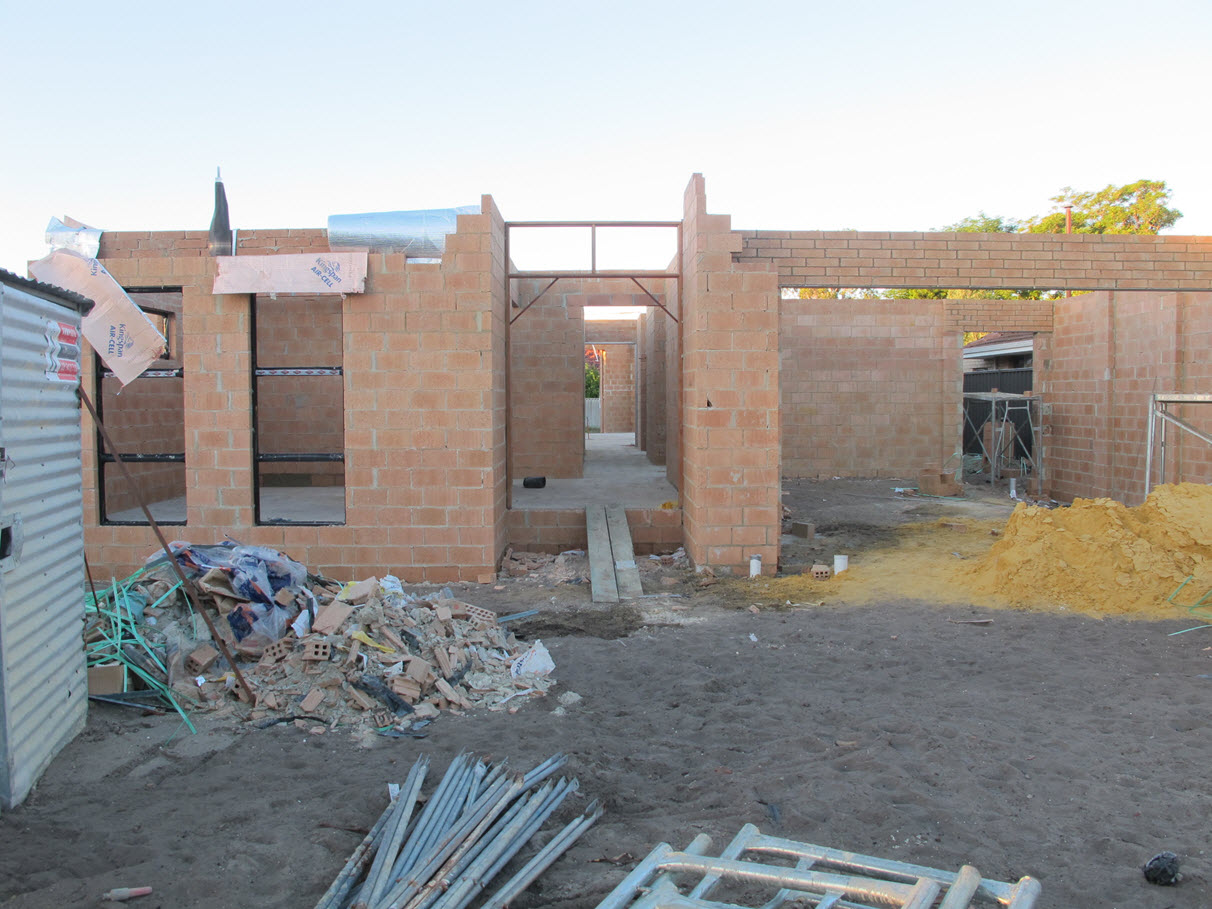
Wide Shots
Here are some full pics of the exterior as it currently stands.
Front of the house
Left side, from the front looking towards the back.

Right side of the house, view from the garage roller door.
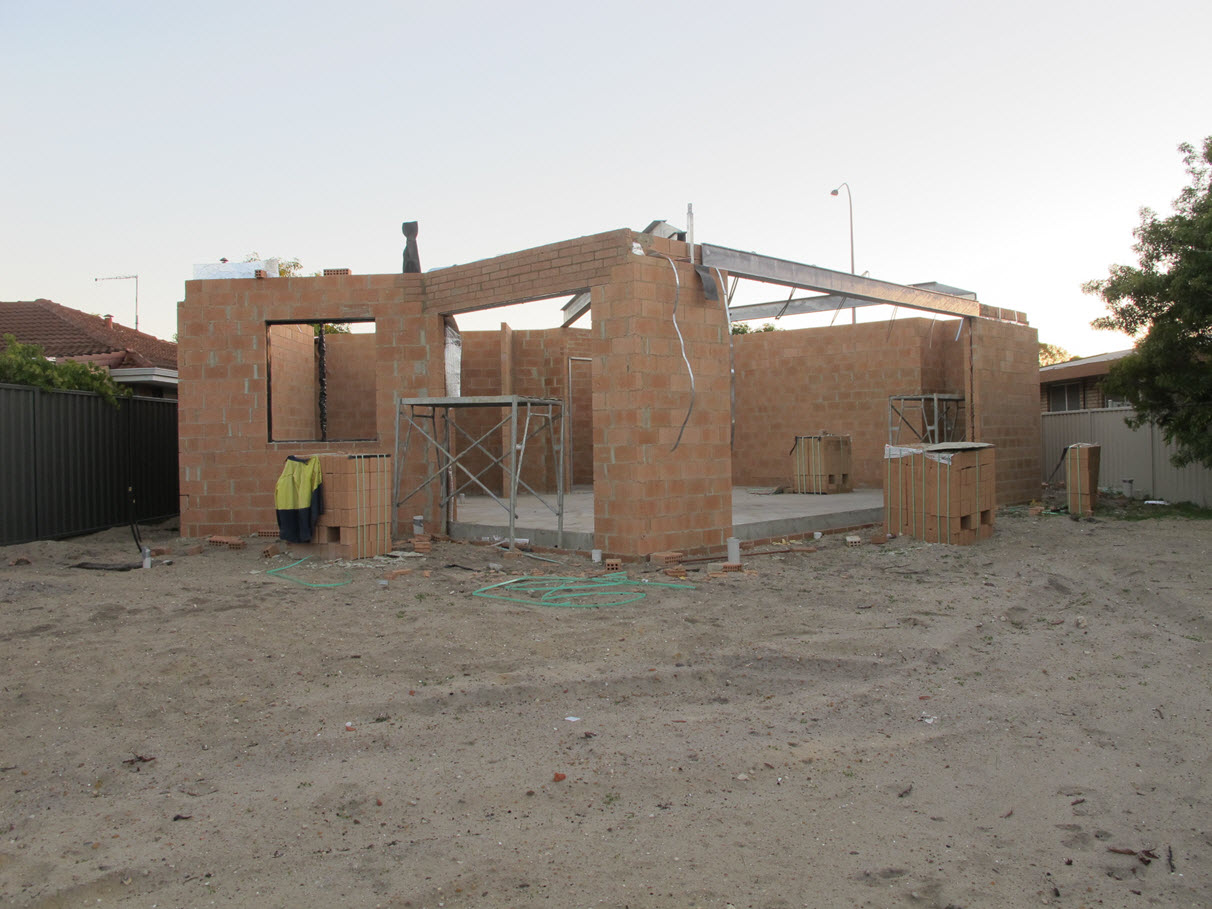
Rear of the house.
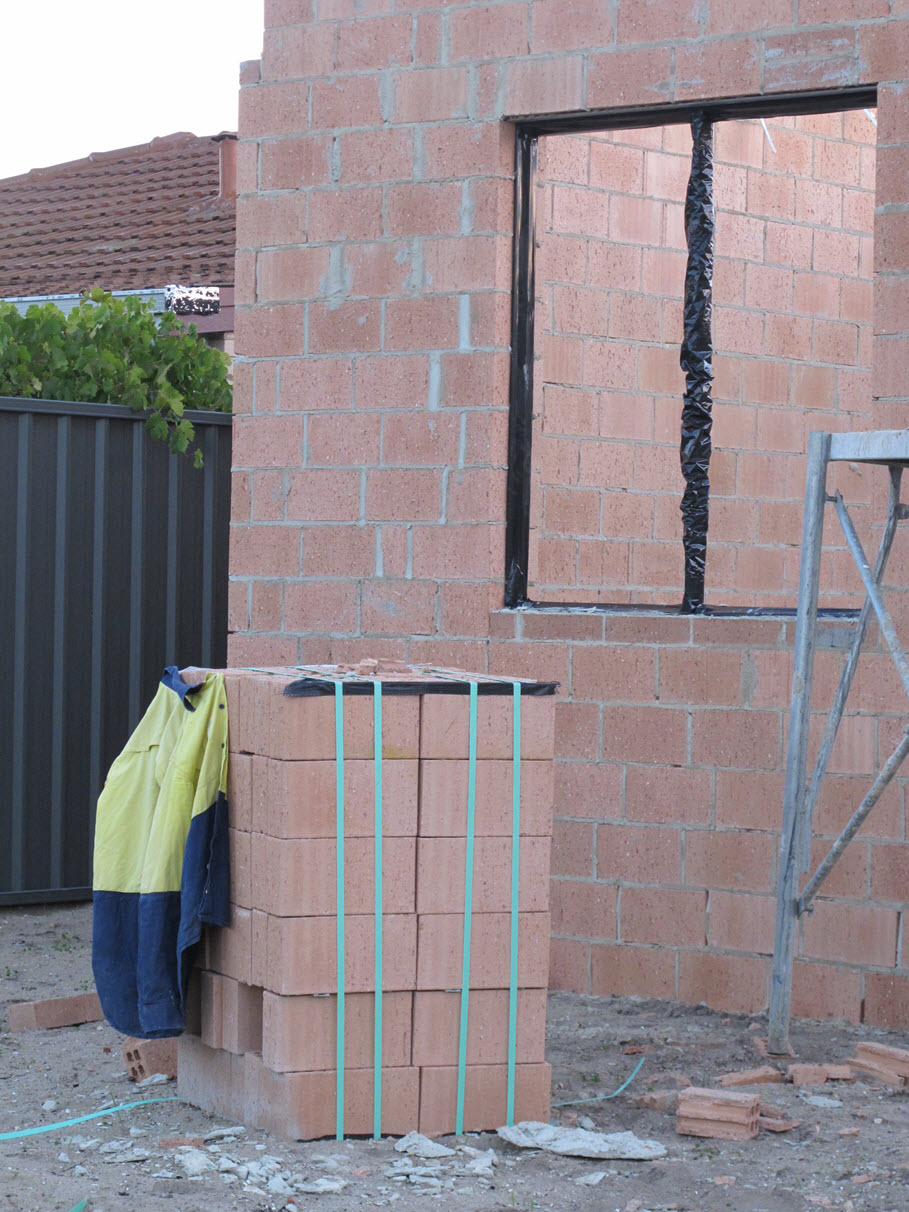
Brickies lonely high-vis vest 🙂

Back yard to be landscaped.
And with this epic post, I think I’ve caught up on the week’s progress. Phew!


Nice report Trixee. I can follow all that.
Thanks Jo 🙂