


When we first received our house design, we knew it was going to be a bit unusual due to the unfortunate orientation of the block. In my blissful ignorance, I didn’t consider the challenges it would introduce during the building process. One of these challenges is an interesting roof line.

The elevations above give you some idea of what the roof carpenters are facing. The good news is that it’s only down one side of the house, so the other side is fairly straightforward.
So yesterday they started on the roof, and today we saw the first pitched beams. Made my heart flutter just a little. One of my readers asked me to take some detailed pictures, so here they are. Let me know if there’s a particular area you want me to focus on.
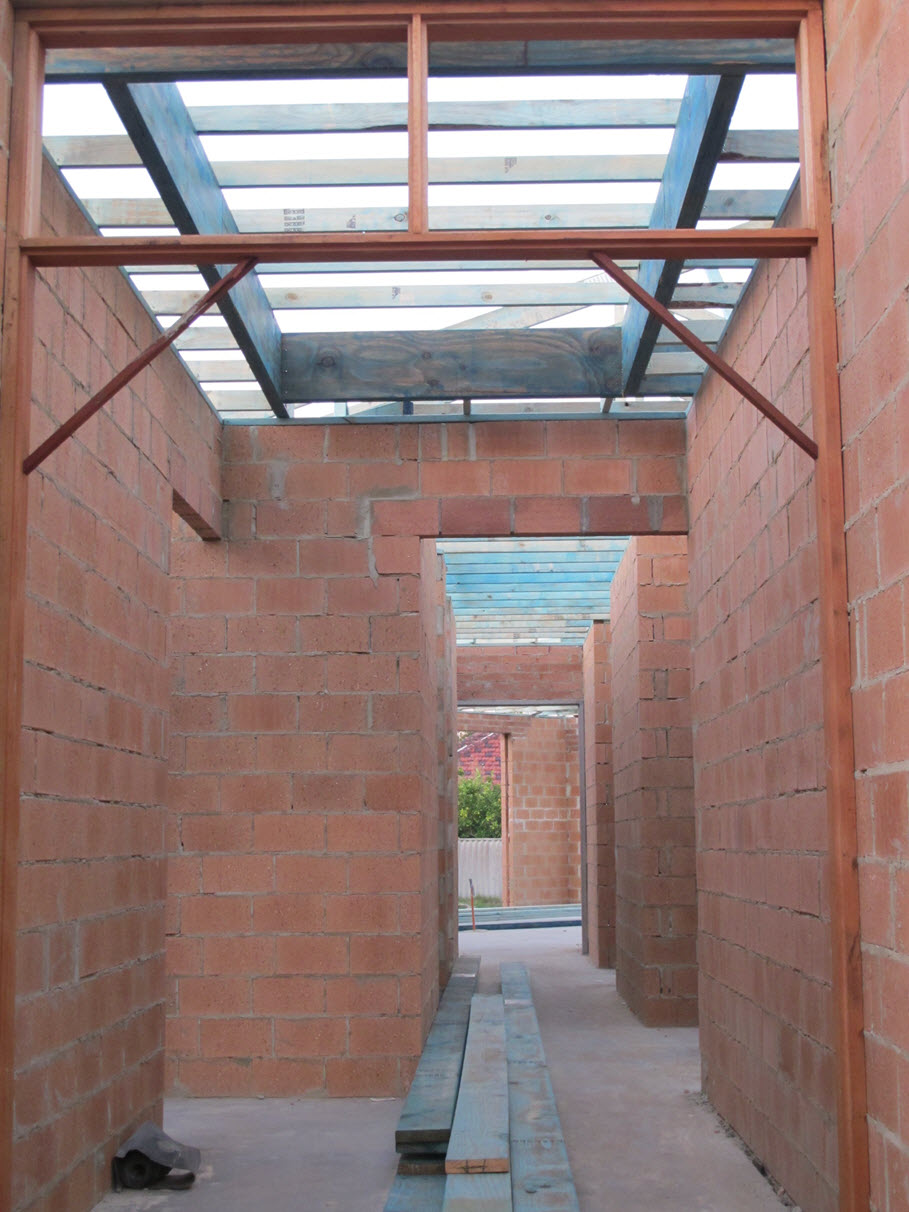
Looking into the entryway towards the back.
An inkling of more to come. This is looking upwards from the entrance to the open plan area.
This is looking up from my study, I think.

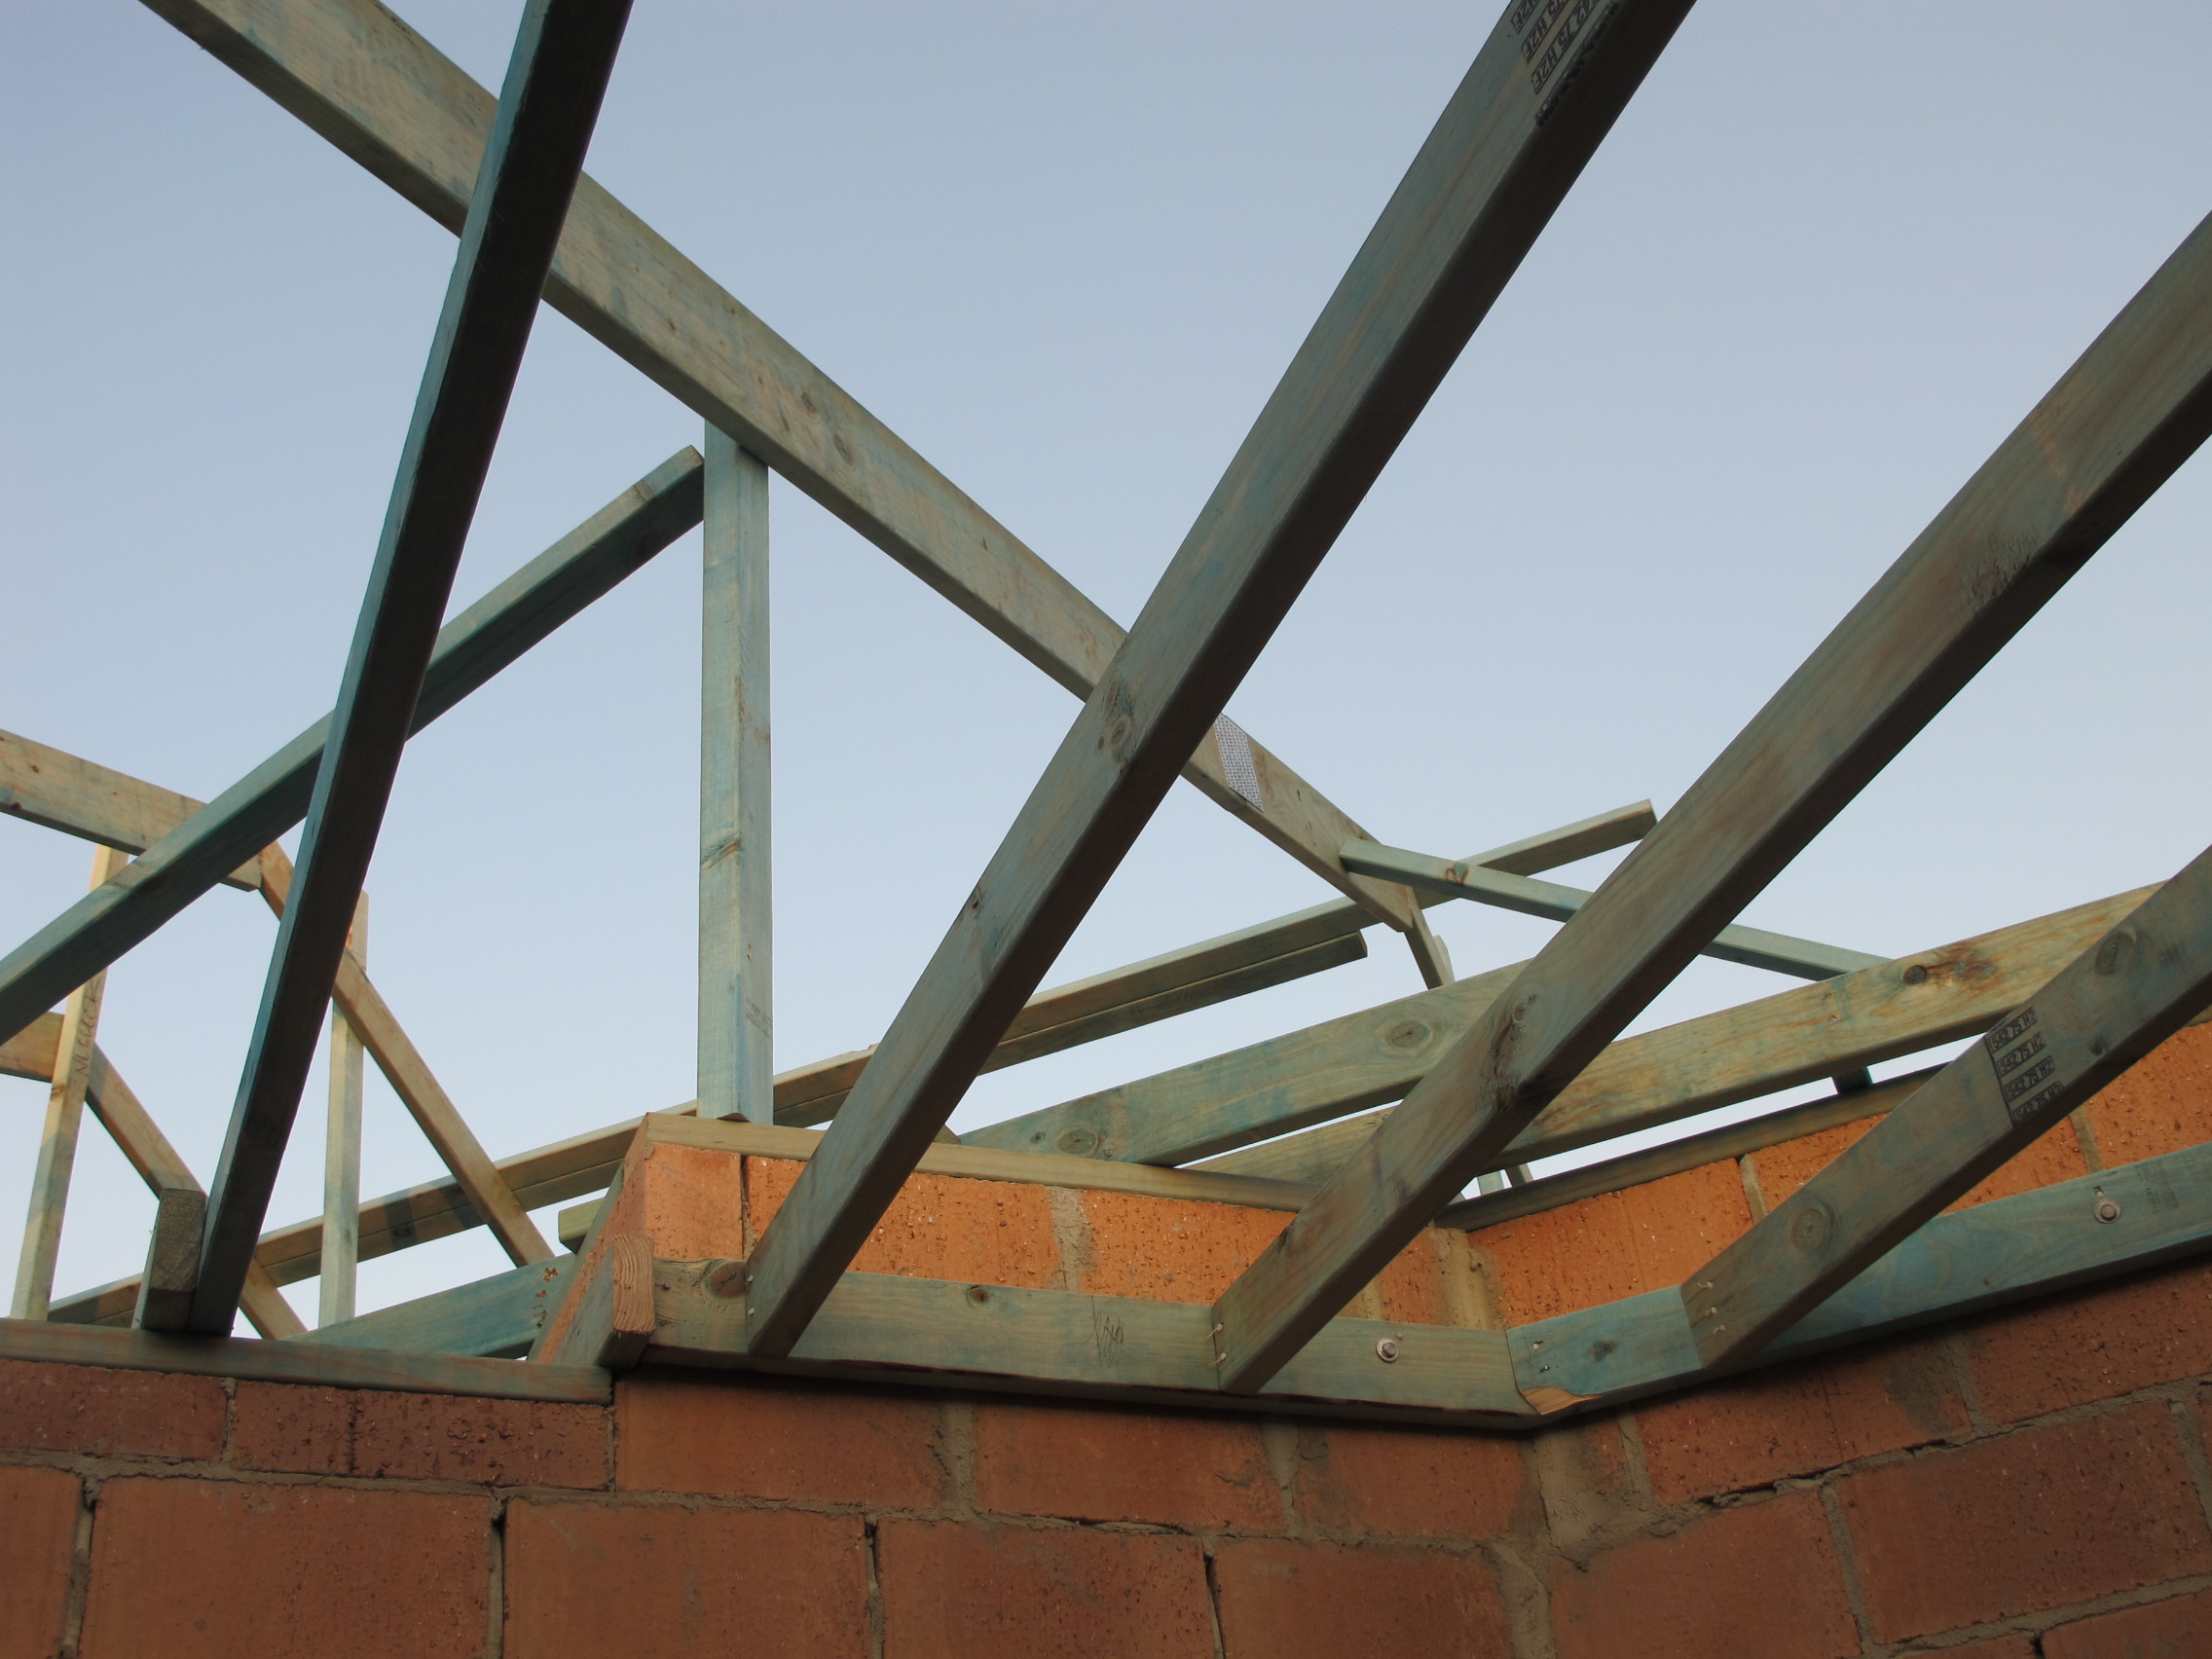
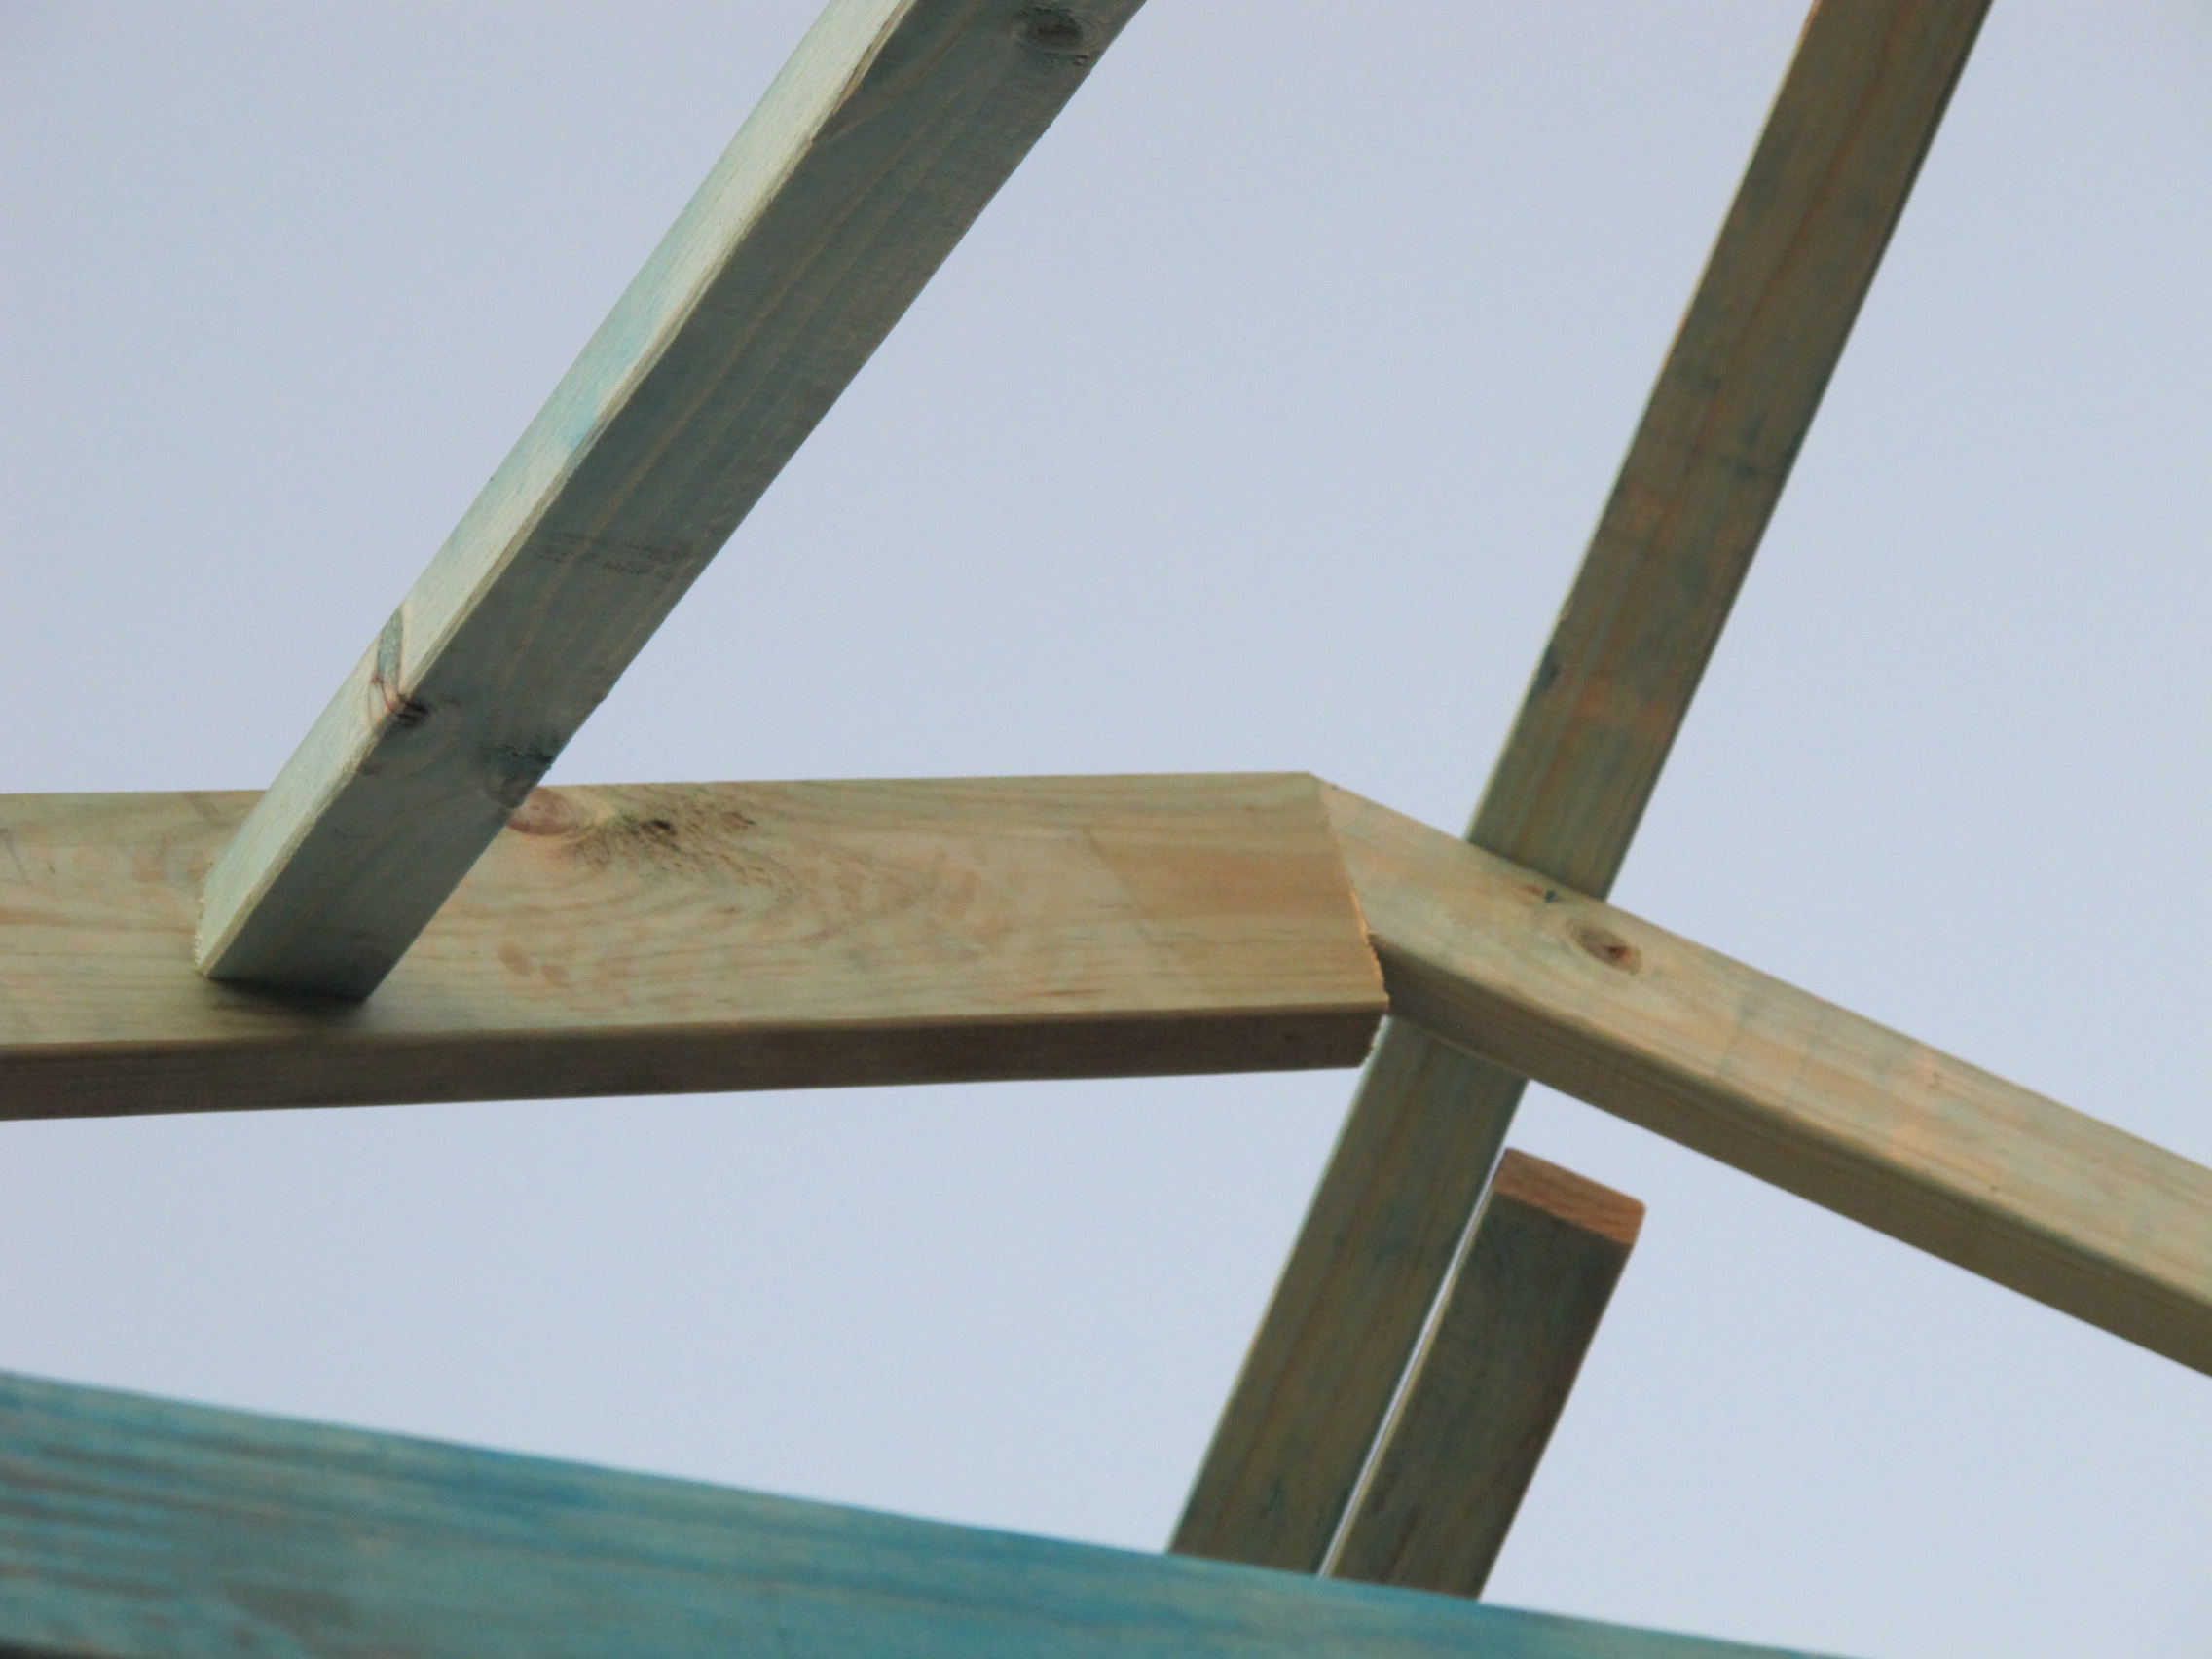
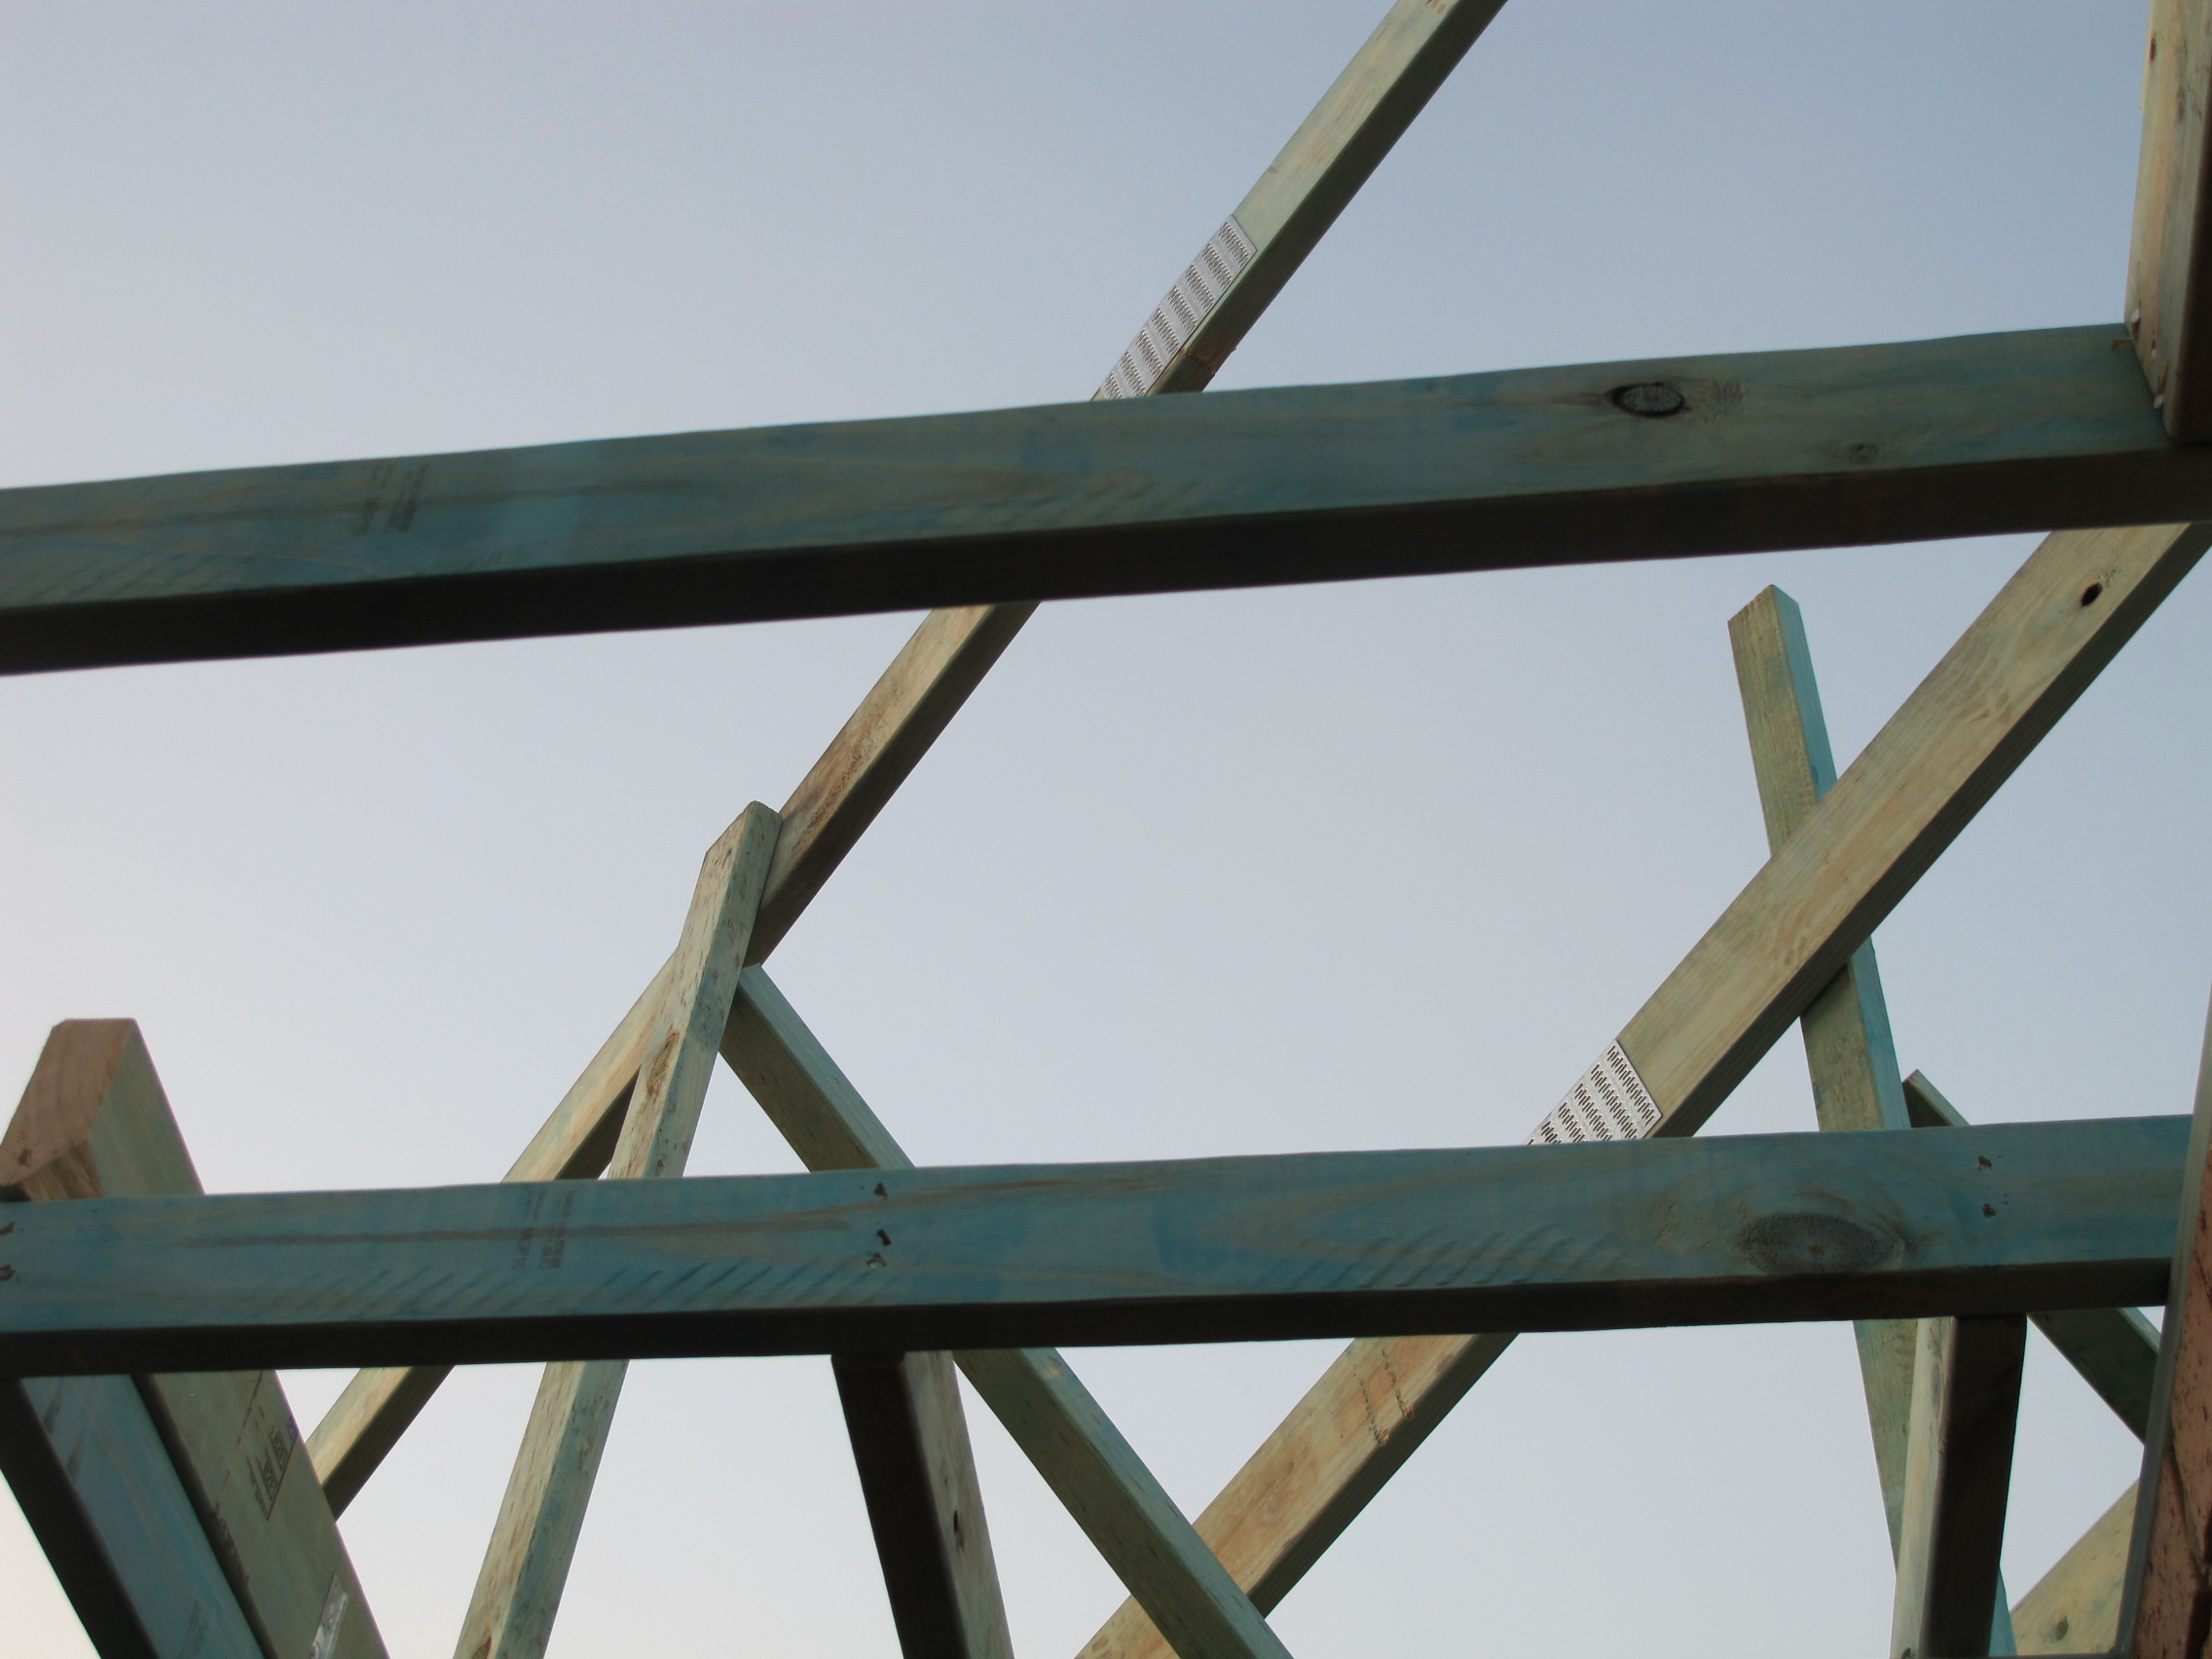
Interesting cutout. By this point I have no idea what I’m looking at.
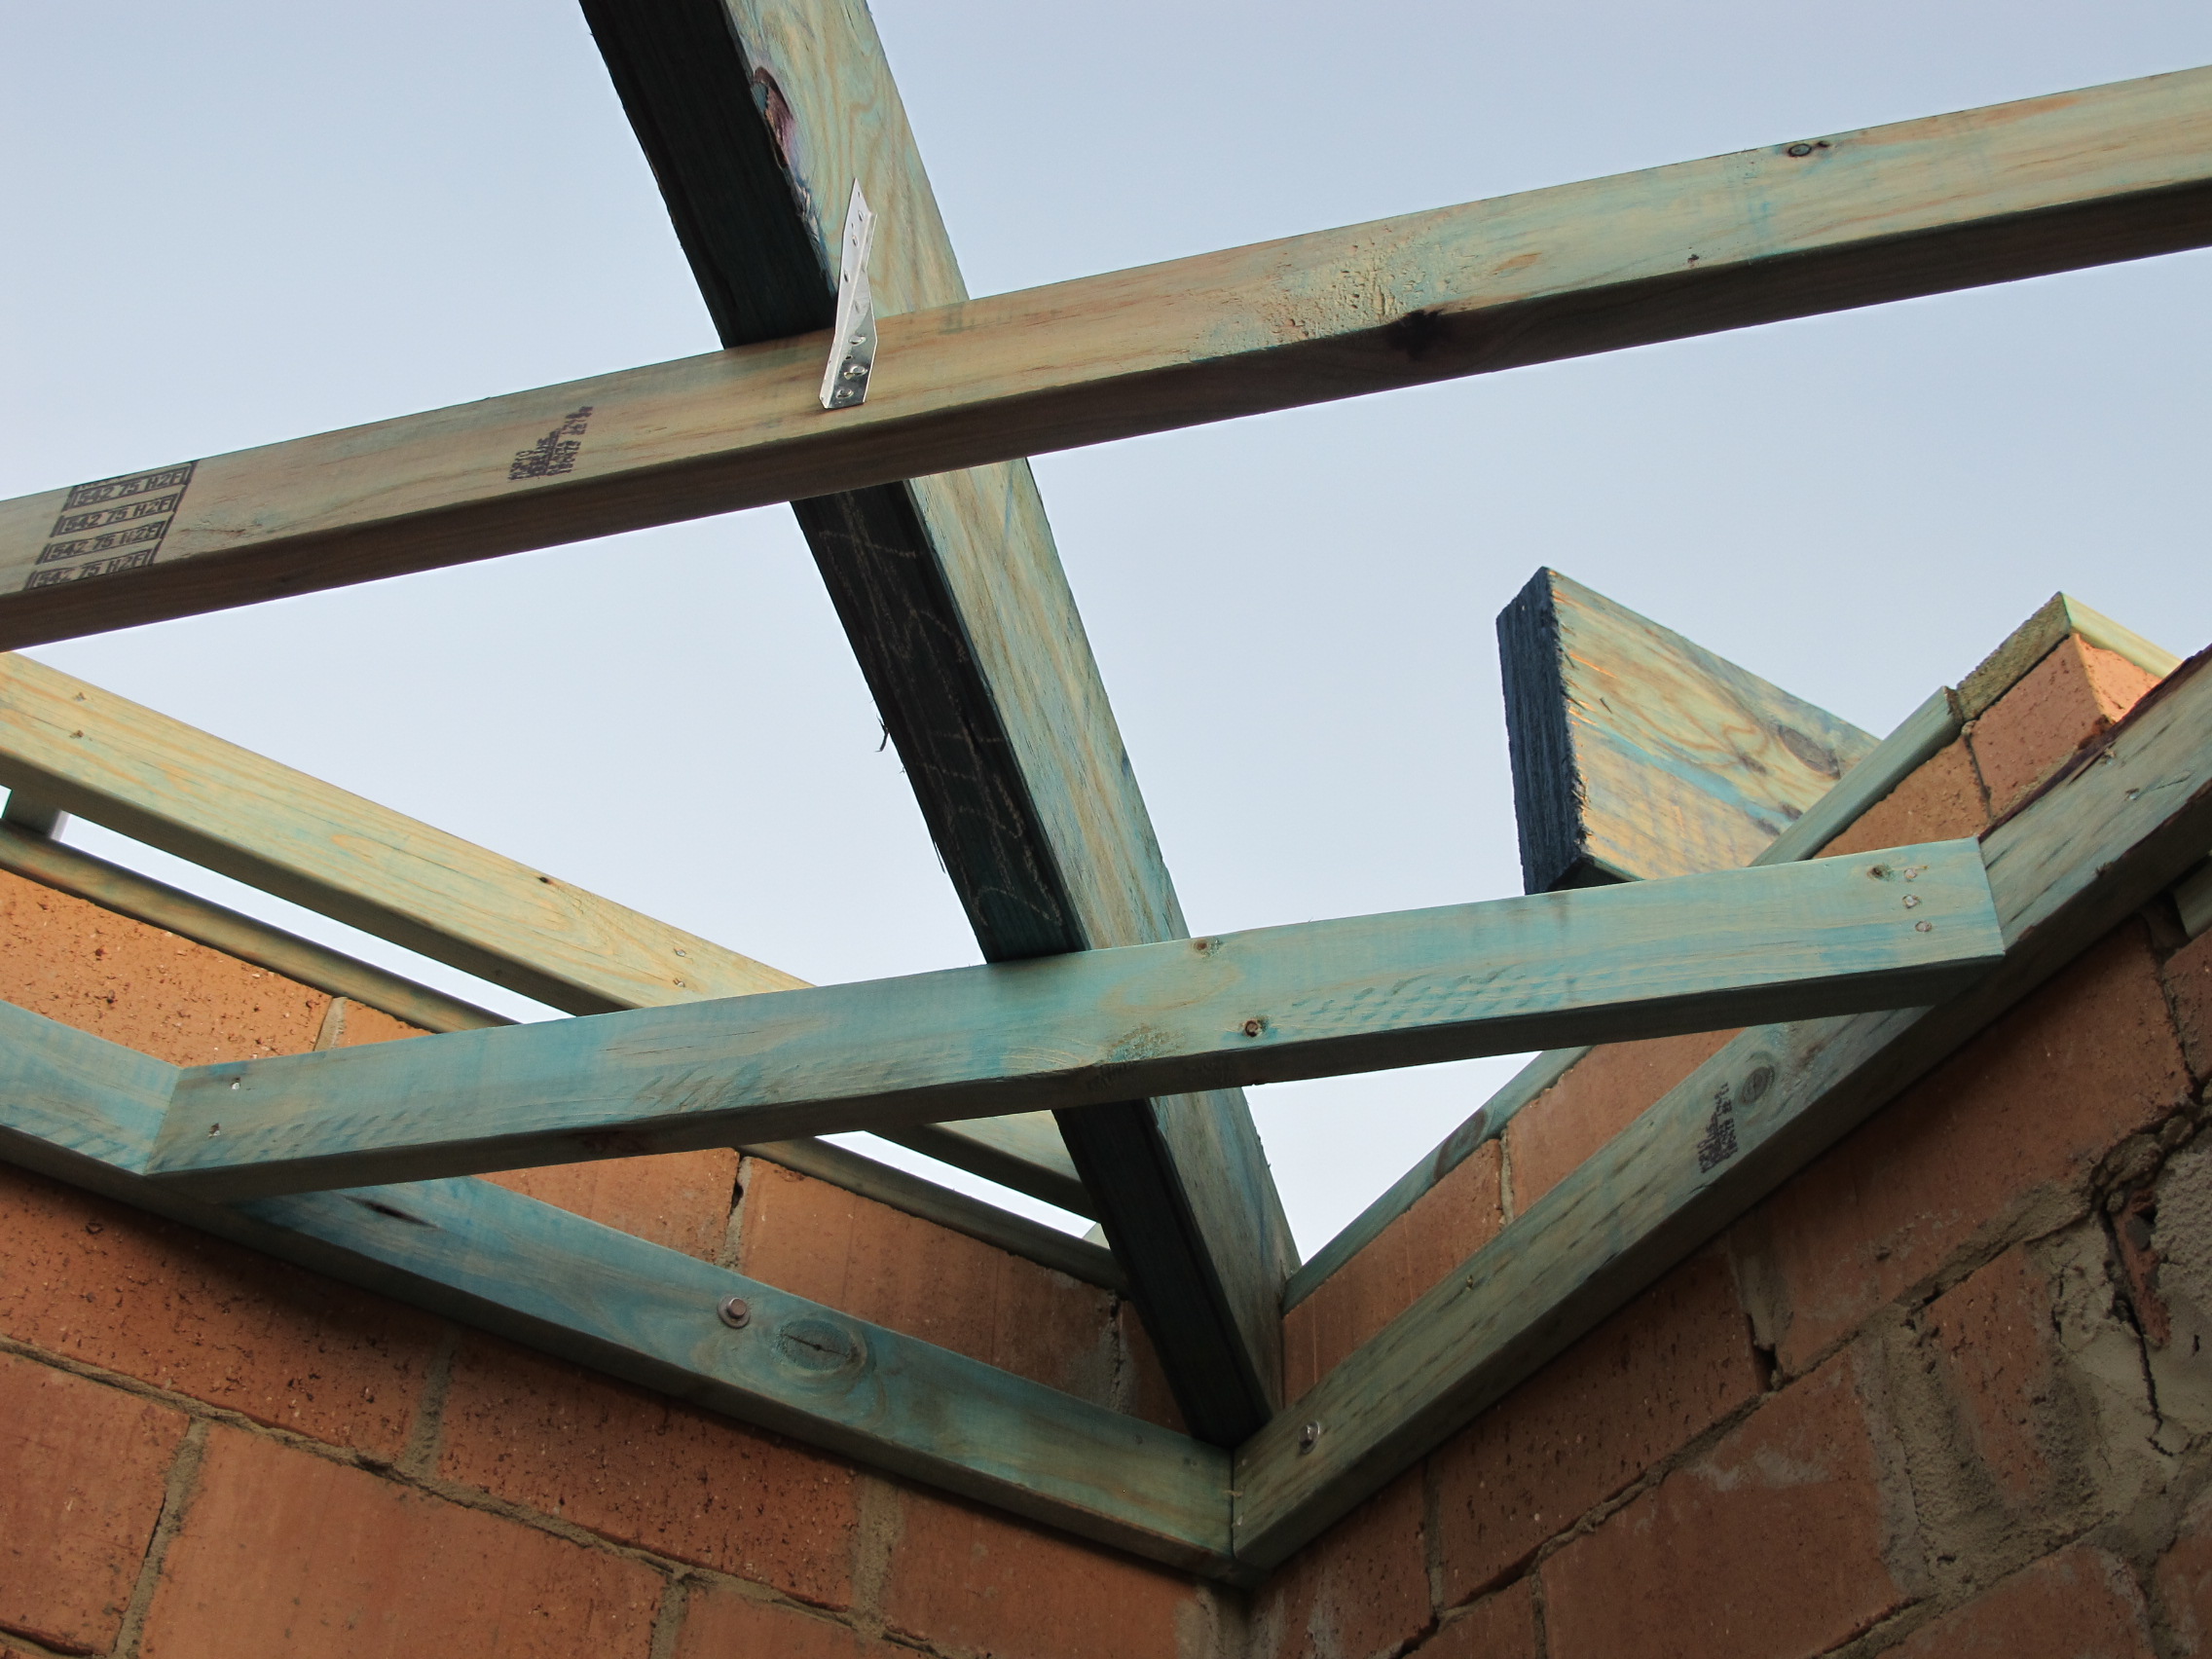
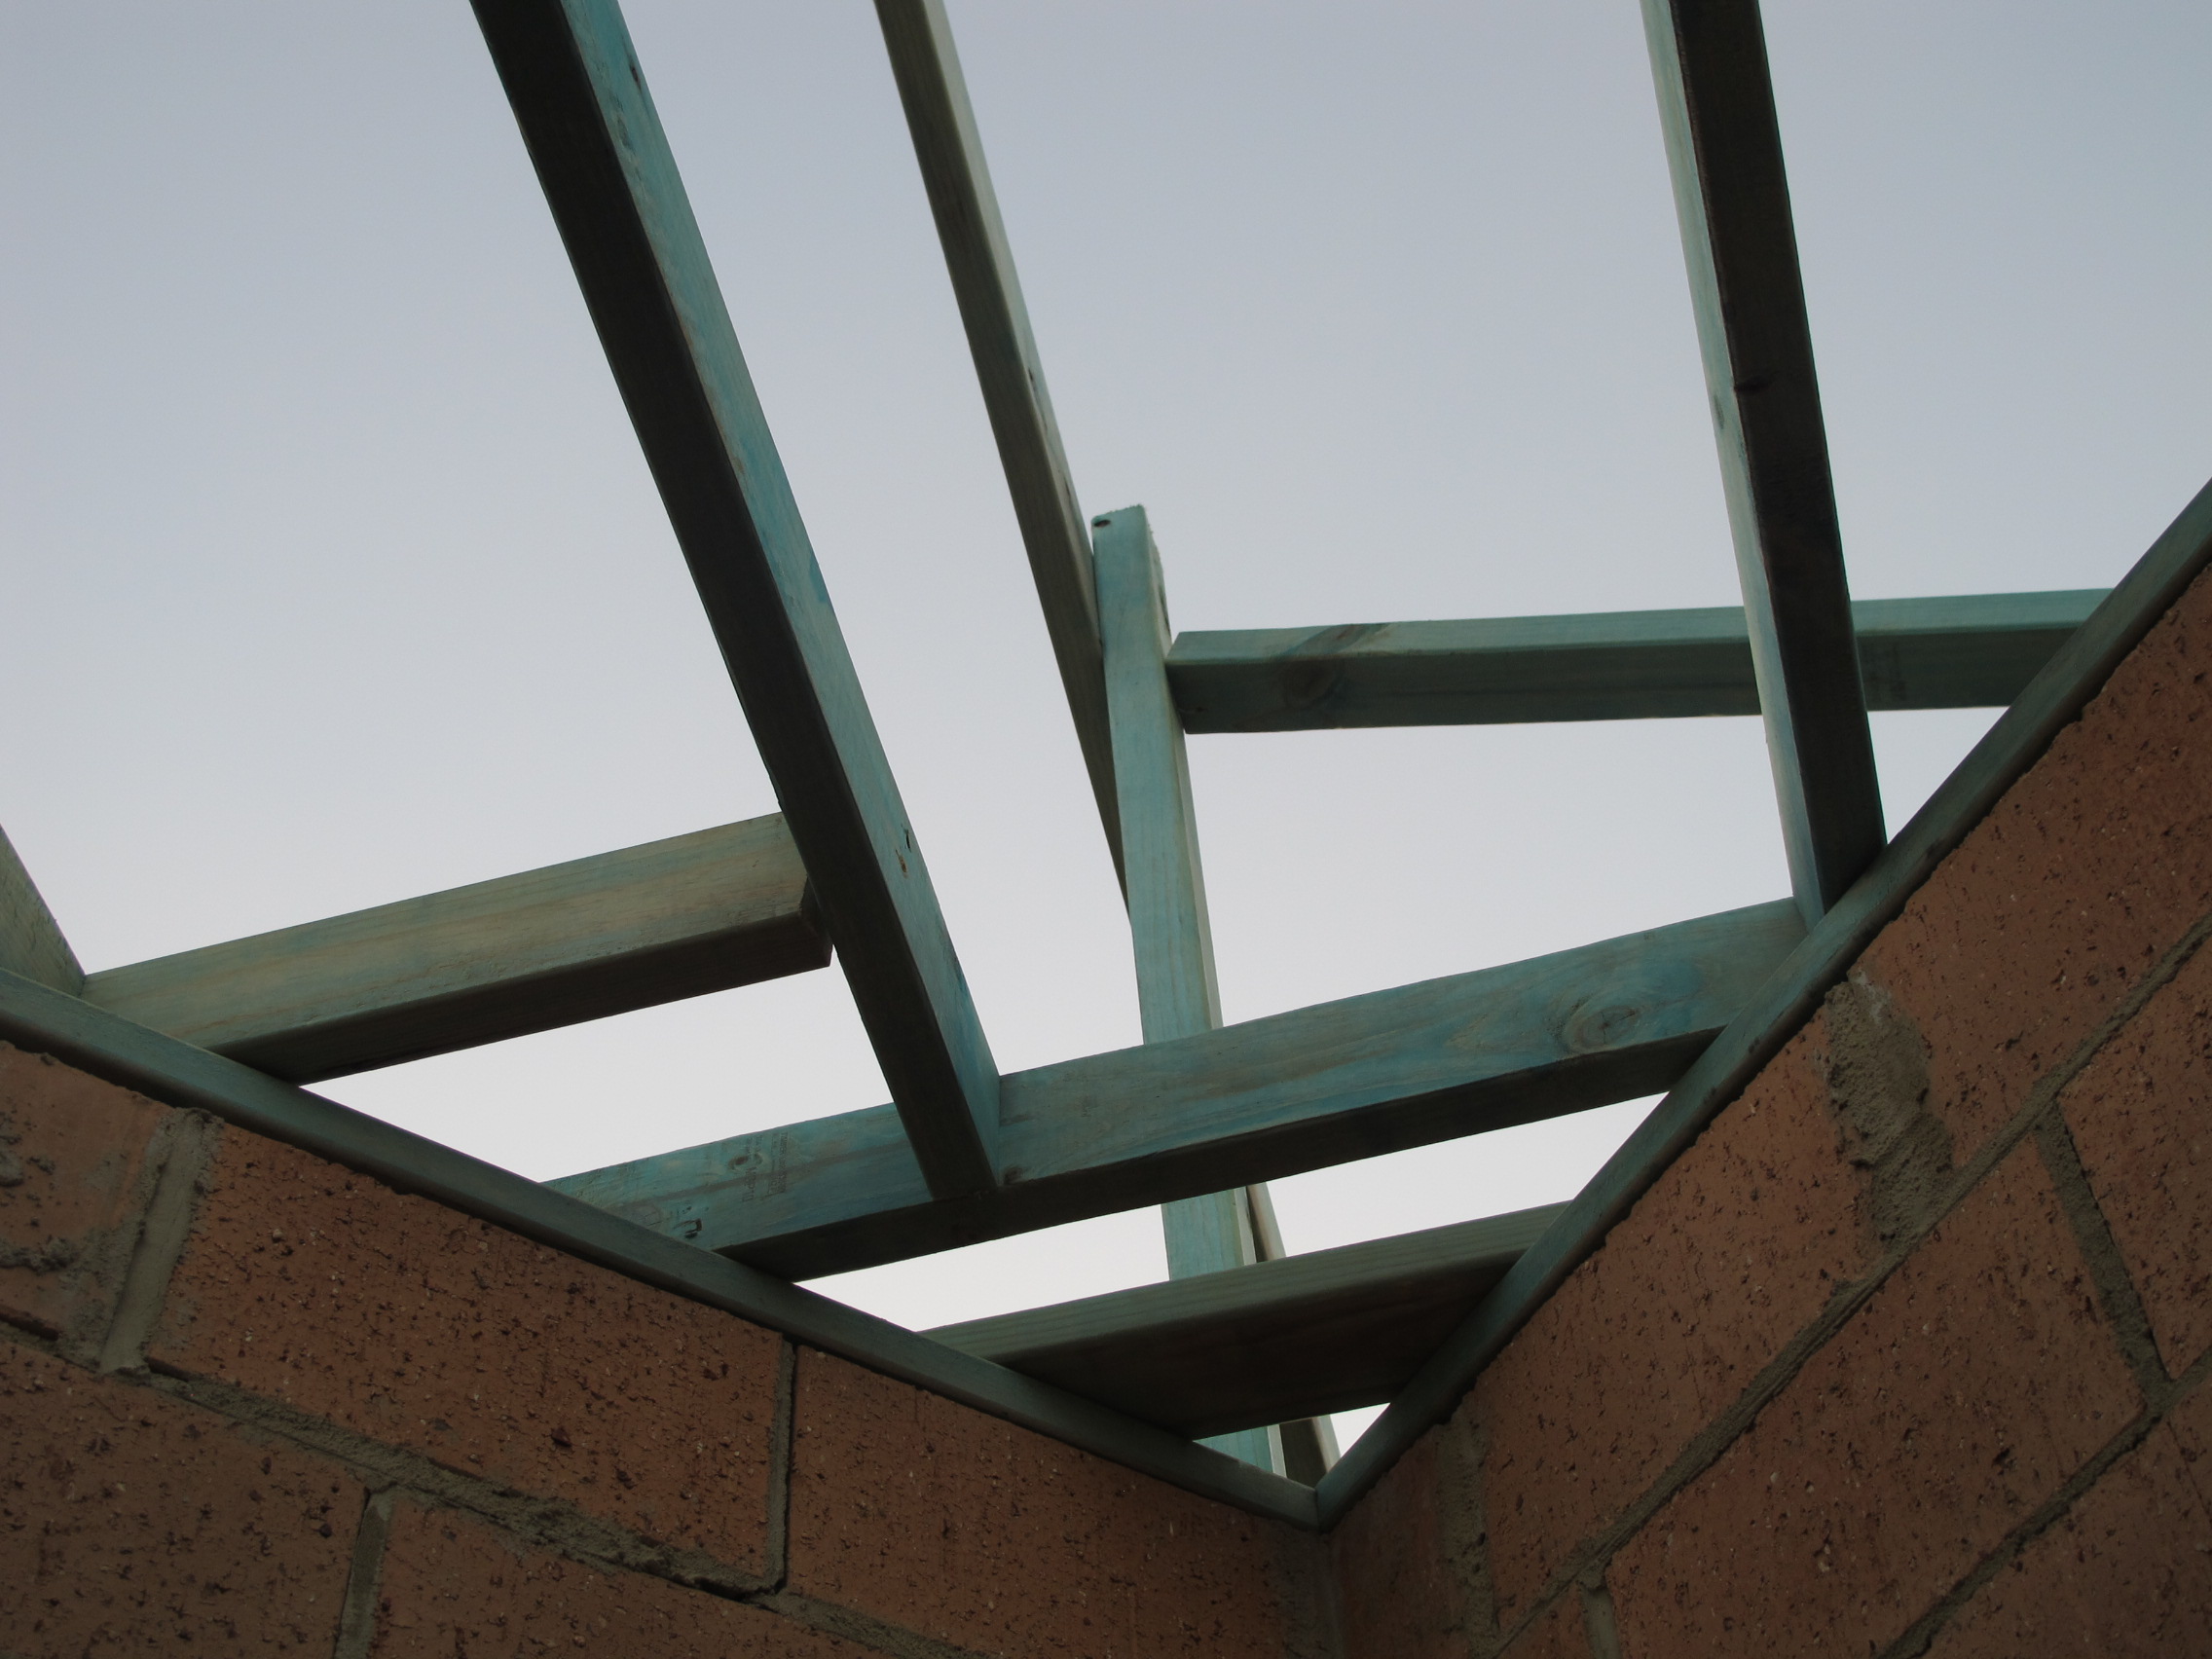
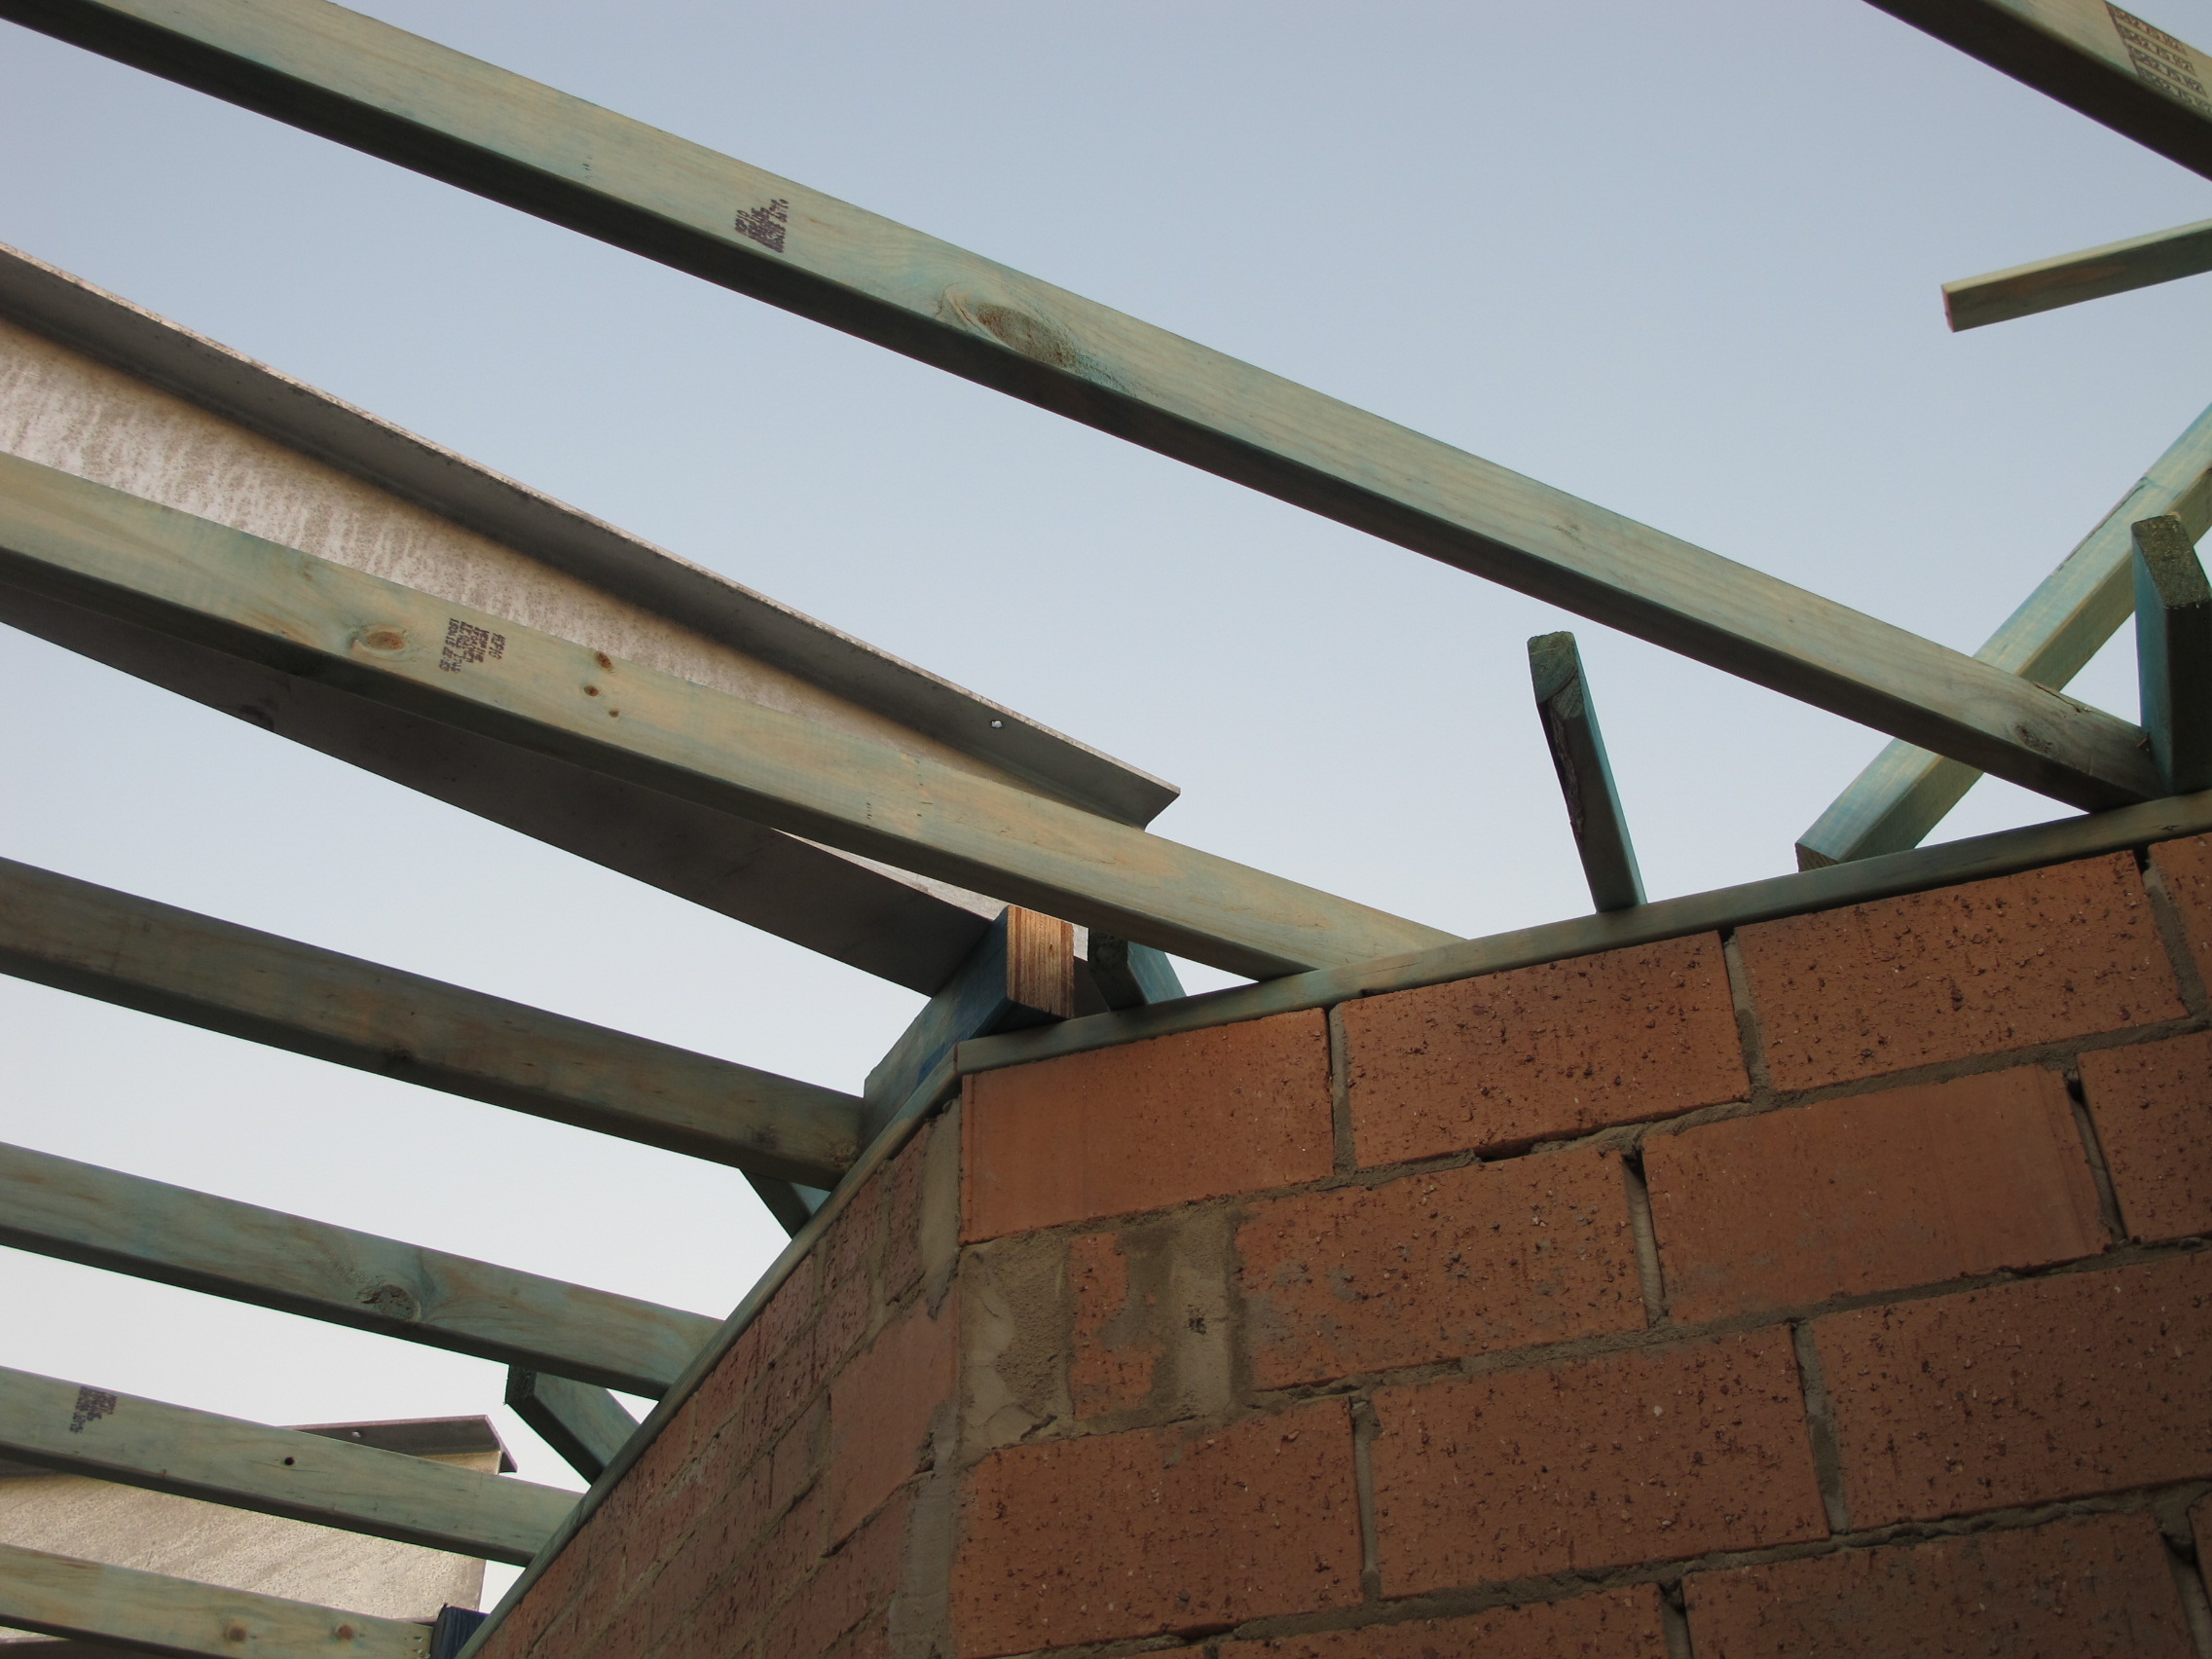
This is looking up from my study again, I think, from the pointy corner.

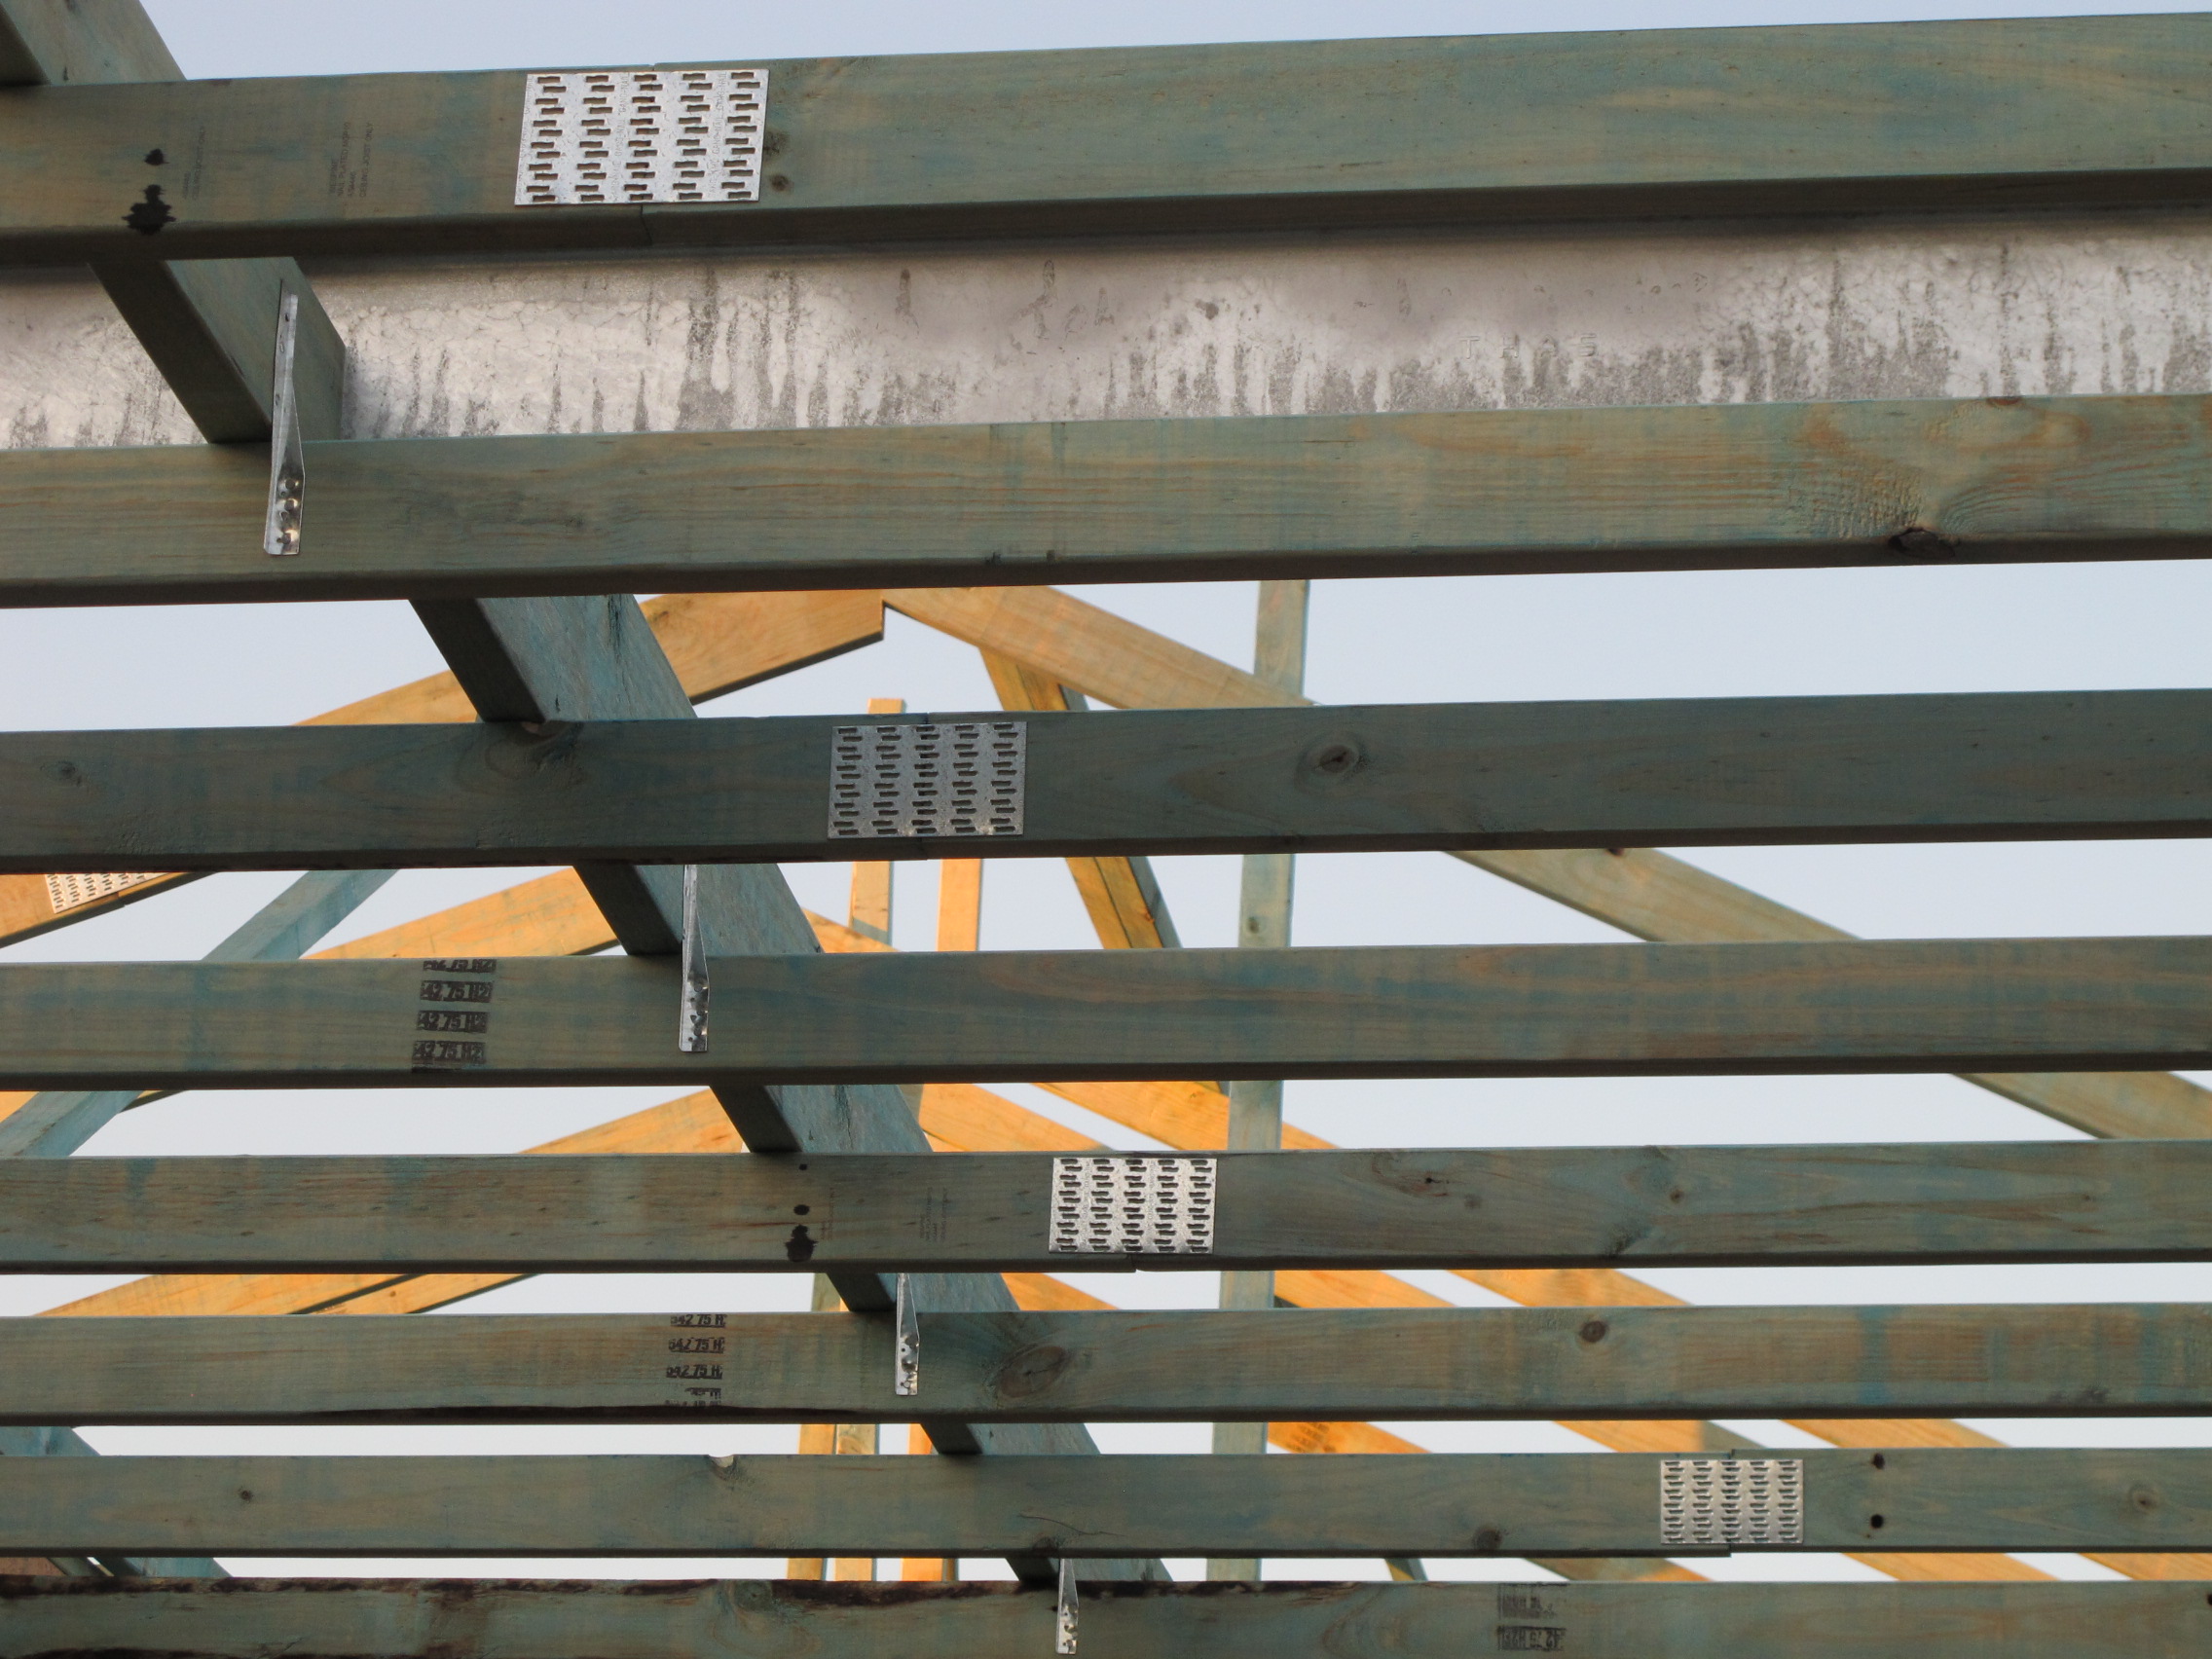
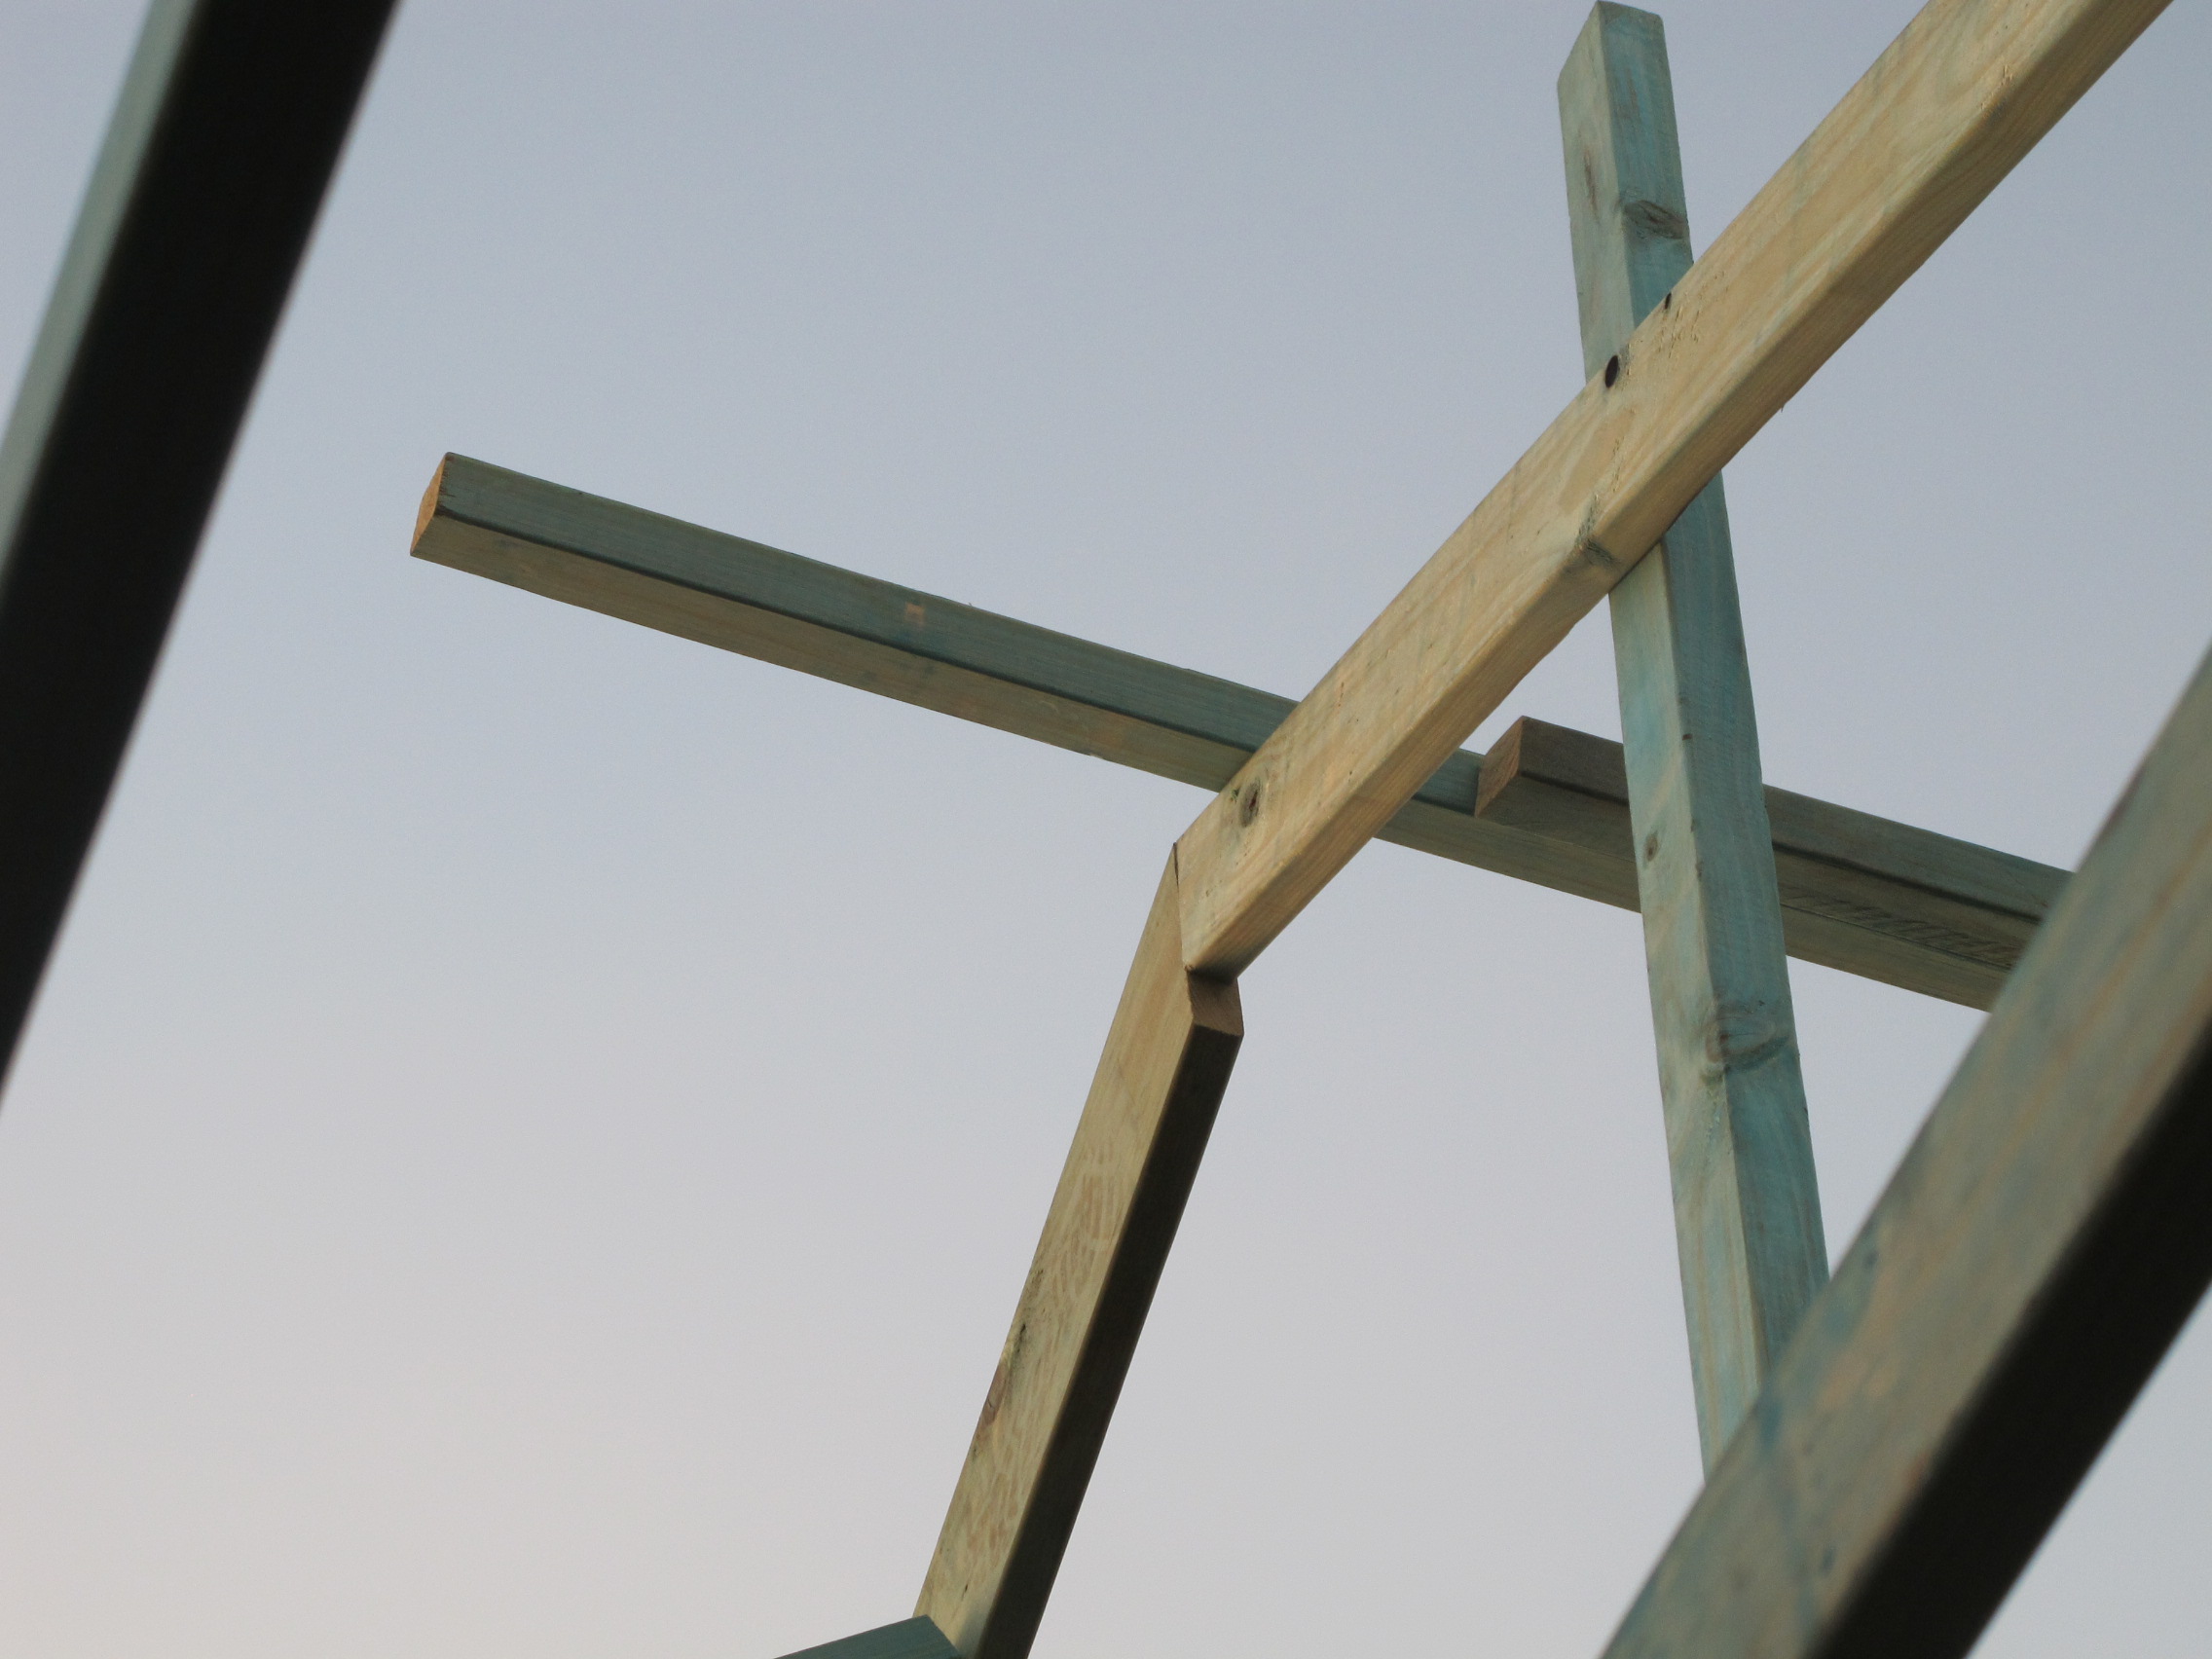
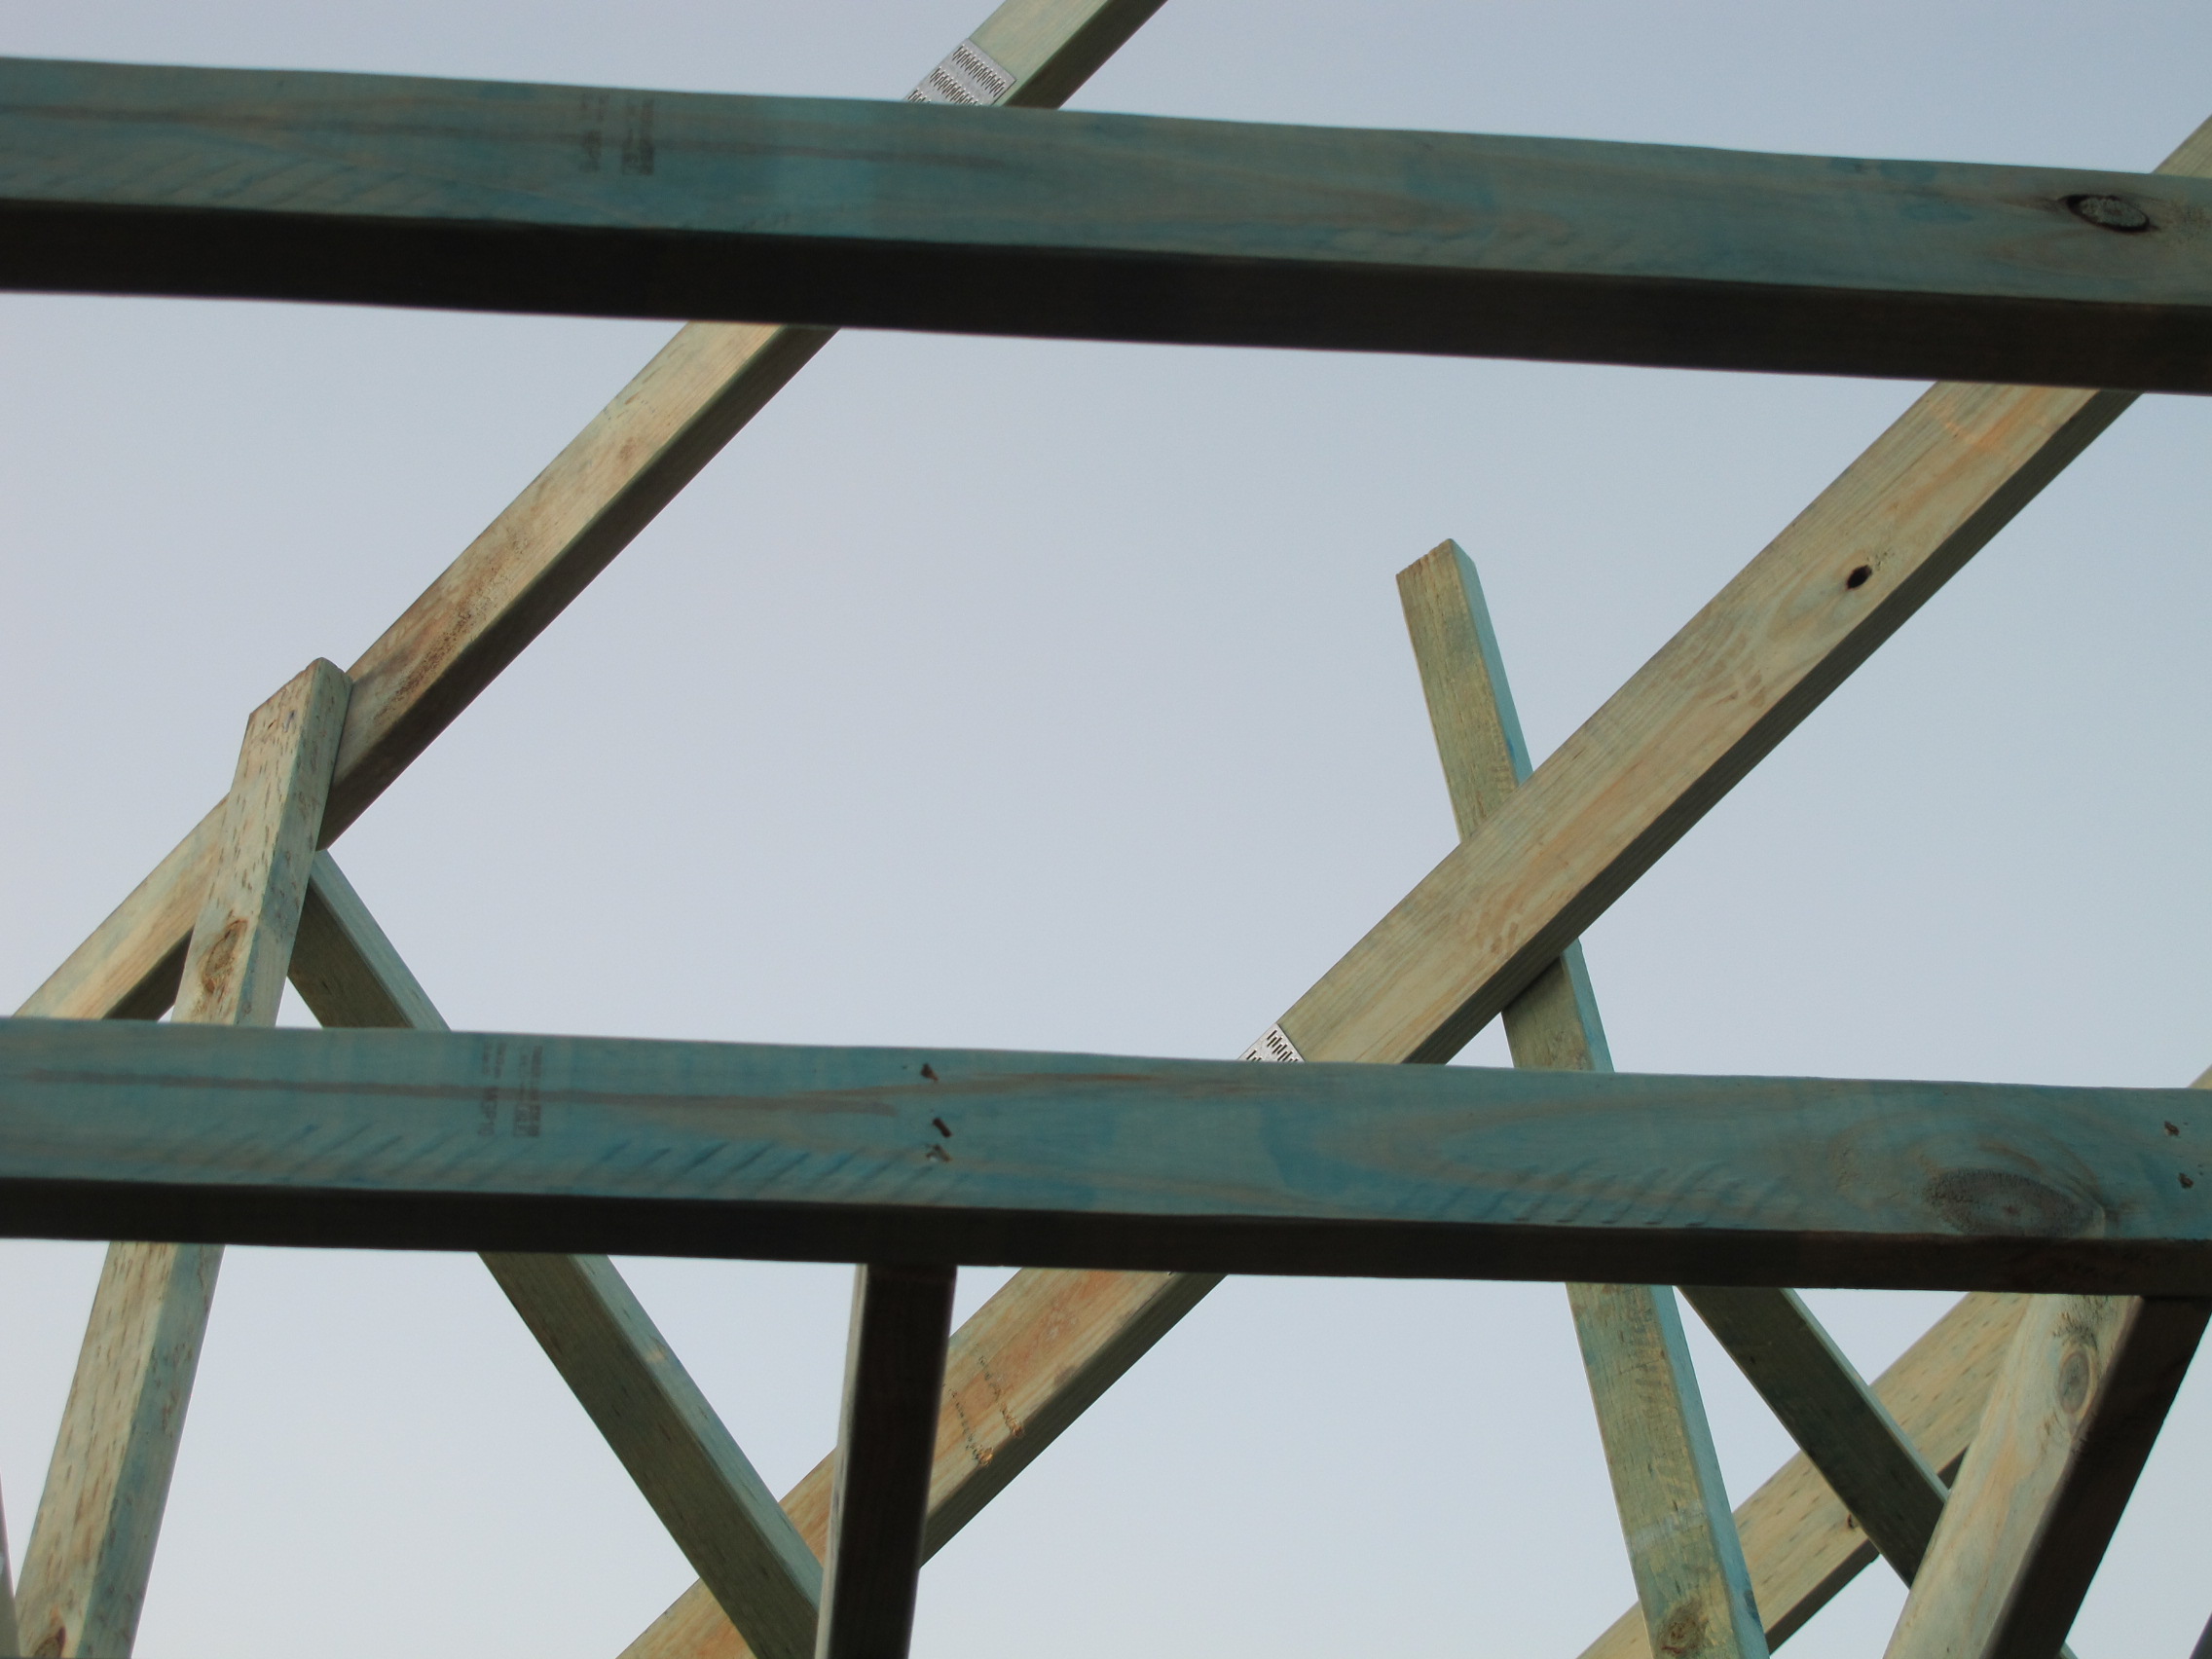
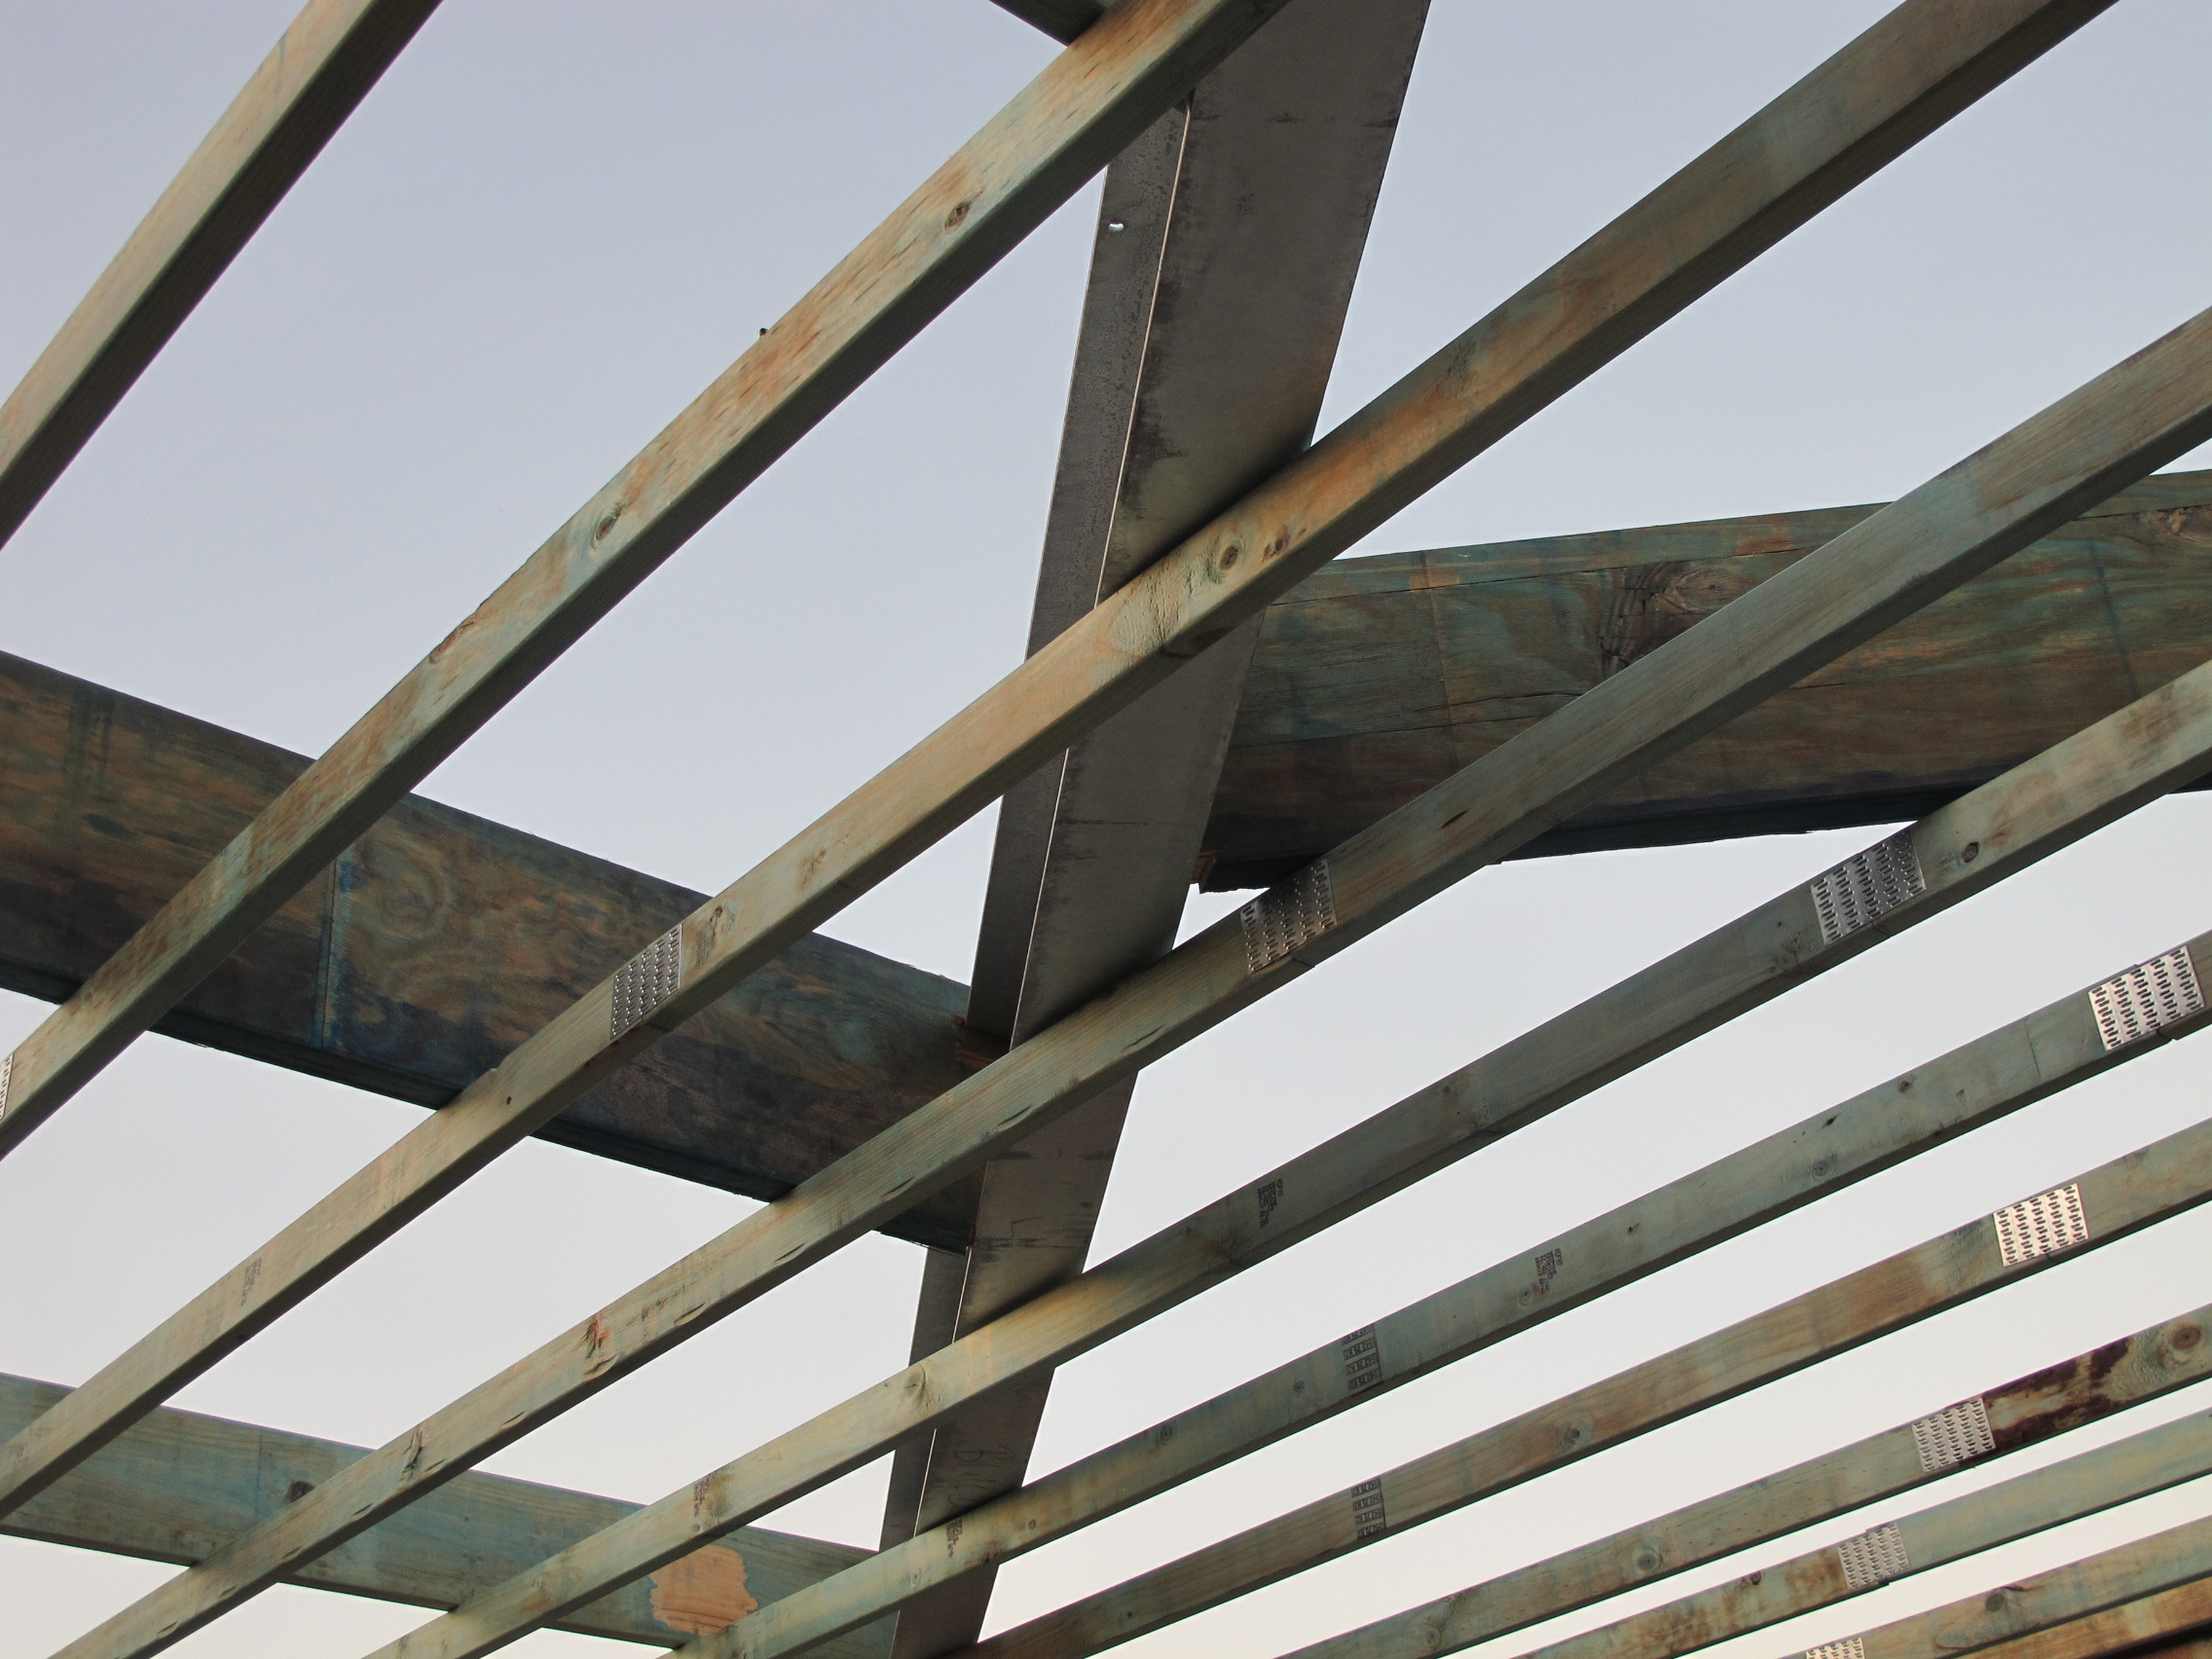
More joinery. I must say, I’m finding these photos quite sculptural.
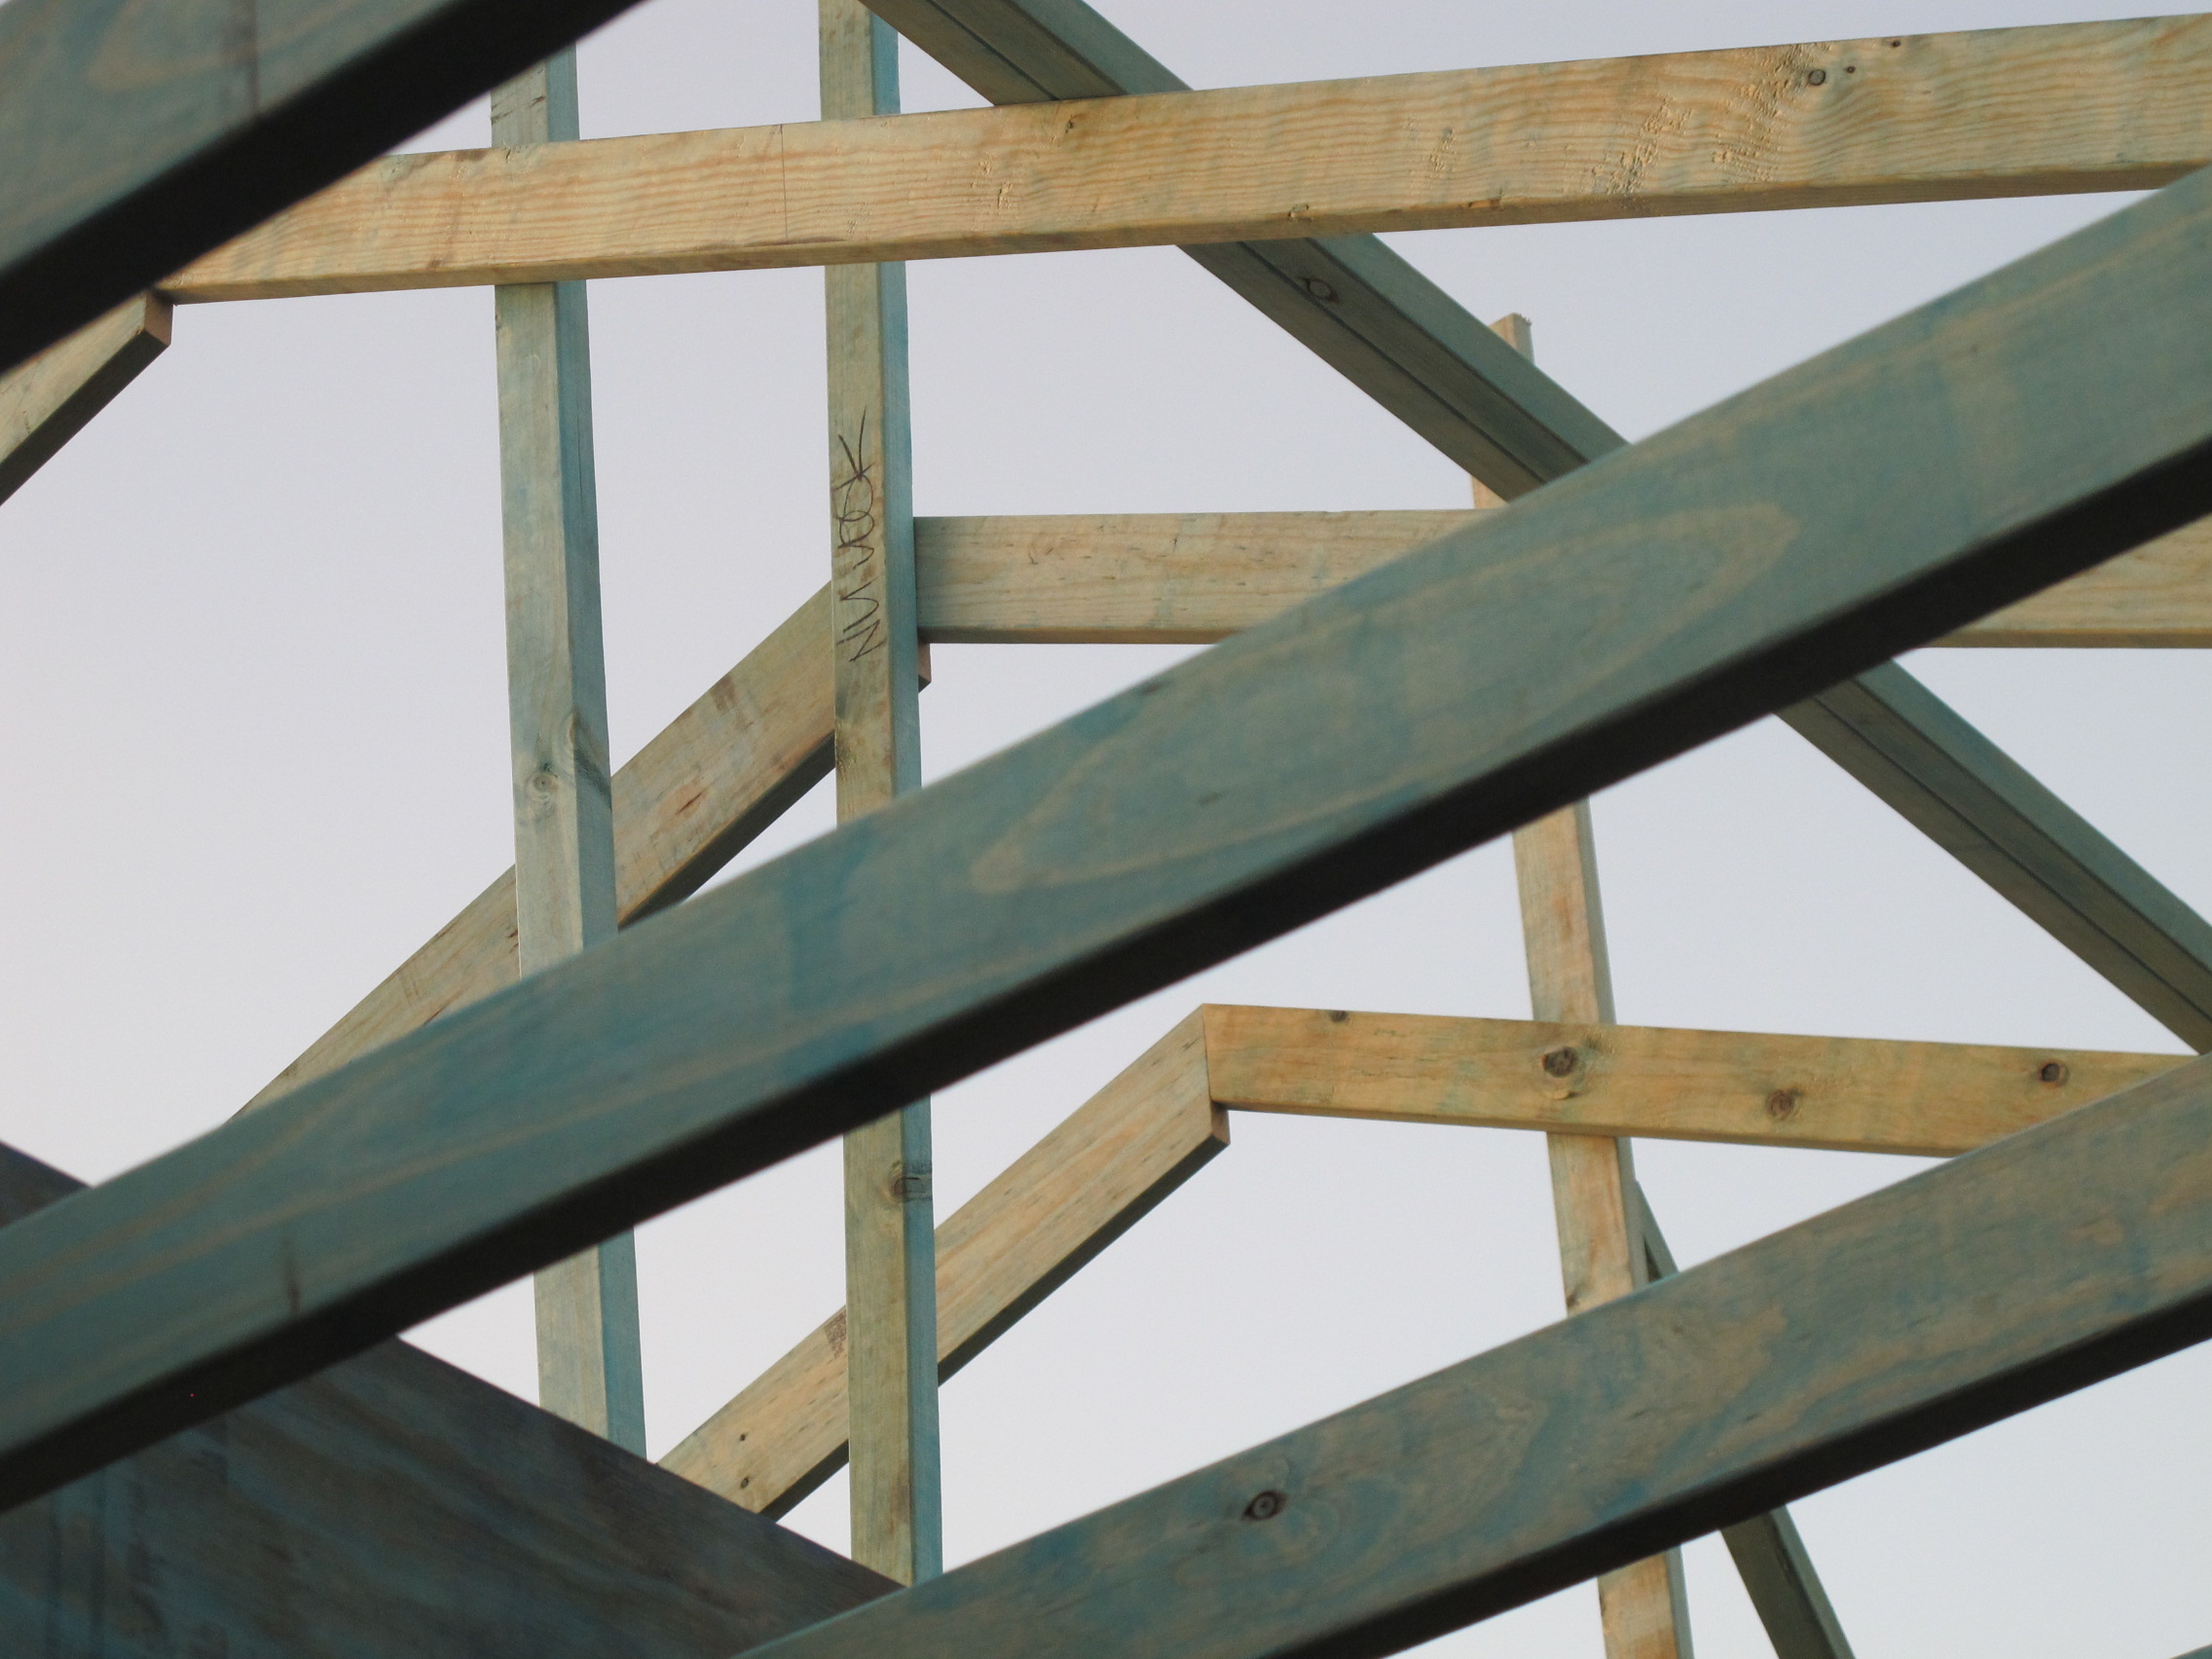
I think this is the top of the pitching.

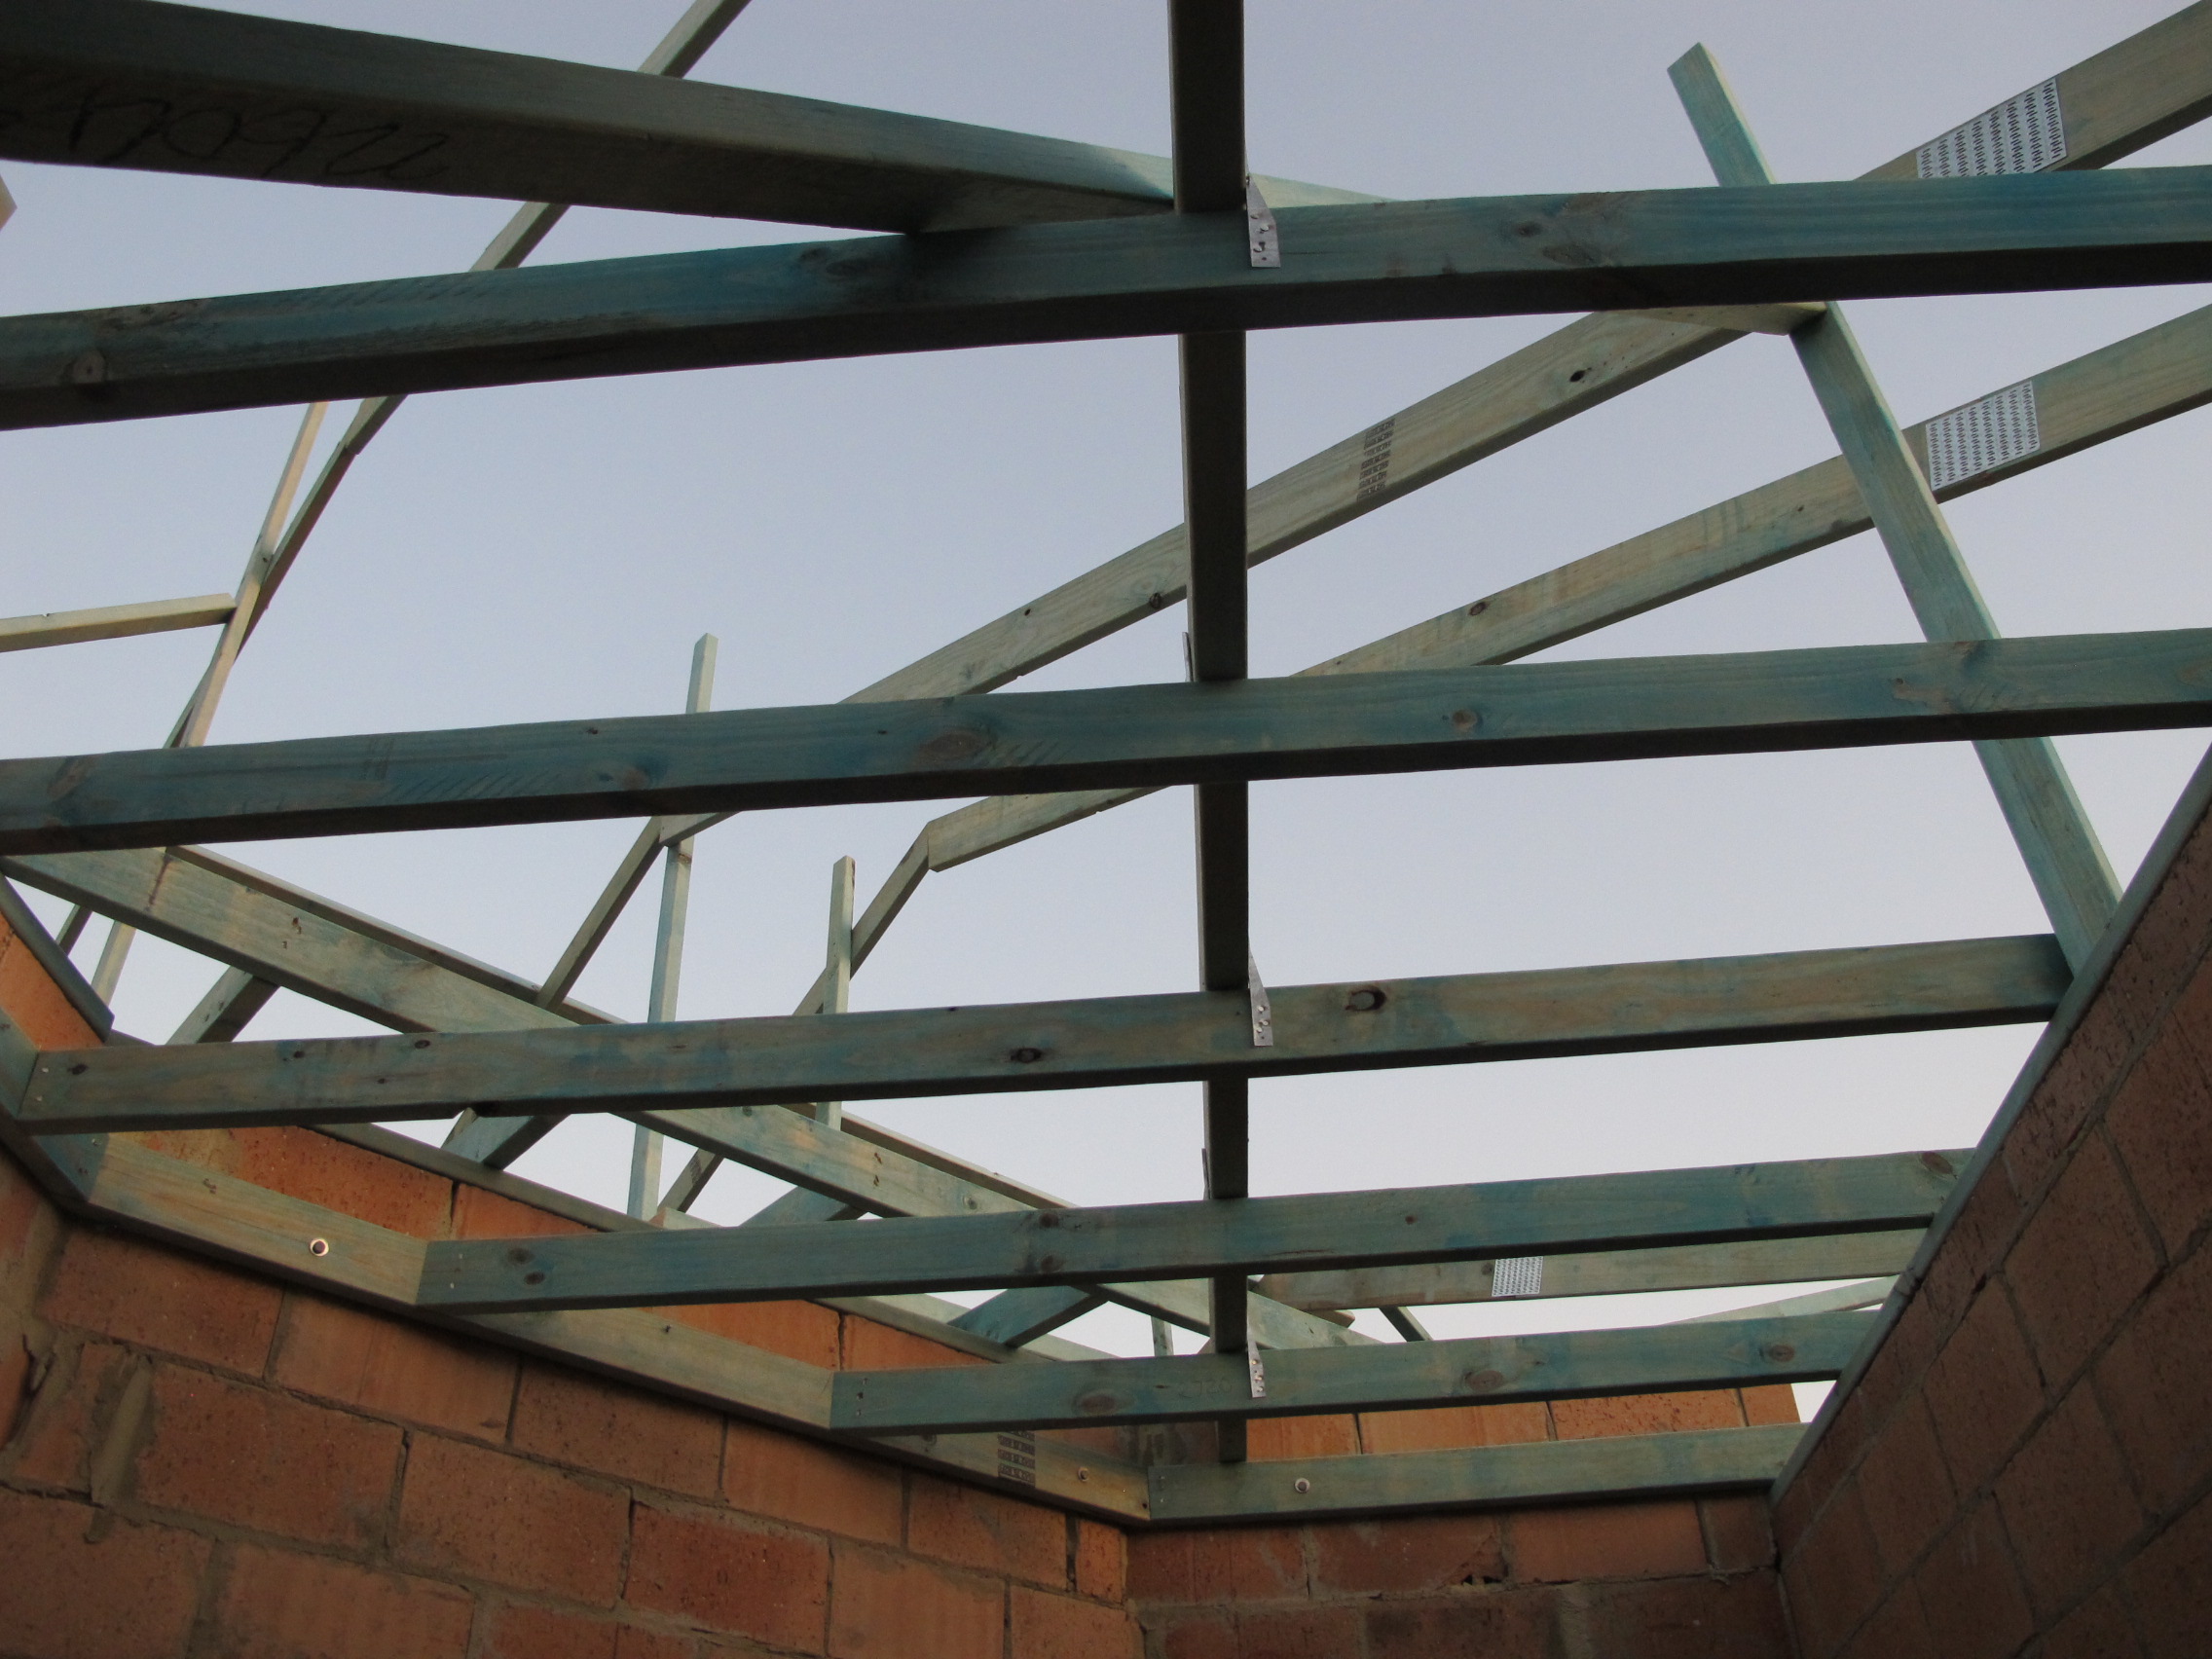

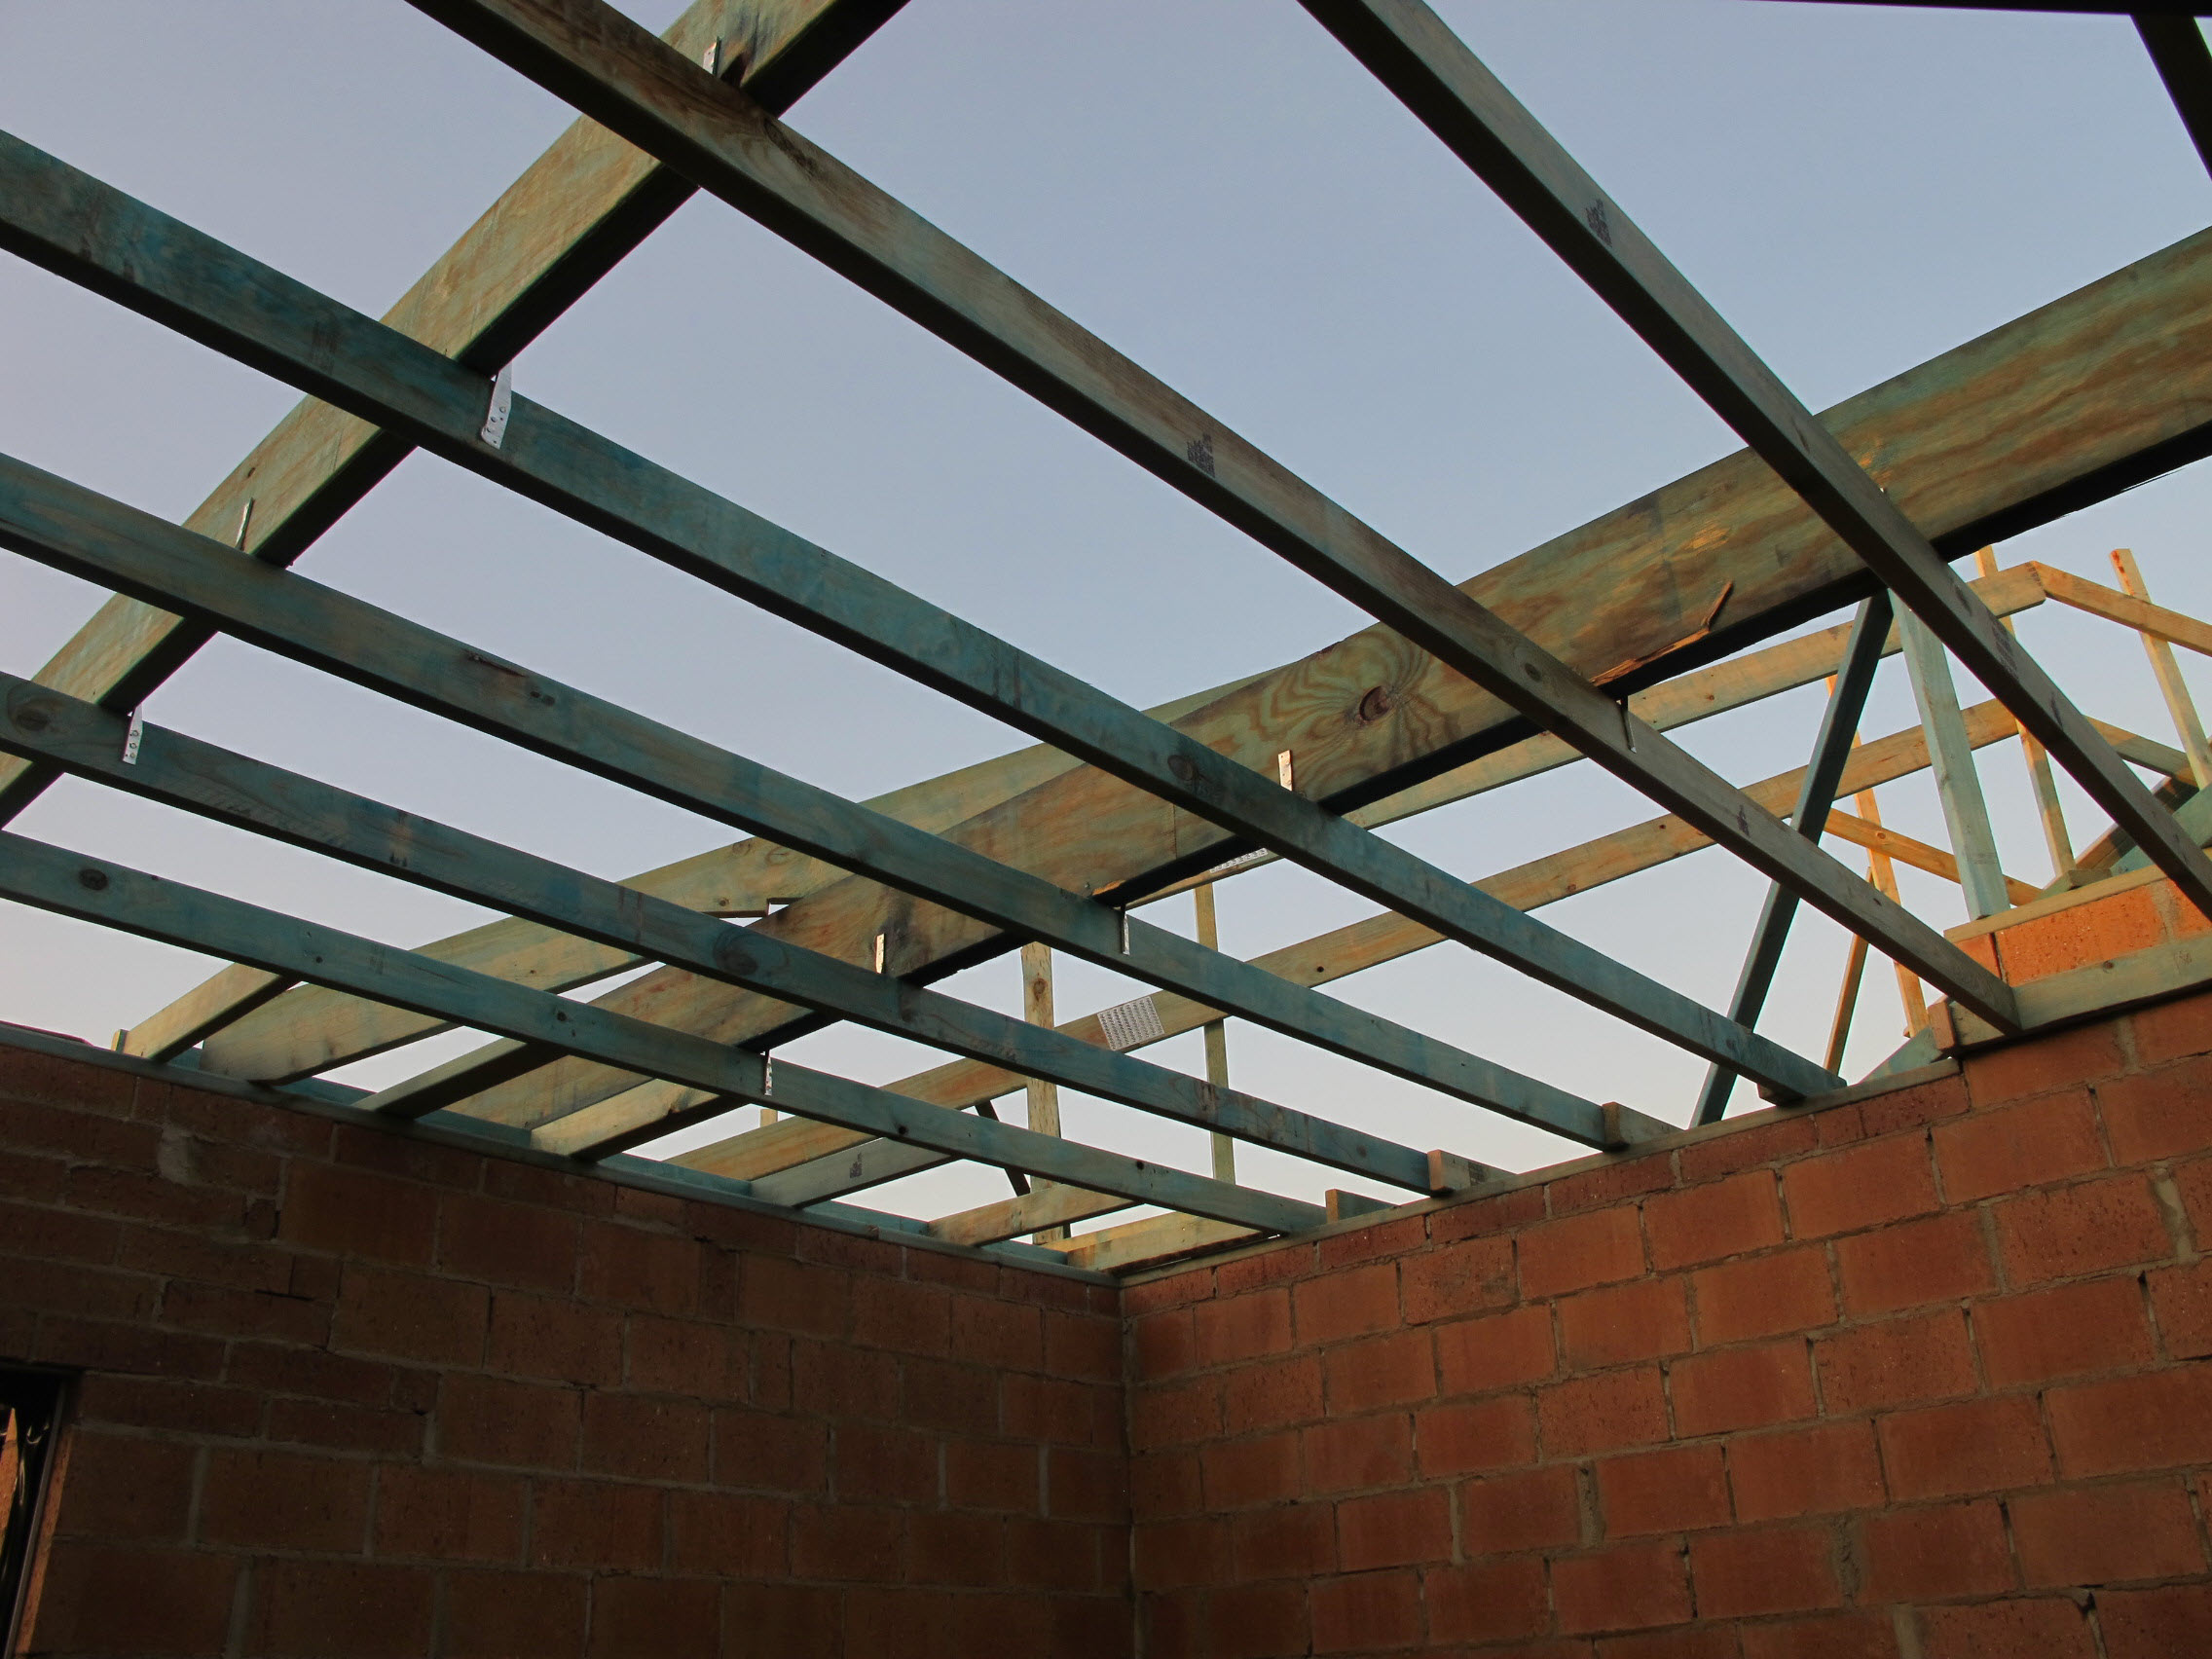
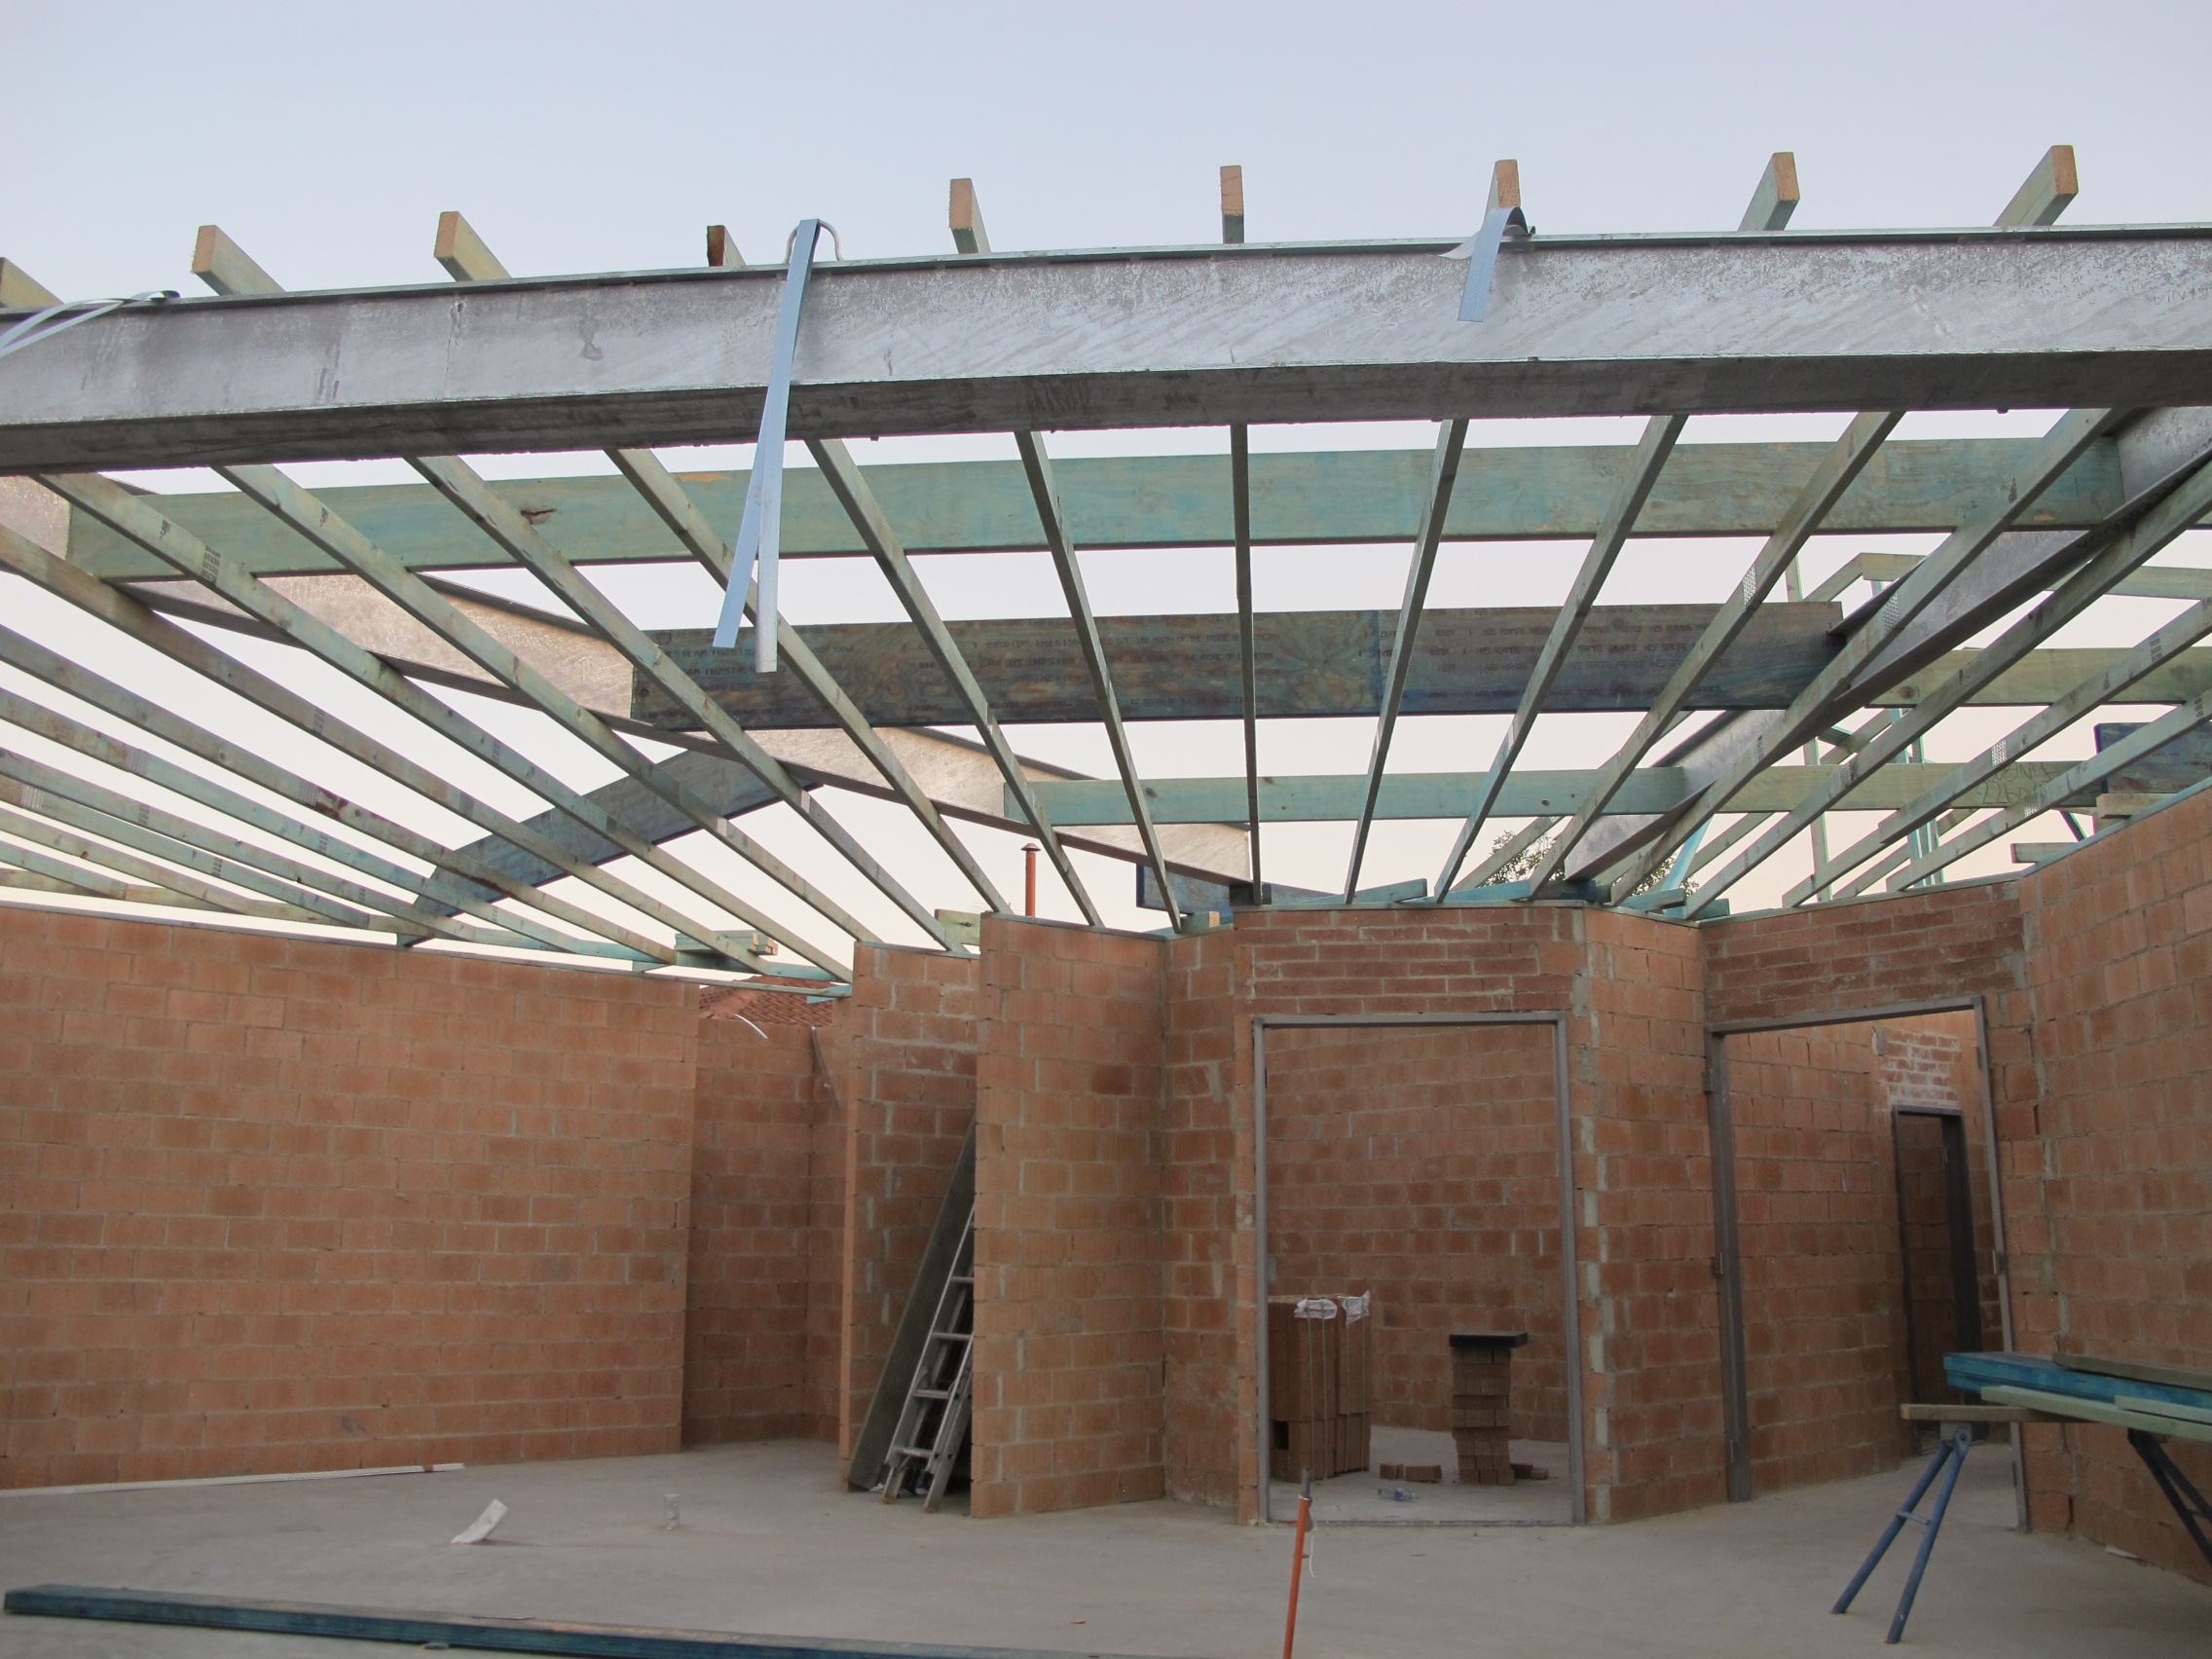
The living area. This is where those massive steel beams were.

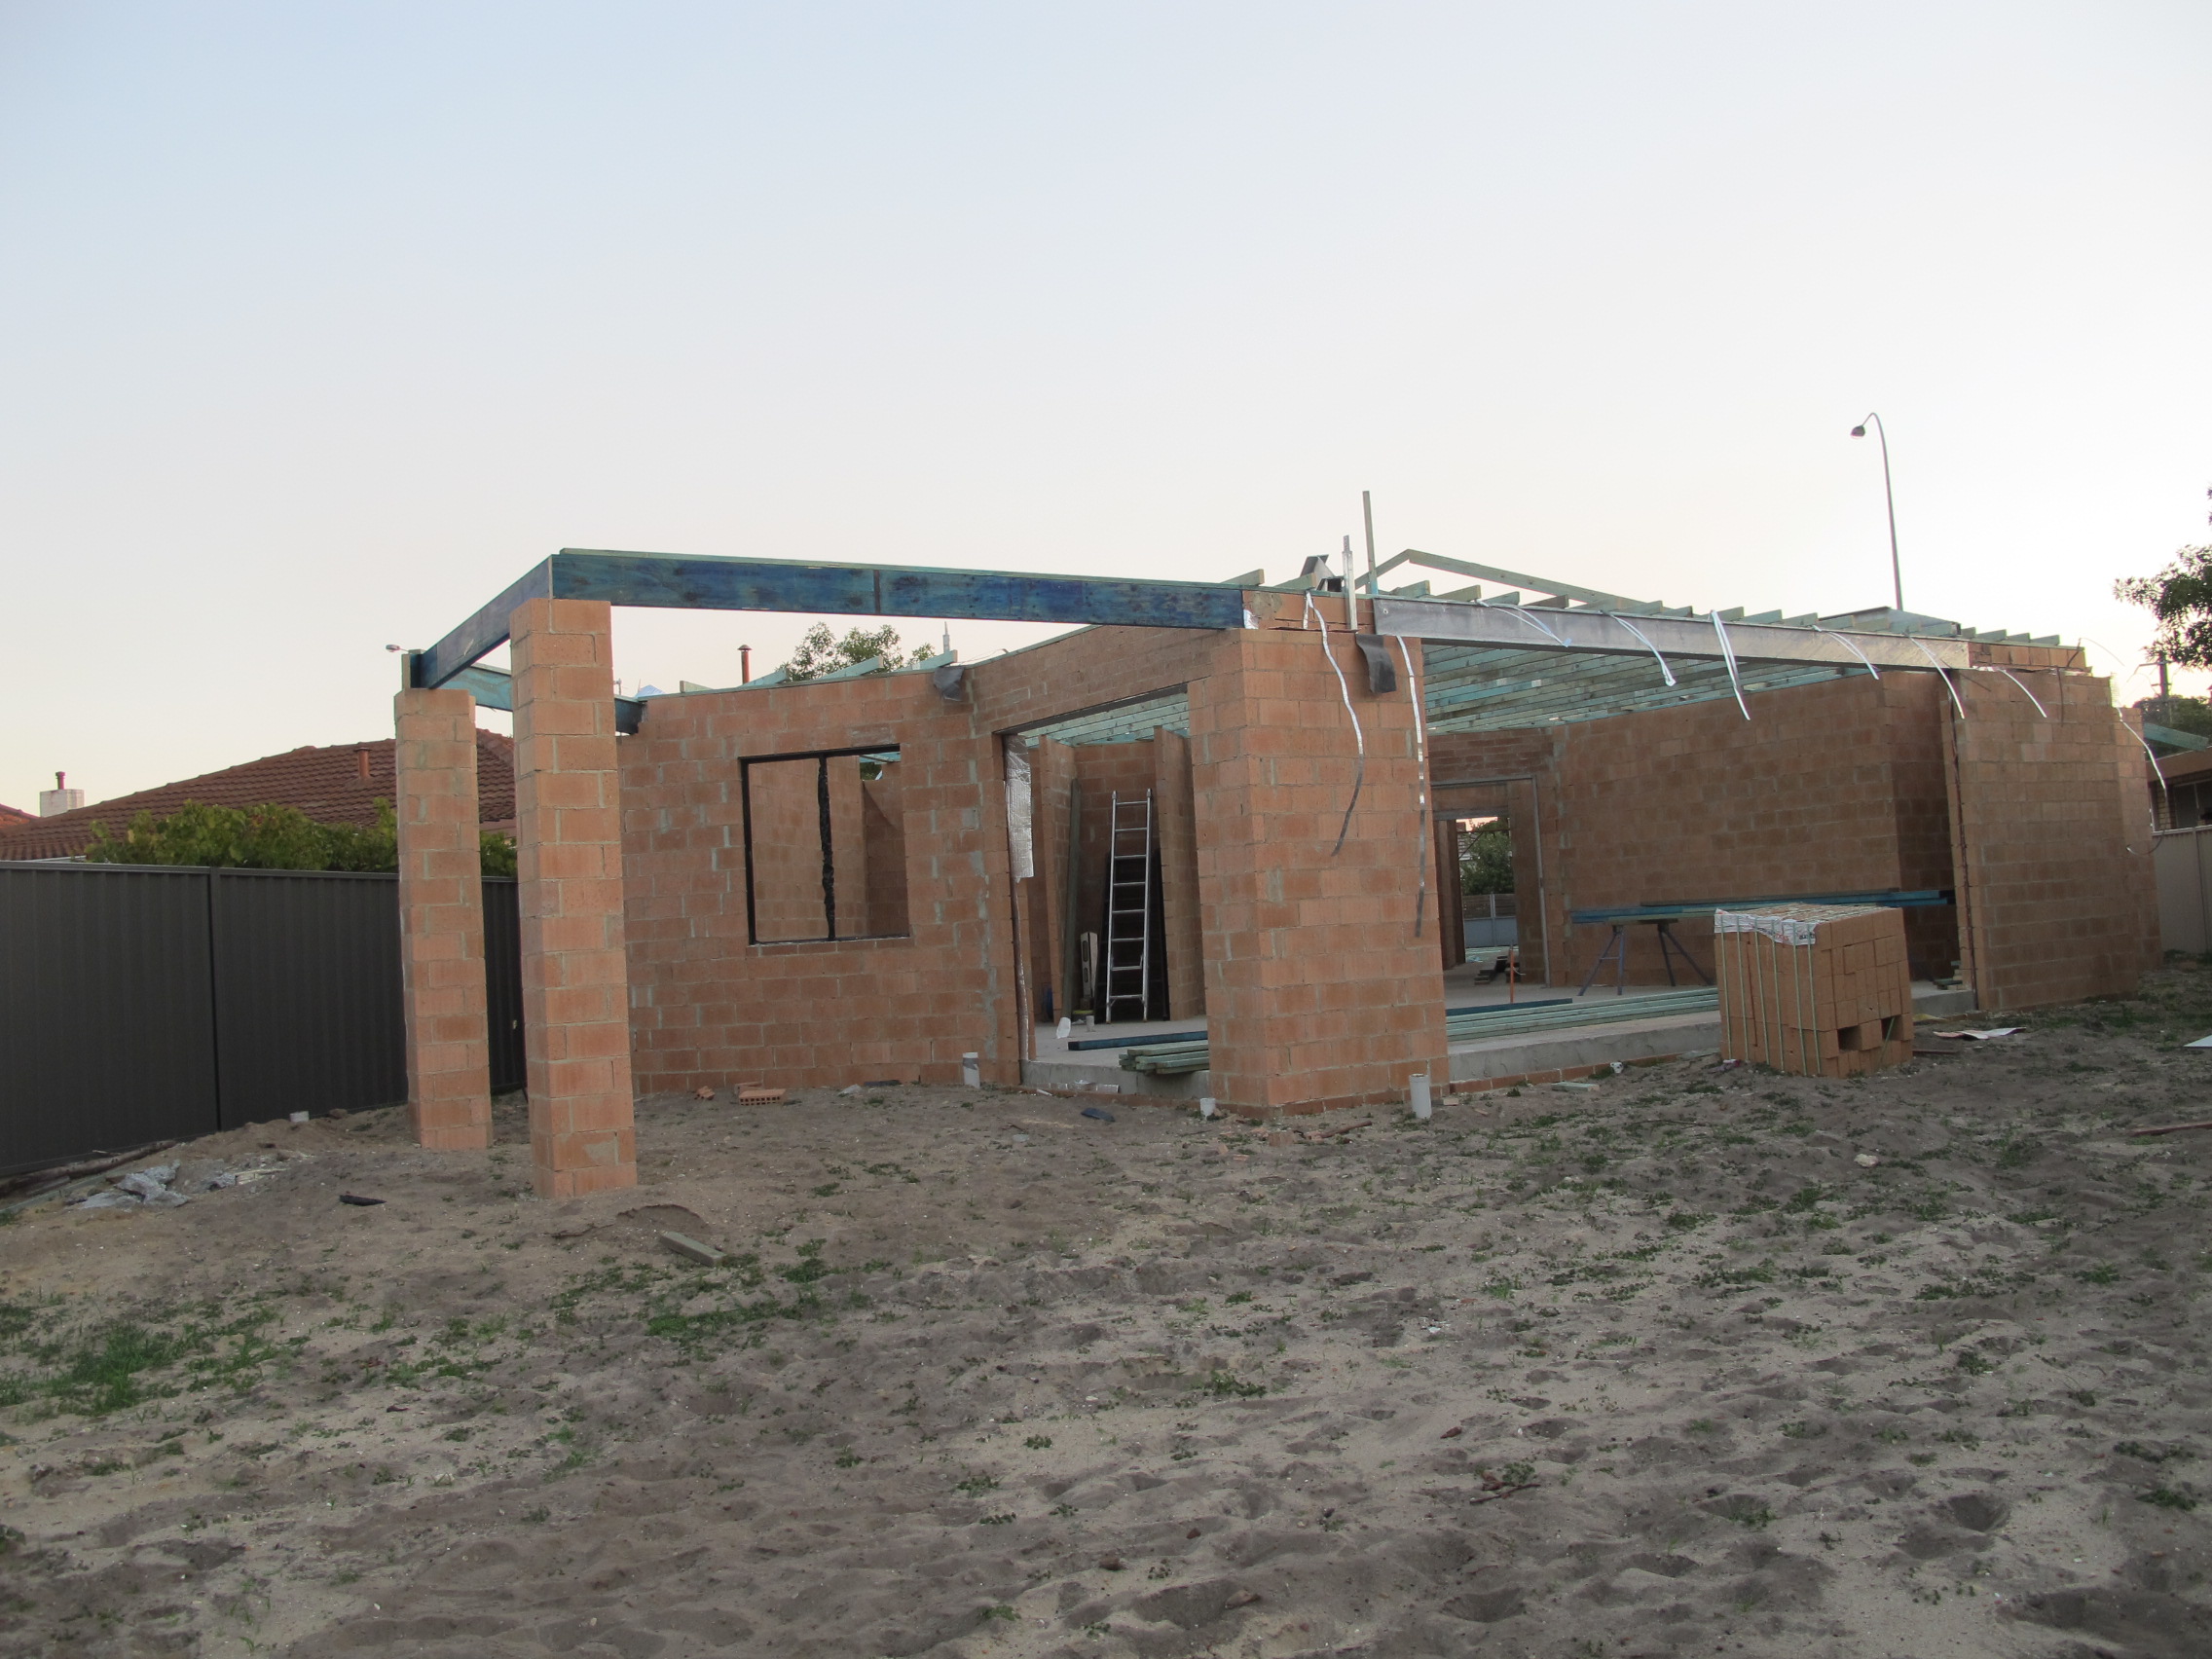
View from the back, looking towards the house.


My god they really are hand pitching that!
Perhaps your builder showed a truss mob your roof line and they backed away slowly saying “Hell no!”.
It’s so rare to see roofs hand pitched these days but it’s my favourite part of construction. (I love walking along the top plates).
Your open plan space would normally demand trusses to cover such large spans, and that’s what the steel beams are for. They act as counter beams, taking the load transferred from the hanging beams (the deep sections of LVL running perpendicular to the ceiling joists – which are the 90×45 members nail plated to each other), your builder will also strut down from the rafters at some point either directly onto strutting beams or the steel UB. The struts will replace the temporary vertical bracing they have tacked onto the main rafters they’ve pitched.
The 4th detail shows a birdsmouth which is the L-shaped cutout into the rafter. It is done to help the rafter seat itself on a top plate usually, but this time to allow the rafter to fit over the beam. There are two there, possibly because they stuffed up the measurement (it’s difficult), at any rate the birdsmouth sitting on the beam is the correct one, the BM behind it is artistic now. Structural integrity remains unaffected.
Wall of text I know, this is every bit as complicated as I could have hoped for, thank-you so much. Looking forward to seeing it come together, don’t worry I won’t ask you to climb up on the roof and take snaps!
I’m glad you enjoyed it! I’m going to have to re-read your comment now and try to understand it a bit better 🙂
I’m not up to date in the ins and outs if roofing but from the diagrams it does look like it won’t be a straight forward job. Exciting stage though. Not far off getting a lid on the house now 🙂
It’s very exciting. It’s funny how the roof isn’t something you really think much about during design, but it obviously has an impact on the people doing the actual work!